
Blog Date: 10/13/2023
After VCF has been deployed, and the tier 0 and tier 1 gateways have been configured in NSX, you can log into the SDDC manager and configure the NSX Edge Cluster for the management domain/consolidated domain deployment. A similar process is also used for the NSX Edge Cluster in a workload domain. During the design preparations for the VCF deployment, the NSX cluster would have been defined, along with the network information. Those design considerations and work wont be covered here, and it is assumed you are ready to deploy the edge cluster.
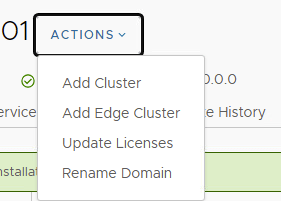
In the left pane of the SDDC Manager, select Workload Domains, and then click the management domain link. In the right pane, click the ACTIONS drop-down menu and click Add Edge Cluster.
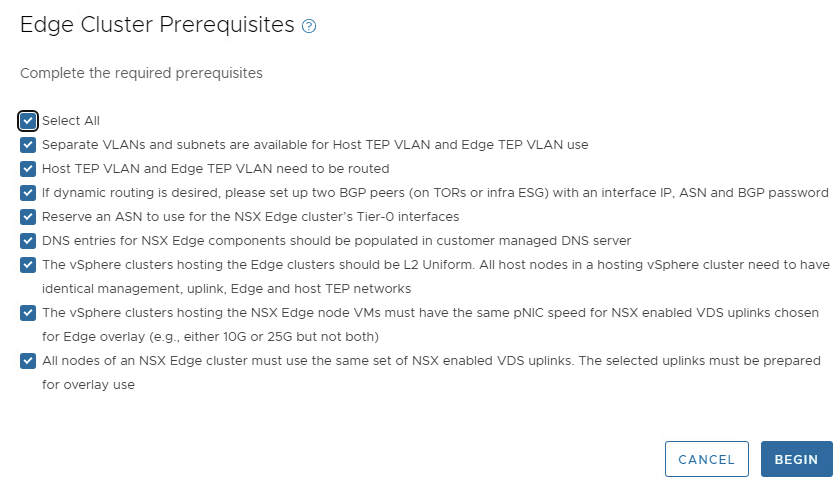
Review the prerequisites, select the Select All check box, and click BEGIN.
Provide the following information for the new edge cluster. In this example, we are using an MTU of 9000 for simplicity.
Edge Cluster Name:
MTU: 9000
Tier 0 Name:
Tier 1 Name:
Edge Cluster Profile Type: Default
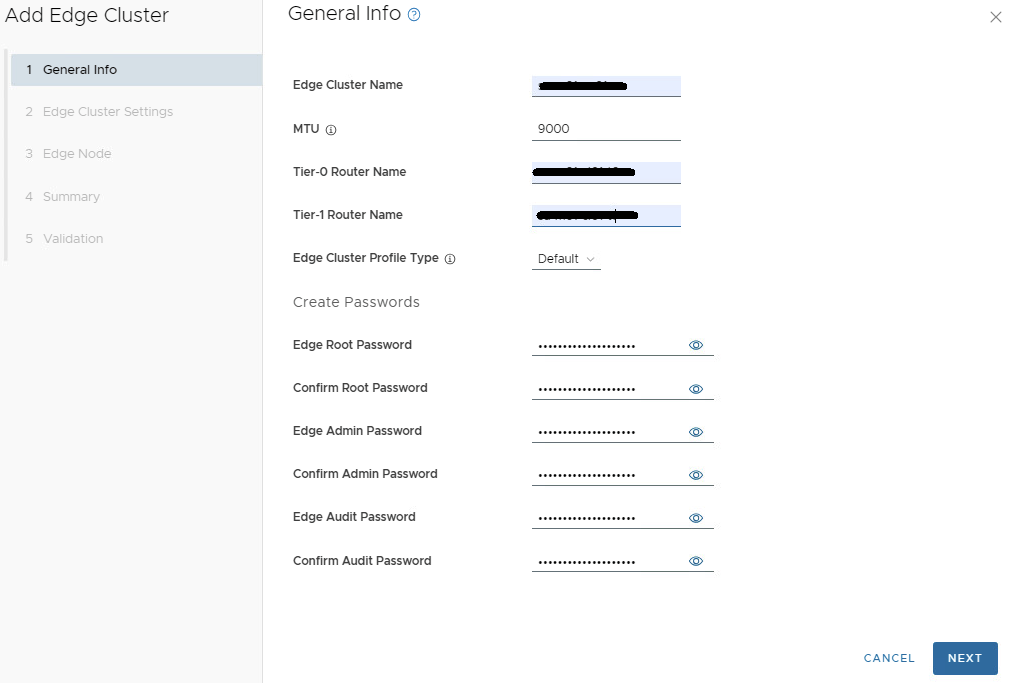
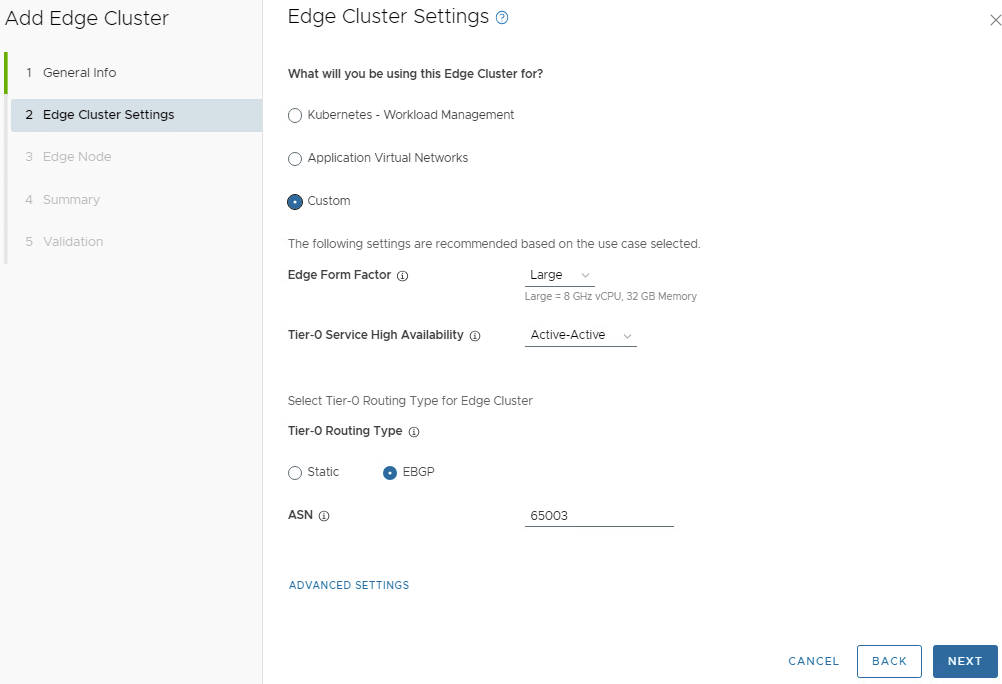
Enter the desired password for the password boxes. Click NEXT. Enter the details for what the edge cluster will be used for. On the Edge Cluster Settings, in this example we will select Custom.

The edge cluster size will be determined during the design phase of the NSX edge cluster. In this example, we have Large selected. Your mileage may vary.
Validate that the Tier0 Service High Availability is Active-Active. Validate that EBGP is selected as the Tier0 Routing Type. Enter the correct ASN number for your environment. Click NEXT.
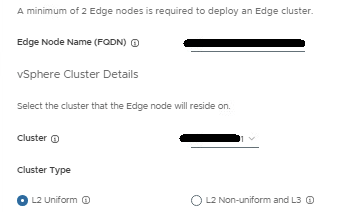
Provide the cluster details for the first edge node. Cluster type setting will vary depending on your environment configuration:
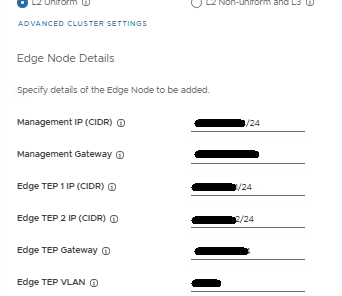
Fill in the Edge Node details for the TEPs.
Now add the first Tier-0 uplink and BGP info, and second Tier-0 uplink and BGP info.
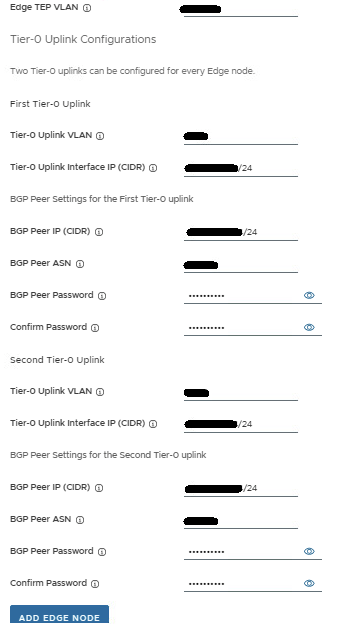
Review the values entered to insure accuracy, and then click the ADD EDGE NODE button. The config for the first edge node has been saved.
Now you need to add the config details for the second edge node. Click ADD MORE EDGE NODES which takes you to the top of the Edge Node Details page. You’ll notice the previous values entered are still present. Starting from the top, work your way to the bottom, and carefully update all entries with the second edge node config.
Review the values entered to insure accuracy for the second edge node, and then click the ADD EDGE NODE button. The config has been saved.
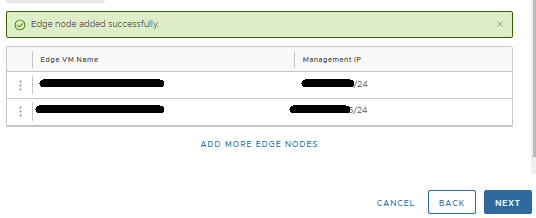
At this point, two edge nodes should be shown. More can be added if needed, but two nodes offer sufficient redundancy. Click NEXT.
Review the summary and ensure that you entered the values correctly.
IMPORTANT:
Ensure that you entered the IP addresses, FQDNs, and VLANs correctly by comparing all values with the network diagram. Any data entry error will cause errors in deployment.
Click NEXT
Wait for validation to complete.
If any checks fail, record the cause, and verify that no values are incorrectly entered in the wizard. CAUTION: Do not click FINISH unless the validation succeeds for all checks. If the validation checks succeed, click FINISH.
You can monitor the deployment in the SDDC manager tasks pane in the bottom of the screen. If you click on the task name for adding the edge cluster, the sub-deployment tasks will be shown.
Wait for the edge cluster deployment task to complete before deploying application virtual networks.
For more information, see VMware’s documentation on Managing NSX Edge Clusters in VMware Cloud Foundation.

You must be logged in to post a comment.