
Finally decided to pull the trigger and upgrade my base lab from VMware vCenter 6.7 U3 to version 7 U1.
Check VMware’s Compatibility Matrix
- First – validate the version of the currently deployed vCenter to ensure a compatible upgrade with VMware’s Product Interoperability Matrices.
- Second – validate hardware, firmware, and drivers of ESXi hosts.
- Third – validate compatibility of partner products deployed in the environment.
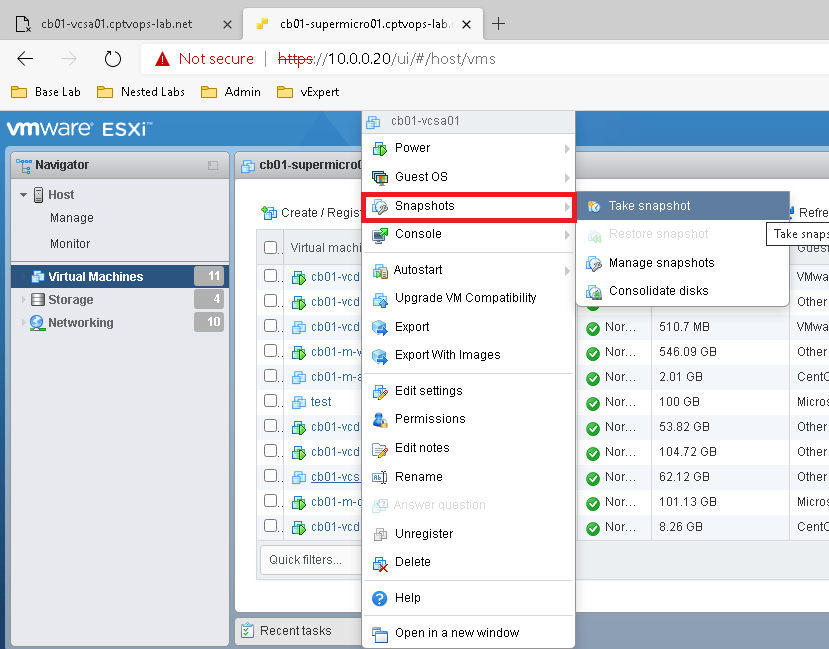
Snapshot vCenter Before
I personally like taking a snapshot of the vCenter VM. I do this after a clean shutdown.
Prerequisites
Updates patch the current vCenter appliance (vCSA). An upgrade replaces the existing appliance, so a few extra items will be needed:
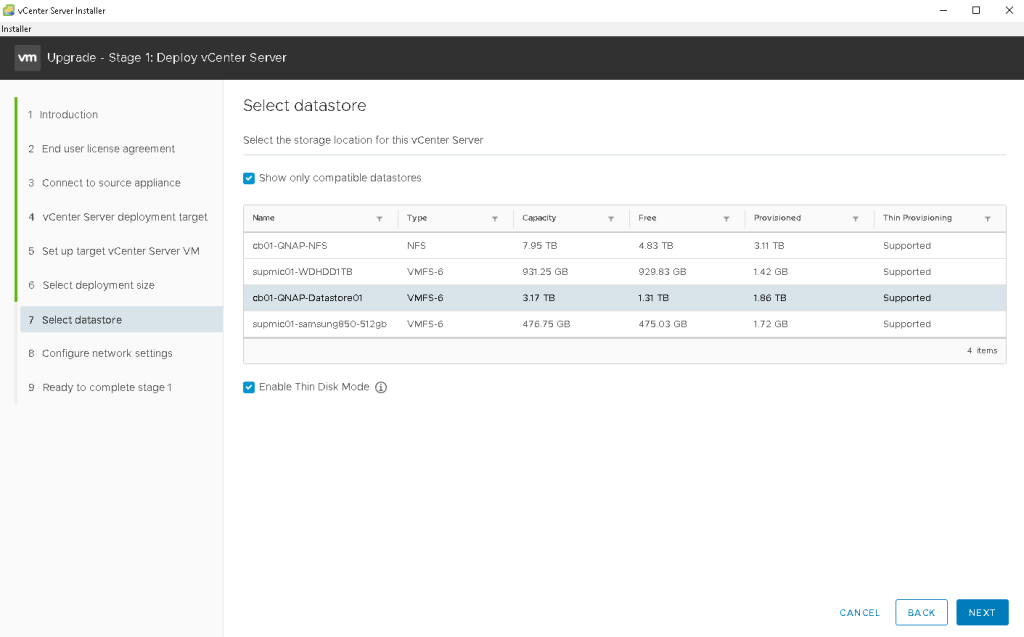
– Validate adequate storage space is available.
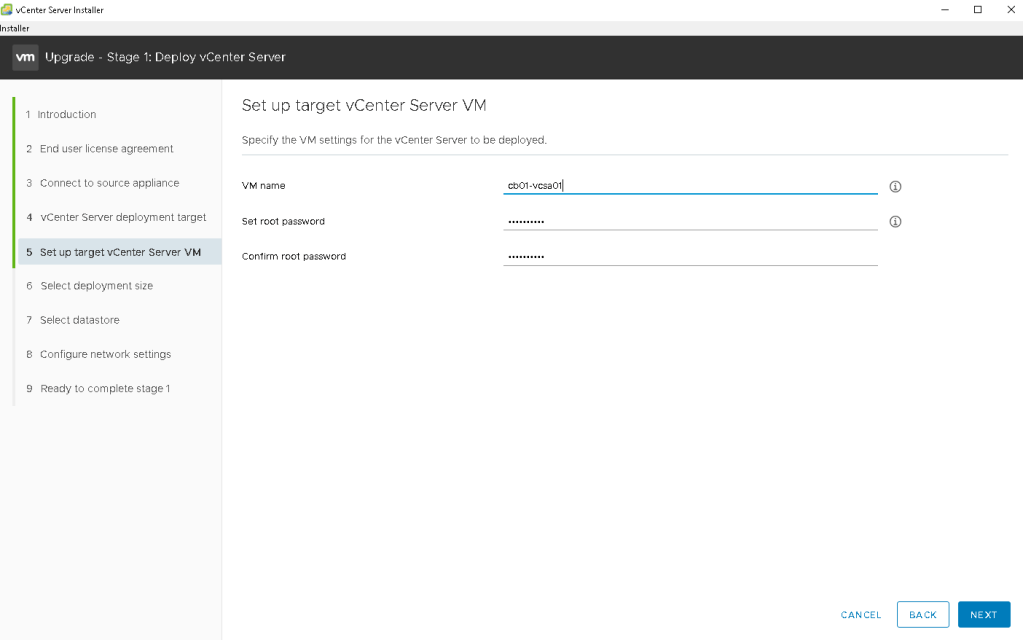
– Current vCSA VM will need to be renamed in the inventory, else the new vCSA VM will need a temp name.
– Temp IP address will be needed briefly for the new appliance being deployed (assuming Static temp IP being used).
Upgrade The vCenter
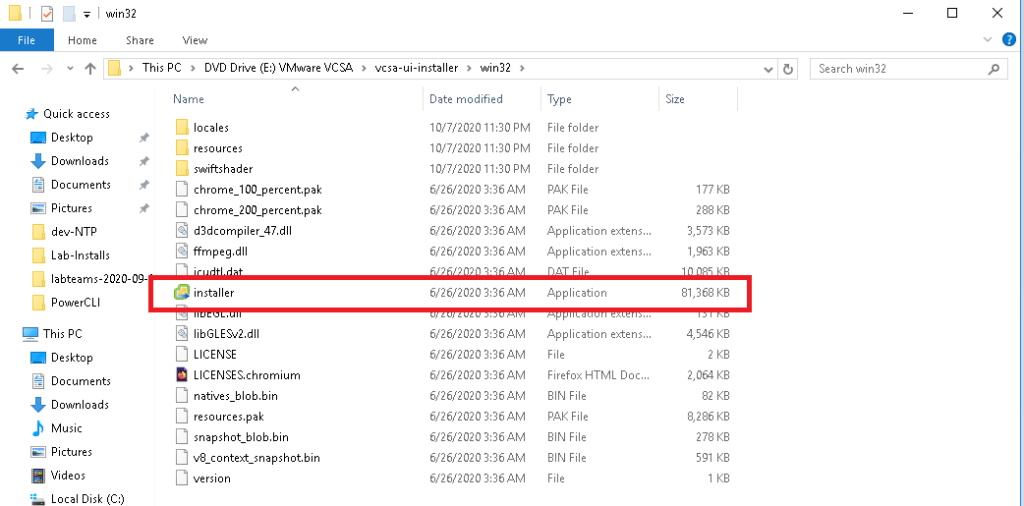
Mount the ISO to a jump server Locate and launch the installer.exe.
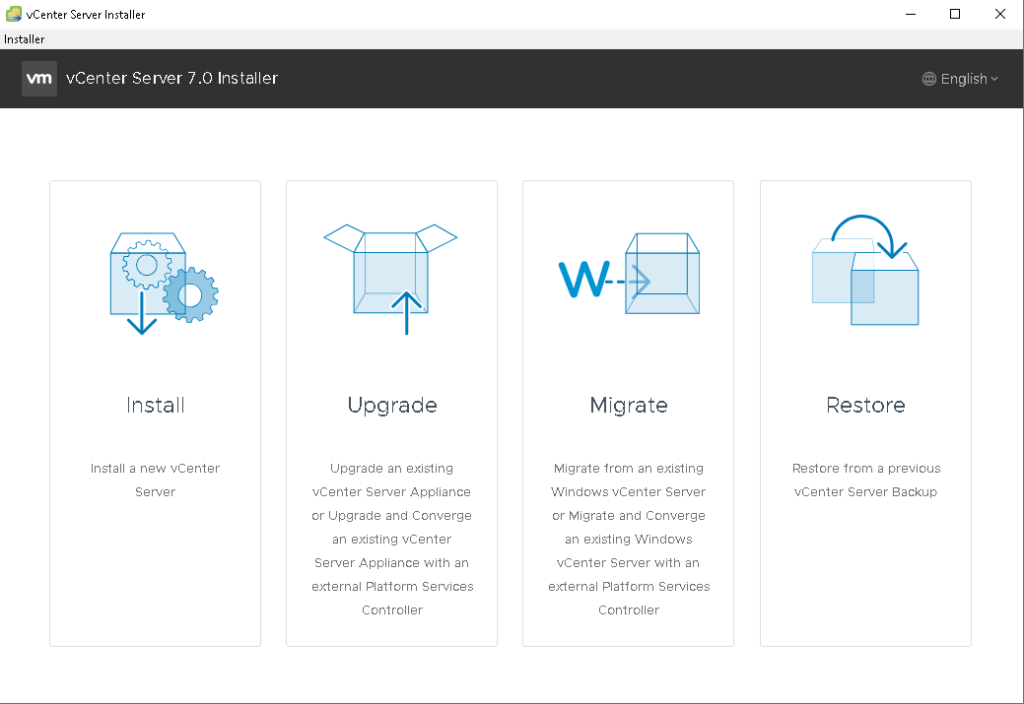
You’ll be presented with several available options. In this example I am upgrading an existing vCSA, so that’s the option I’ll select.
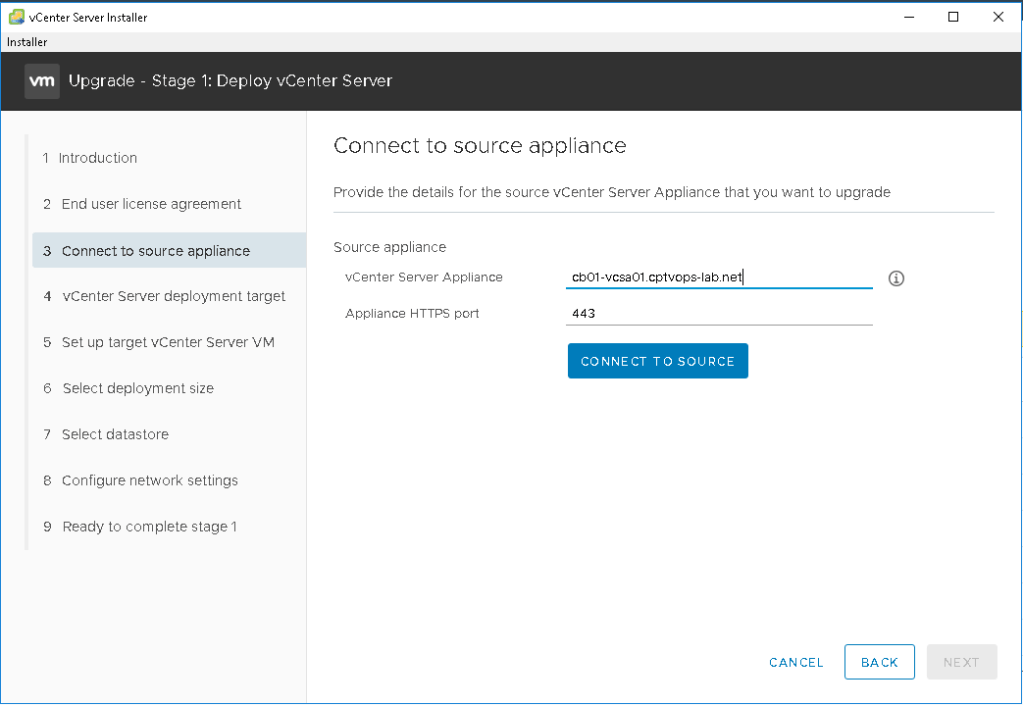
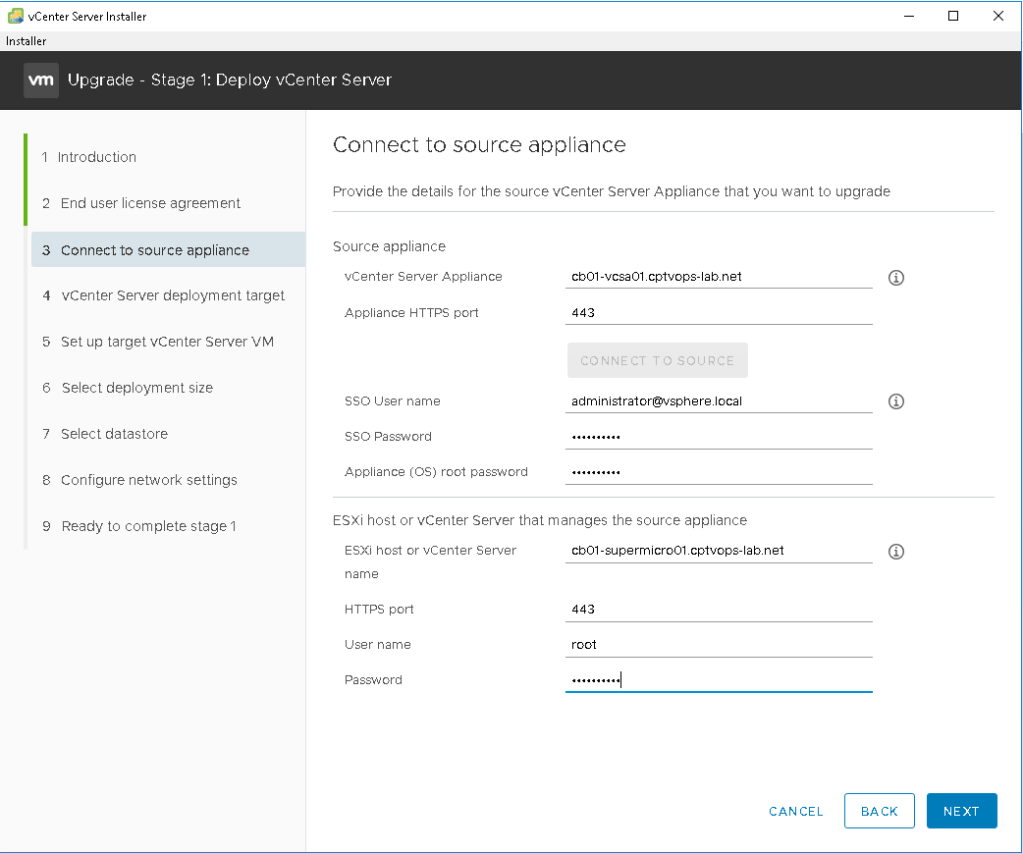
Enter the details for the existing vCenter Server Appliance. Hit CONNECT TO SOURCE.
This will open up a new wizard which will require environment specific connection details. You can either target a specif host to deploy the new vCenter Server Appliance to, or you can use the vCenter. Sometimes DNS may get in your way and the deployment will fail. Try again using IP addresses instead.

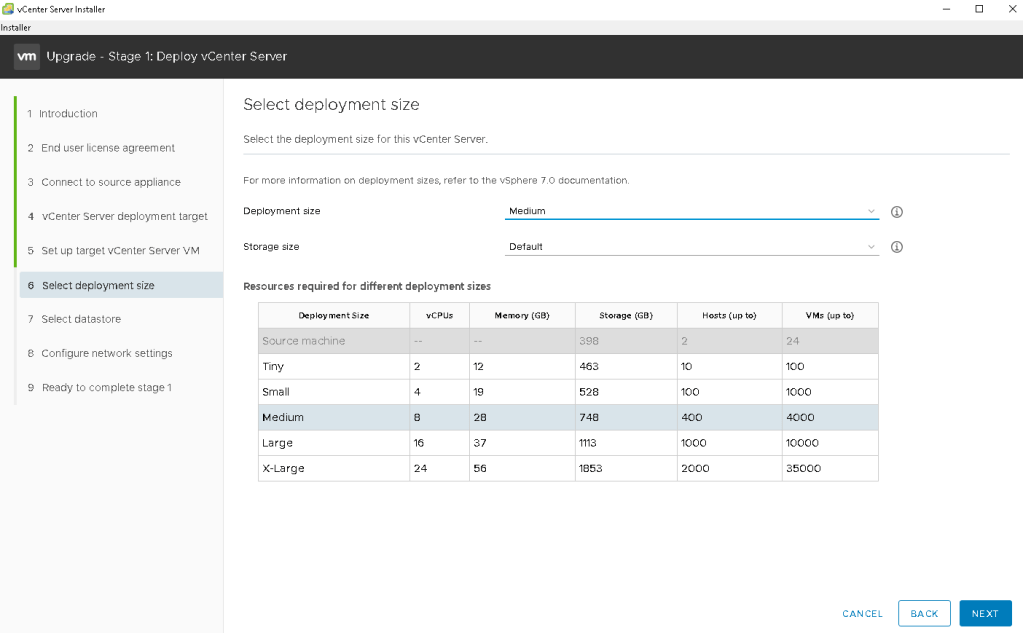
Here you have the option to select a new deployment size based on your needs and future expected growth.
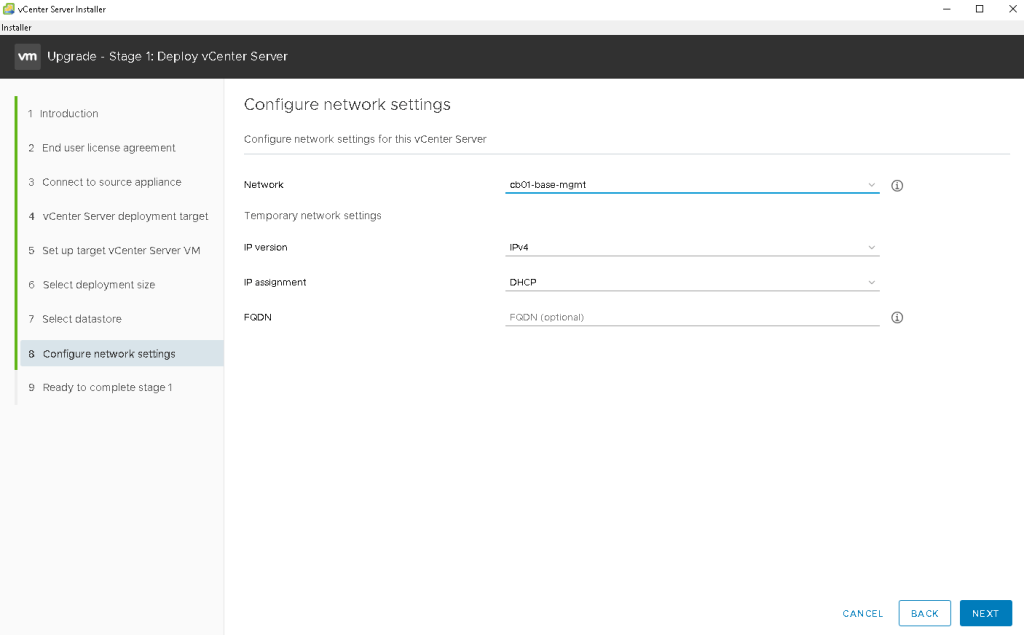
Here you can elect to use a TEMP static IP address or DHCP for the new vCenter Server Appliance being deployed. This will enable it to coexist with the current vCSA while the data and settings are copied over. After a successful deployment, the current vCSA will be shutdown, and the newly deployed appliance will assume the olds address. Make sure you select the appropriate network. This trips more people up than one would think.
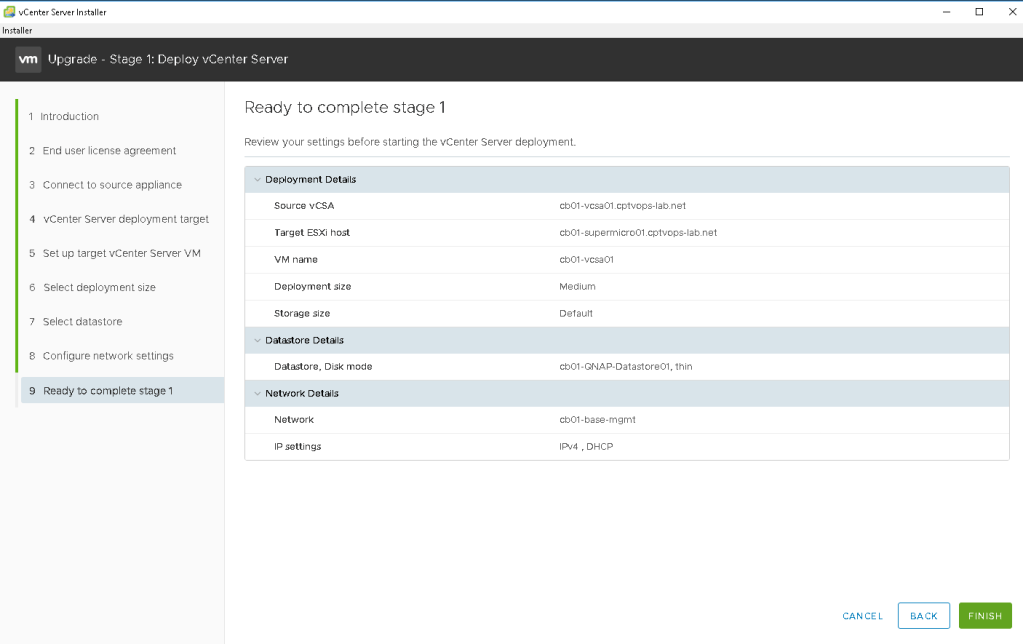
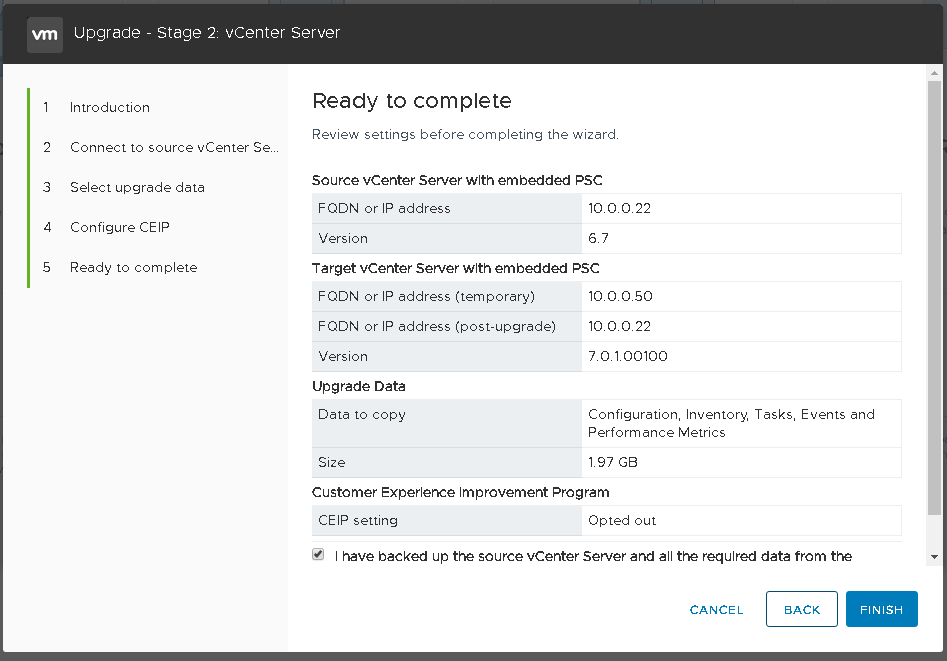
Review your settings, and if everything looks good click FINISH.
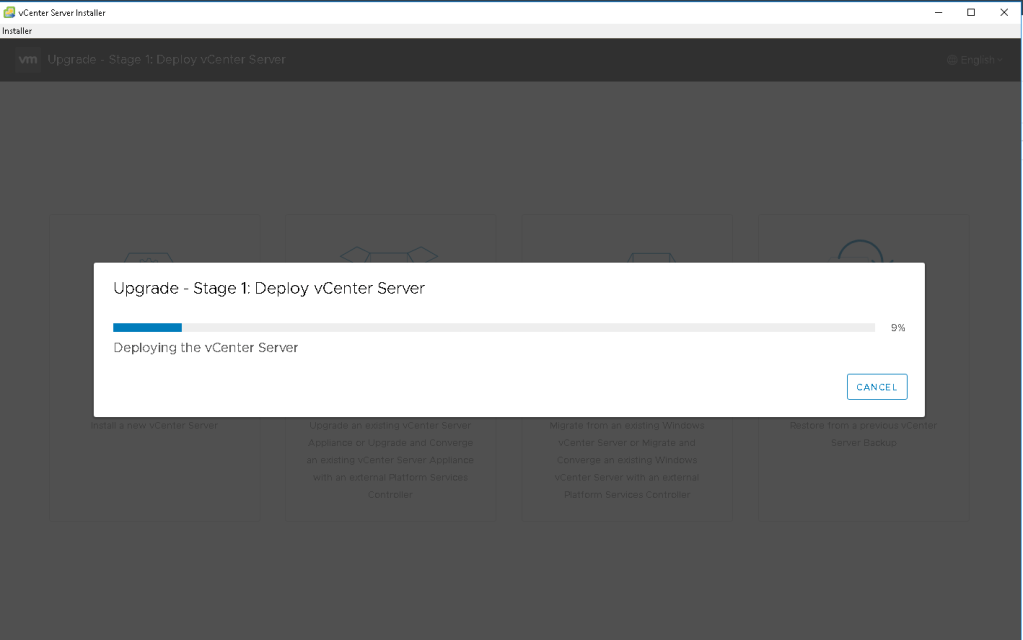
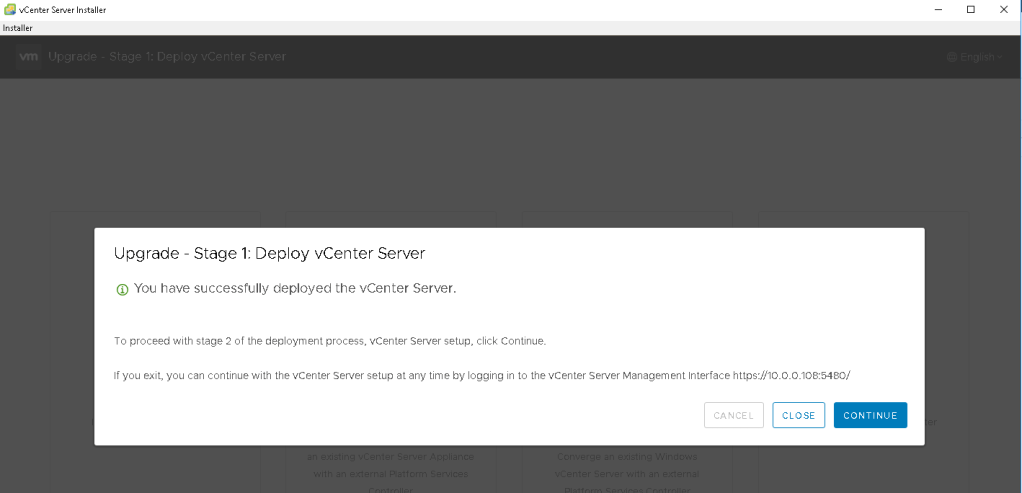
This may take a while depending on the size of your environment, but the new appliance will now be deployed. Eventually the wizard will prompt to CONTINUE.
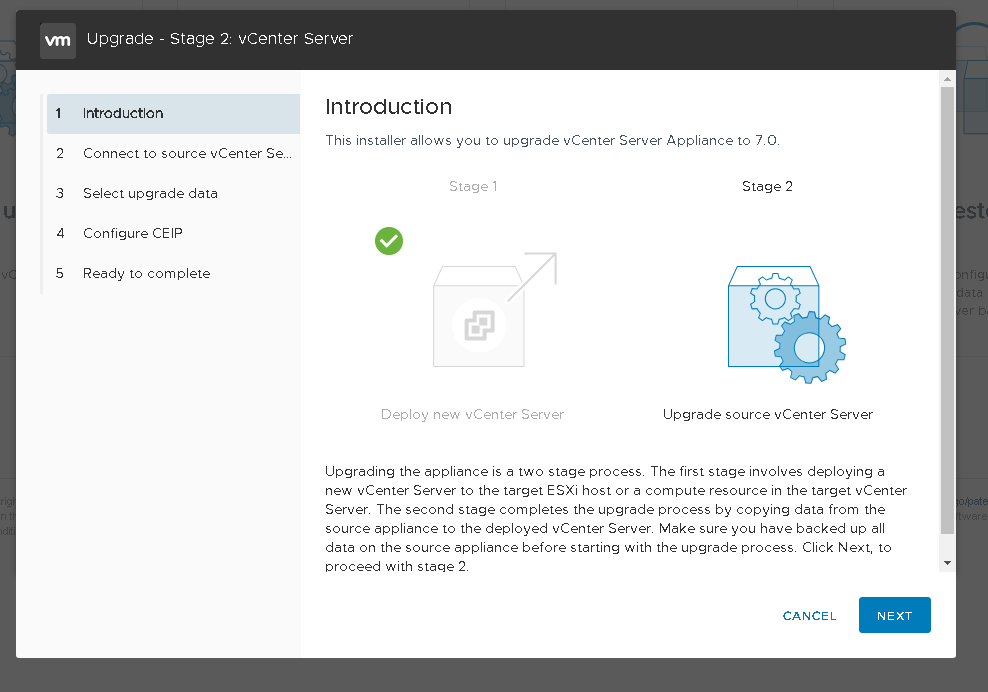
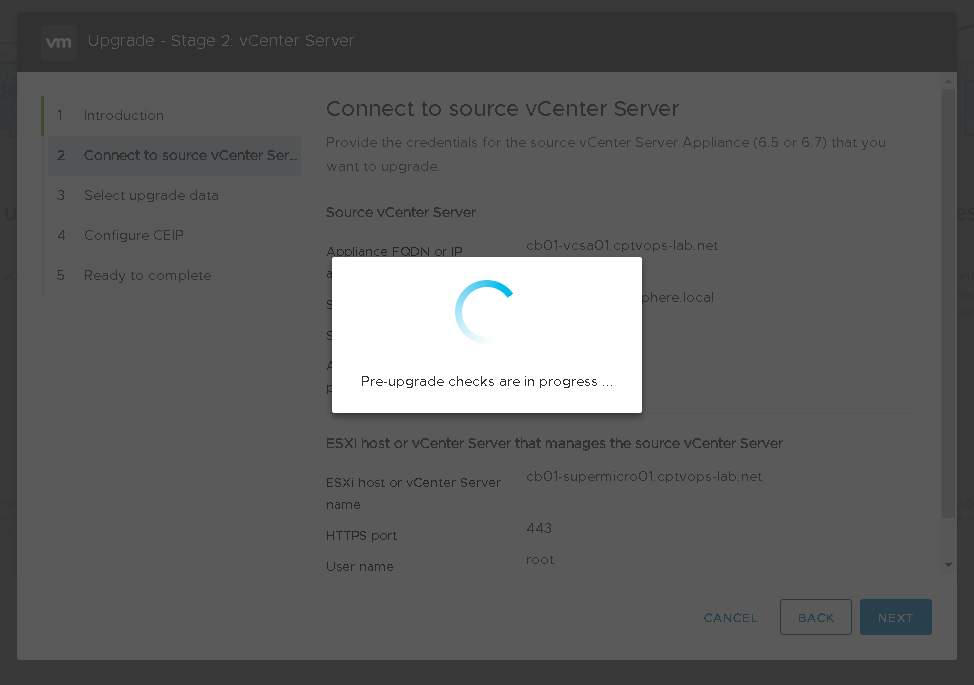
System checks will now run to ensure proper configuration and communication.
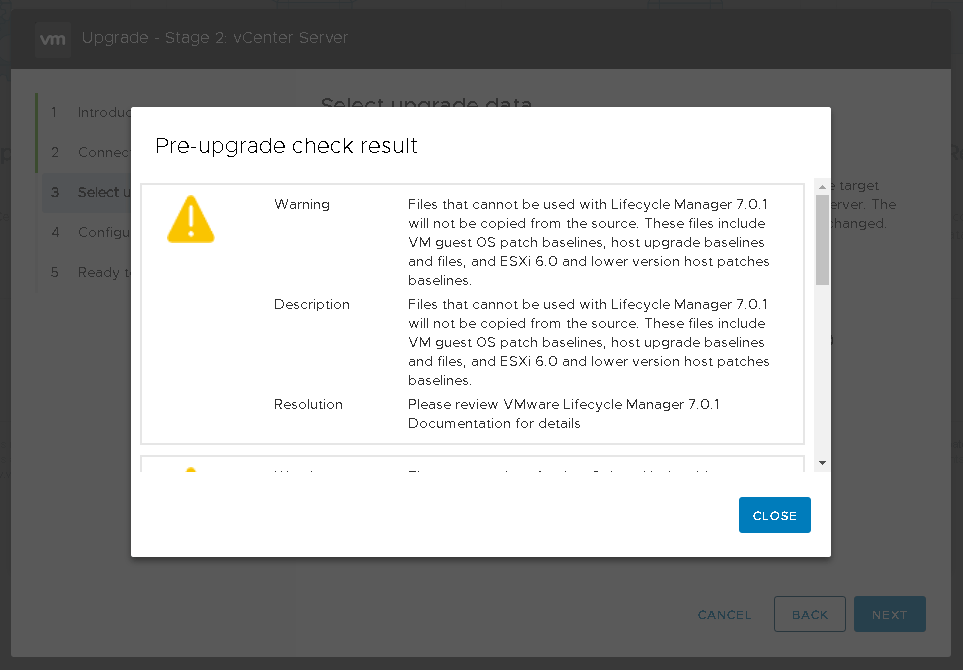
My lab threw a couple cautions, but nothing was a show stopper, and I was able to continue the upgrade.
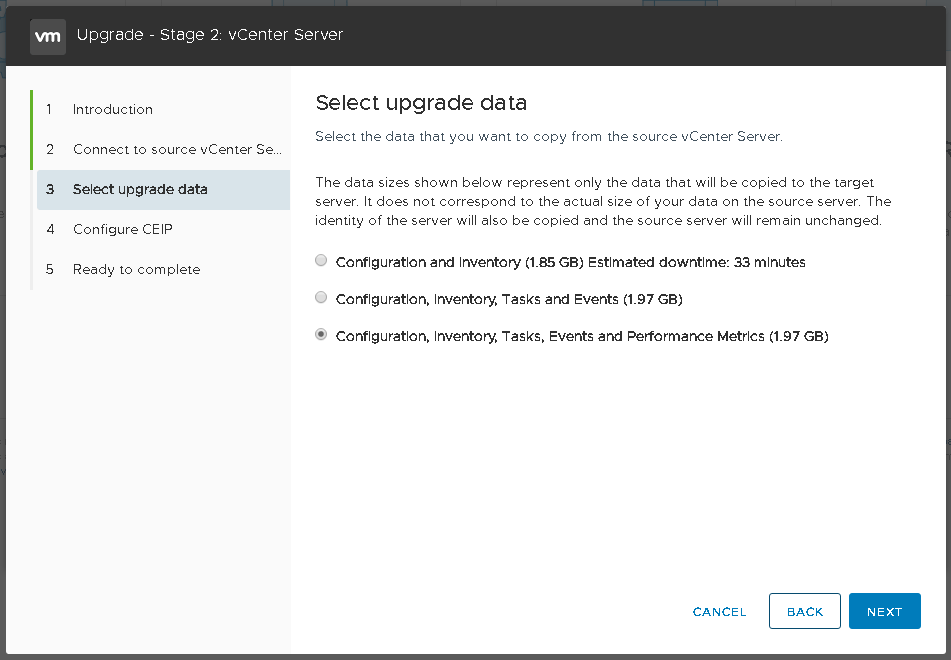
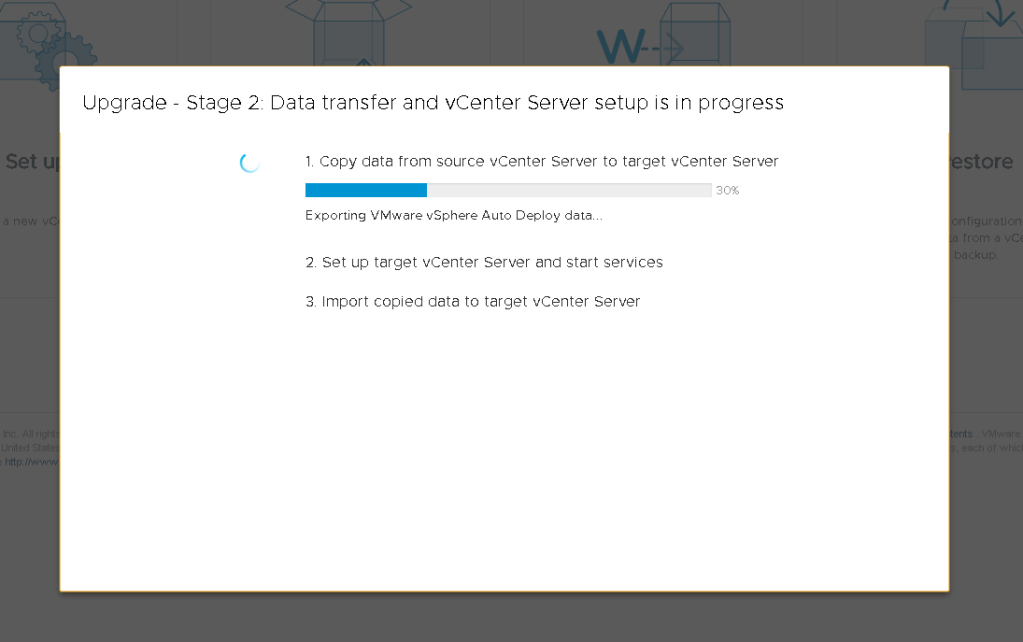
This is where the data will be copied from the existing vCenter Appliance. Pick what needs to be copied over and click NEXT.
Review the config and click FINISH if everything is satisfactory.
IF everything was successful, the new vCenter Server 7.0U1 appliance should now be in command, and the original will be powered off. Next steps will be to import your new license keys for 7, and get the new vCenter licensed. In the next post I’ll walk through the steps of upgrading ESXi to 7 using the newly rebranded Lifecycle Manager that replaced VUM.

You must be logged in to post a comment.