VMware Cloud Foundation Home Lab – Part 7 (VCF Business Services Console Online Registration)

Blog Date: December 2025

If you’ve been following along in this home lab series, in my previous blog, I finished my VCF 9.0.1 deployment to my 4 MINIS FORUM MS-A2s HERE.

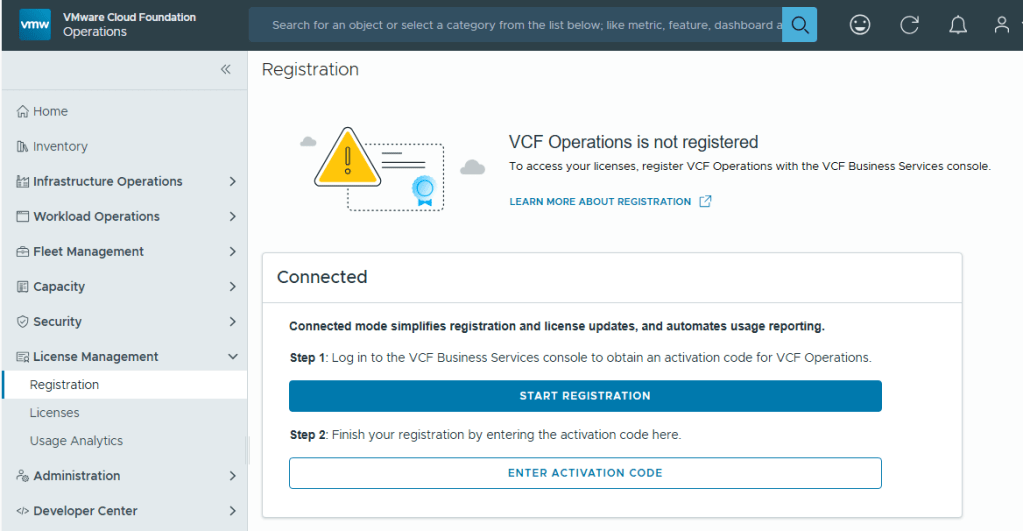
With Broadcom’s VCF 9, we are now required to configure usage reporting. This process is pretty straight forward. Click on the [START REGISTRATION] button, and you’ll be redirected to the Broadcom portal for authentication.

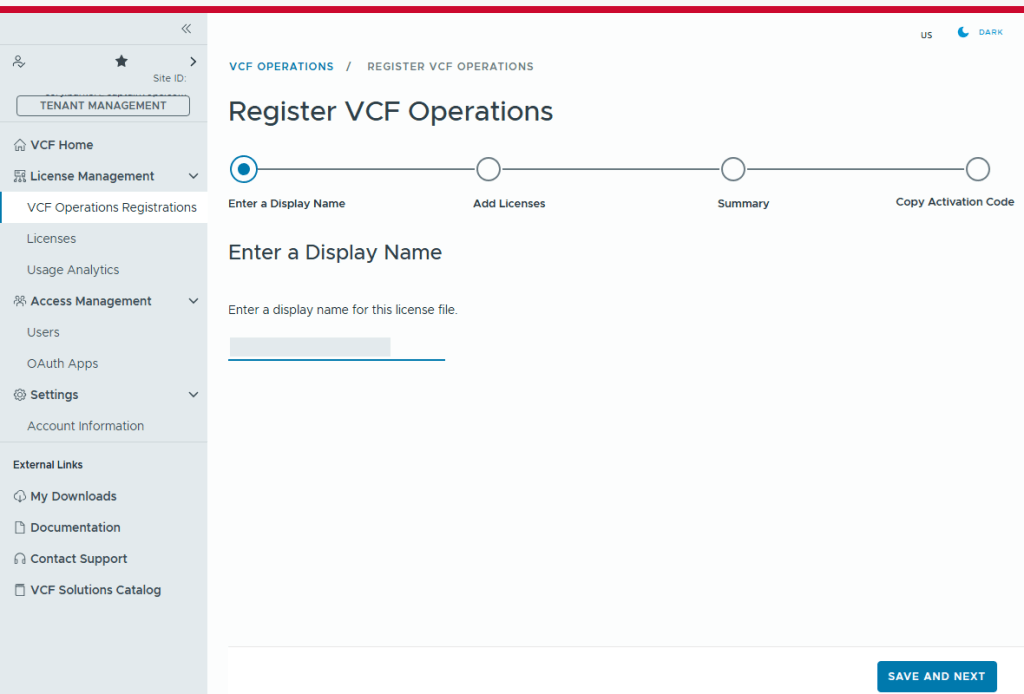
You’ll need to enter a display name for this license file. It could be representative of the environment where used.

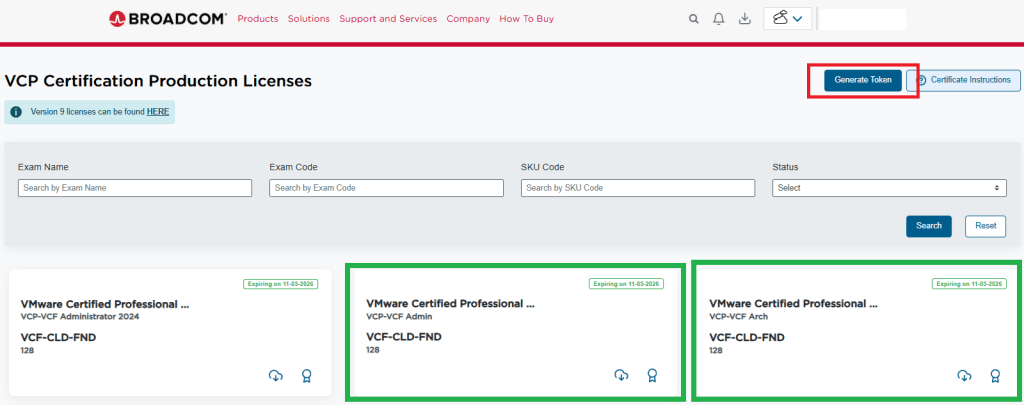
Select the licenses needed for the environment..

Validate the selection.

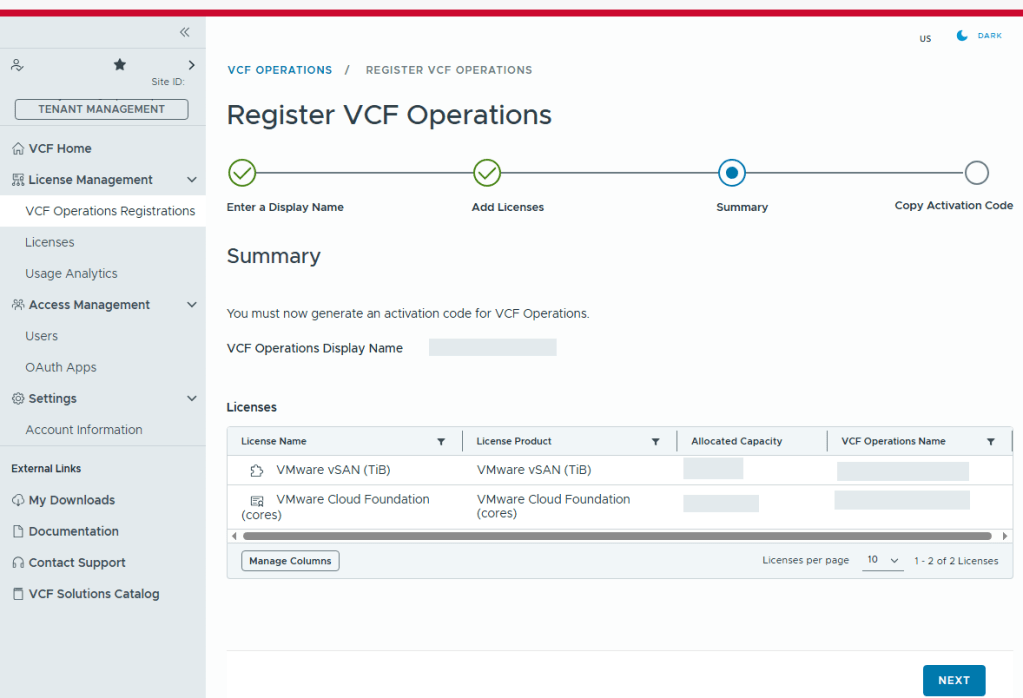
Now we just need to copy the activation code.

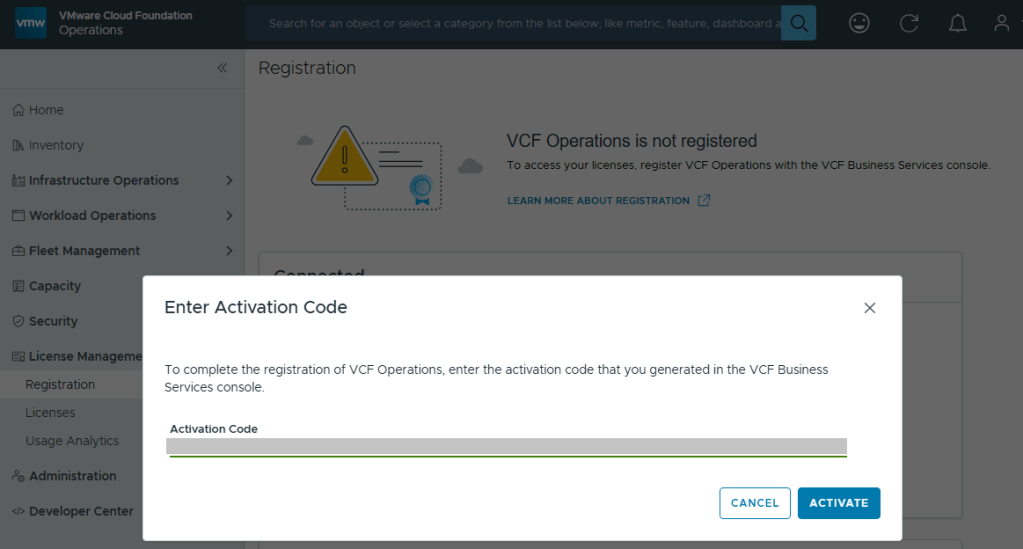
Back in VCF Operations, we now click the [ENTER ACTIVATION CODE] button to paste in the code.

With your Activation Code ready, now you can activate.

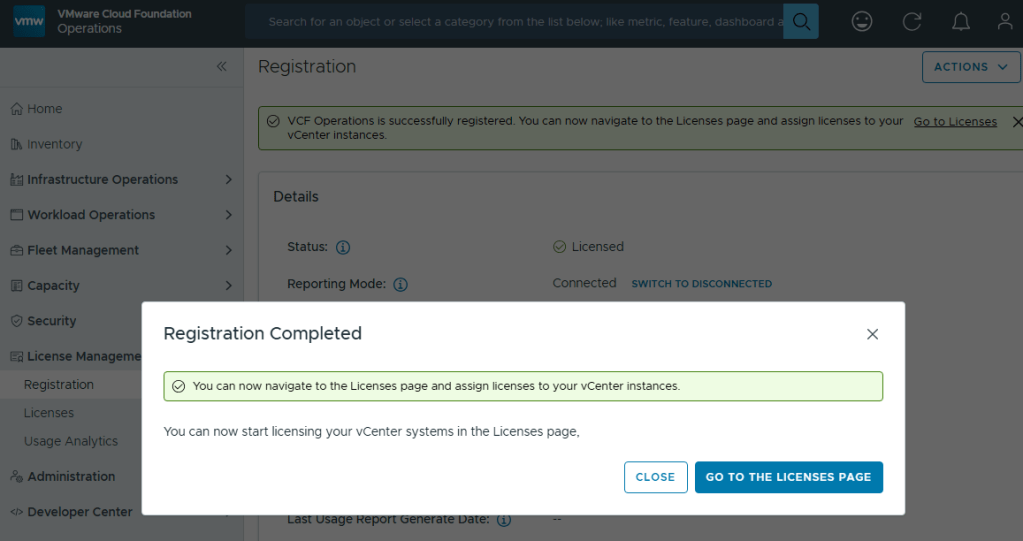
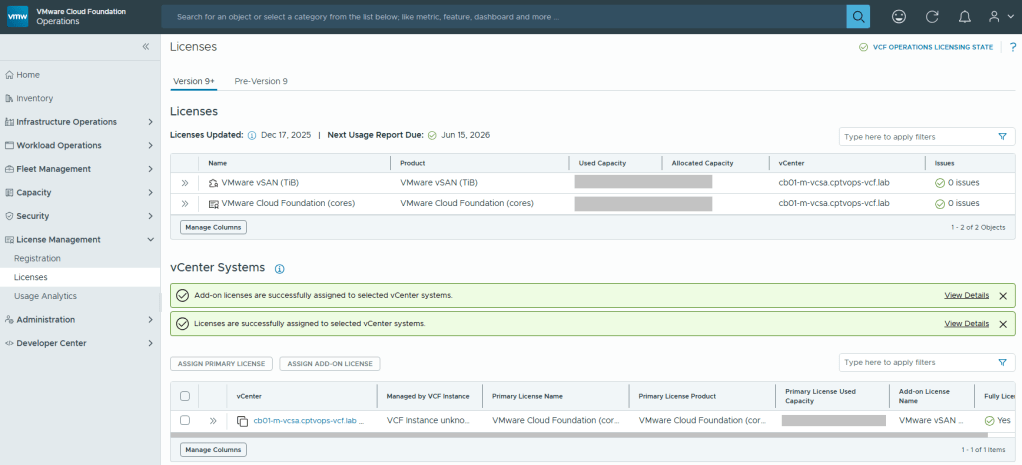
Now your licenses will be available to apply to vCenter (PRIMARY LICENSE) and vSAN (ADD-ON LICENSE).

But wait… There’s More!

I am rather surprised that we have to apply the download token twice considering it’s a requirement to download the bits for the installation, especially in a world where we are constantly striving to automate all the things. Maybe Broadcom’s VCF Engineering division just overlooked this simple quality of life automation task to copy said download Token from the Cloud Installer, and import it to VCF Operations?

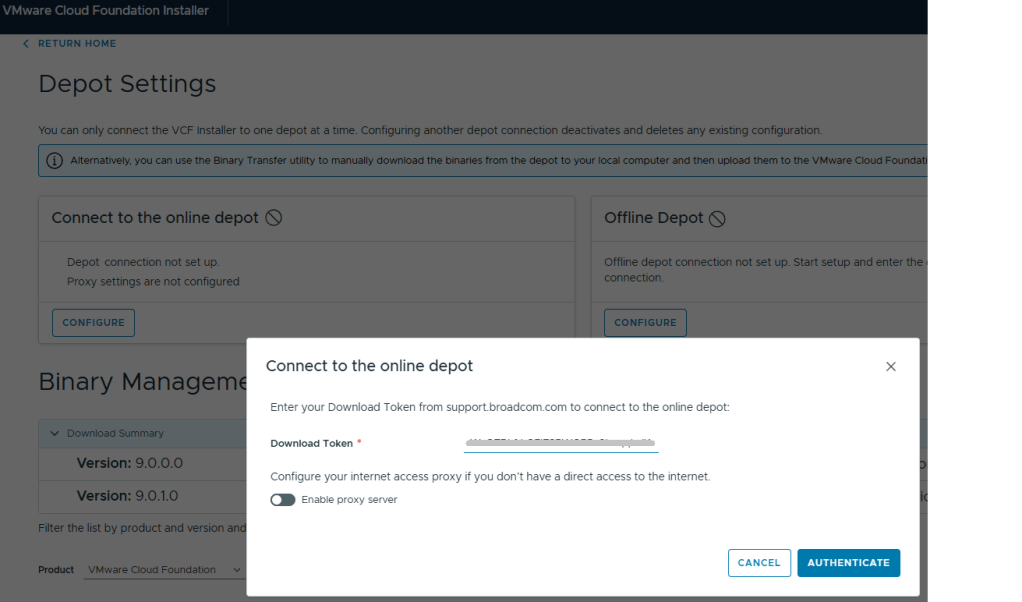
You’ll want to add your download token again to VCF Operations:
Fleet Management ->Lifecycle ->Depot Configuration

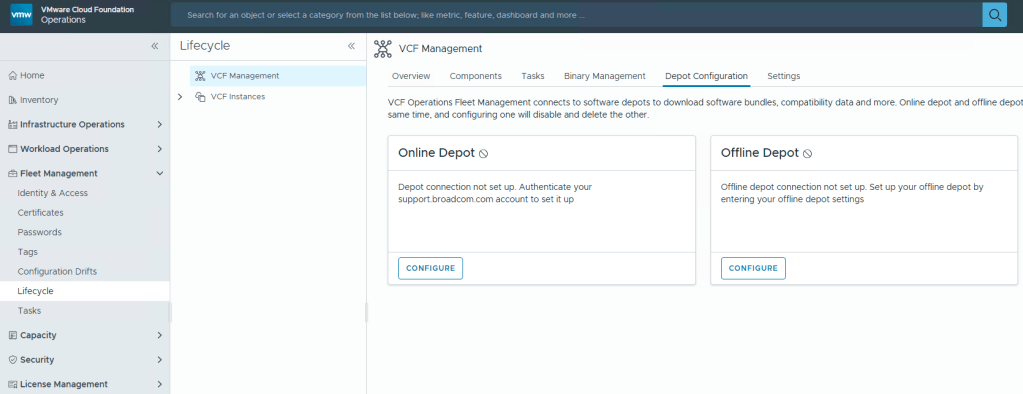
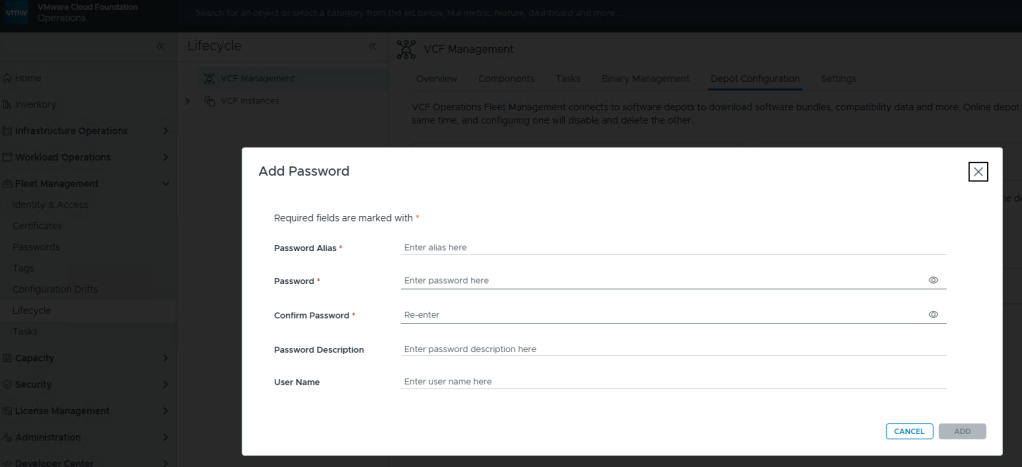
This looks oddly familiar for creating a credential file for VCF (Aria) Operations Integration. Click the plus icon.

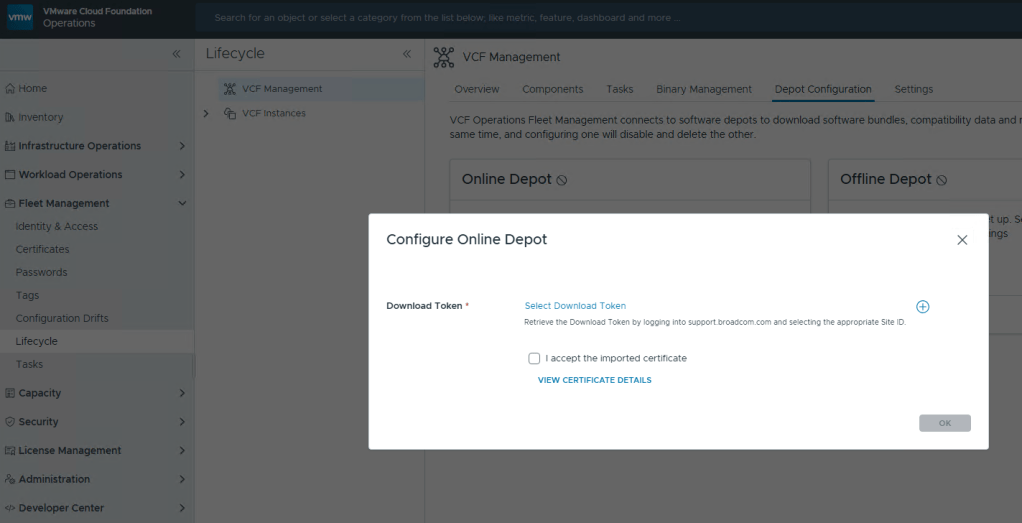
Well that’s… disappointing.

I fixed it for you, Broadcom.

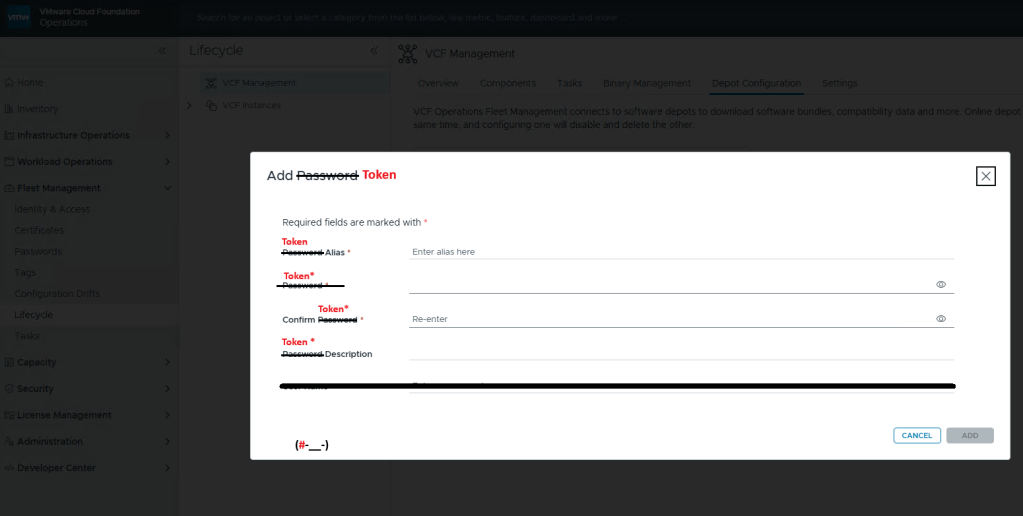
Just like you would create a credential file, here you add your download token where you’d add your password, and click [ADD].

Now just select your Download Token and click [OK].

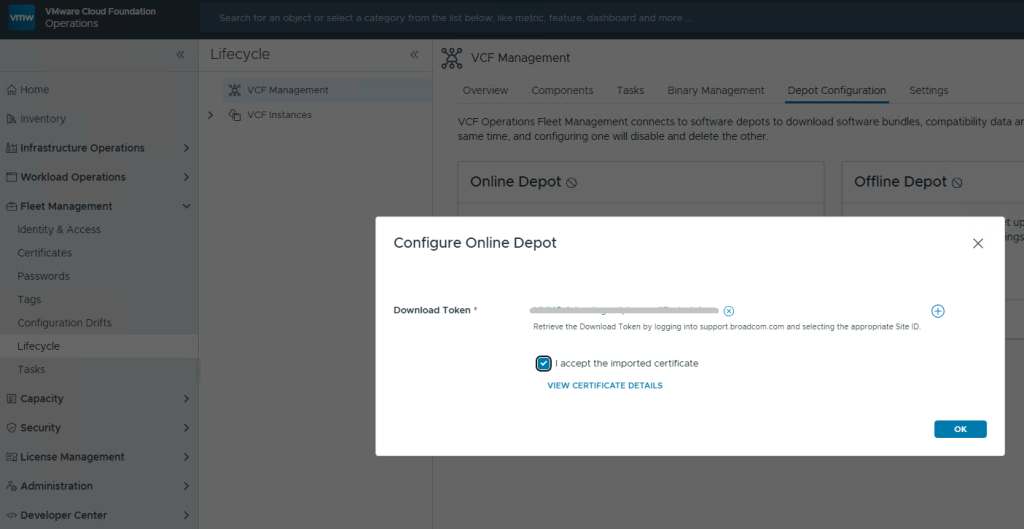
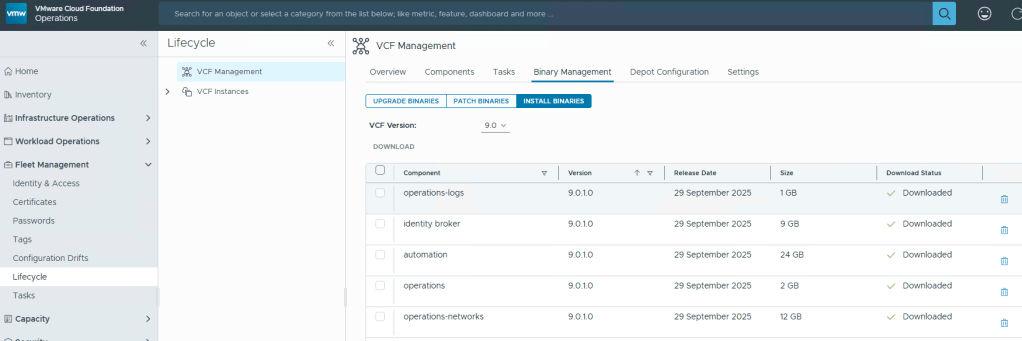
Now you can download your VCF Fleet (Aria) bits.

VMware Cloud Foundation Home Lab – Part 5 (Cloud Foundation Installer Password Requirements)

Blog Date: December 2025

In my previous blog VMware Cloud Foundation Home Lab – Part 4 (VCF Installer with VMUG Advantage Download Token), I walked through the process of getting the Cloud Installer connected to the Online Depot using the Download Token for VMUG Advantage Members.

In this blog, I’ll go over the basic deployment of the VMware Cloud Foundation Installer appliance (formally VCF Cloud Builder) OVA, because there’s a new ‘feature’ that will trip you up if you’re not careful.

We’ve all installed OVAs before, but for the Cloud Foundation Installer OVA, there was something that I wanted to call out.

Specifically, when you’re deploying the OVA, be mindful of the new password requirements as they have changed. Previous versions of VCF through VCF 5.x, did not require a 15 character password. Apparently the quality control folks over in the VCF Division at Broadcom also forgot about this, because you can enter an 8 character passwords here, and the OVA deployment will continue as normal.

Why does this matter, well if we fast forward here a little bit, and get to where we are in the VMware Cloud Foundation deployment wizard on Step 11, you are again asked for the Administrator Password (local user). If you did not use at least a 15 character password during the OVA deployment, the wizard when you click [NEXT] will state that the Administrator password is incorrect . It doesn’t warn you that it is too short. So after a couple of tries, you will get kicked out of the wizard and back to the Cloud Foundation Installer login page, unable to log in because the local user (admin account) is now locked… I first observed this behavior during a customer deployment of 9.0, and found that the ‘feature’ is still there in the 9.0.1 I deployed for my home lab.

If you do find yourself in this situation, the admin@local account unlock procedure is straight forward, and Broadcom has a KB (Article ID: 403316) on how-to:
How to unlock the admin@local account on VMware Cloud Foundation Installer 9.0

If you need to reset the password for the admin@local account, Broadcom has a KB (Article ID: 403099) for that too:
How to Reset the Admin@local password in SDDC Manager

(#-__-)

VMware Cloud Foundation Home Lab – Part 4 (VCF Installer with VMUG Advantage Download Token)

Blog Date: December 2025

One of the things that I had been waiting for were the VMware Cloud Foundation 9 subscription licenses for VMUG Advantage members and the vExpert community of bloggers and SMEs. VMUG Advantage Home Lab License Guide During the week of November 17th, it was announced that the download tokens are now available for the VMUG Advantage Members who passed their VCF 9 certifications.

This post assumes that you have already deployed the VCF Installer, and are ready to get those VCF 9 bits downloaded to your home lab like a typical production environment would.

  1. Your VMUG Advantage account email has to be the same as the one that you use with your VMware by Broadcom certifications.
  2. To access your VMUG Advantage VCF or VVF entitlements go here and log in: https://support.broadcom.com/group/ecx/alpine-certificate
  3. After you authenticate, there’s a good chance that your session has been redirected to the Broadcom Support Portal. Past the above URL back into your browser and hit enter…
  4. You should have now arrived at the special VMUG Advantage portal and see the VCF Certification Production Licenses in the upper left of the screen like so:

I have already requested my licences for VCF, and thus have a badge and a cloud download button on the green highlighted boxes. If you do not see those, then you would see a blue request license button. This post assumes you already have done this.

5. In the top right of the window, you see a blue “Generate Token” button. Click it.
6. On the next screen, you should see the download token needed for the VCF Installer. Copy it.

7. Log into the VCF installer appliance.
8. Go into Depot Settings, and click ‘Configure’ on the Connect to the online depot.
9. Paste the download token and click the blue ‘Authenticate’ button.

10. Assuming your VCF Installer can reach the internet and depot, a connection will be established.
11. In this example, I want to download the Product “VMware Cloud Foundation” and Version “9.0.1.0”.
12. Select all the bits desired for download, and then click the ‘DOWNLOAD’ link.

VMware by Broadcom has made this process more difficult. All of the required bits for installation used to be included with the Cloud Builder appliance that was available for VCF 5 and older versions. Now there’s an extra step to download the bits, but I’m sure that was a feature of the required download token. More complexity.

VMware Cloud Foundation Home Lab – Part 3 (ESX Host Prep)

Blog Date: December 2025

In this post I’ll cover the basic ESX host prep needed for VMware Cloud Foundation. This post assumes that ESX 9 has already been installed. This post also assumes these are brand new hosts that have not been used for vsan before.

Configure the ESX Host basic network settings via the DCUI

  1. Open the DCUI of the ESX host.
    1. Open a console window to the host.
    2. Press F2 to enter the DCUI.
    3. Log in using the esx_root_user_password.
  2. Configure the network.
    1. Select Configure Management Network and press Enter.
    2. Select VLAN (Optional) and press Enter.
    3. Enter the VLAN ID for the ESX Management Network and press Enter.
    4. Select IPv4 Configuration and press Enter.
    5. Select Set static IPv4 address and network configuration and press the Space bar.
    6. Enter the IPv4 Address, Subnet Mask and Default Gateway and press Enter.
    7. Here I would also disable IPv6 if not in use.
    8. Select DNS Configuration and press Enter.
    9. Select Use the following DNS Server address and hostname and press the Space bar.
    10. Enter the Primary DNS Server, Alternate DNS Server and Hostname (FQDN) and press Enter.
    11. Select Custom DNS Suffixes and press Enter.
    12. Ensure that there are no suffixes listed and press Enter.
  3. Press Escape to exit and press Y to confirm the changes.
  4. Reboot the host.
  5. Repeat this procedure for all remaining hosts.

Configure the Virtual Machine port group on the standard switch

  1. In a web browser, log in to the ESX host using the VMware Host Client.
  2. Click OK to join the Customer Experience Improvement Program.
  3. Configure a VLAN for the VM Network port group.
    1. In the navigation pane, click Networking.
    2. Click the Port groups tab, select the VM network port group, and click Edit Settings.
    3. On the Edit port group – VM network page, enter the VM Management Network VLAN ID, and click Save.
  4. Repeat this procedure for all remaining hosts.

Configure NTP on the Host(s)

  1. In a web browser, log in to the ESX host using the VMware Host Client.
  2. Configure and start the NTP service.
    1. In the navigation pane, click Manage, and click the System tab.
    2. Click Time & date and click Edit NTP Settings.
    3. On the Edit NTP Settings page, select the Use Network Time Protocol (enable NTP client) radio button, and change the NTP service startup policy to Start and stop with host.
    4. In the NTP servers text box, enter the NTP Server FQDN or IP Address, and click Save.
    5. Click the Services tab, select ntpd, and click Start.
  3. Repeat this procedure for all remaining hosts.

Regenerate Self-Signed Certificate on ESX Hosts.

  1. In a web browser, log in to the ESX host using the VMware Host Client.
  2. In the Actions menu, click ServicesEnable Secure Shell (SSH).
  3. Log in to the ESX host using an SSH client such as Putty.
  4. Regenerate the self-signed certificate by executing the following command:
    #: /sbin/generate-certificates
  5. Reboot the ESX host.
  6. Log back in to the VMware Host Client and click ServicesDisable Secure Shell (SSH) from the Actions menu.
  7. Repeat this procedure for all remaining hosts.

I don’t know why, but every customer engagement that I have been on, these steps get overlooked. This is probably the simplest part to preparing your data center for VCF. VMware by Broadcom also has documentation with these exact steps located here: Preparing ESX Hosts for VMware Cloud Foundation or vSphere Foundation