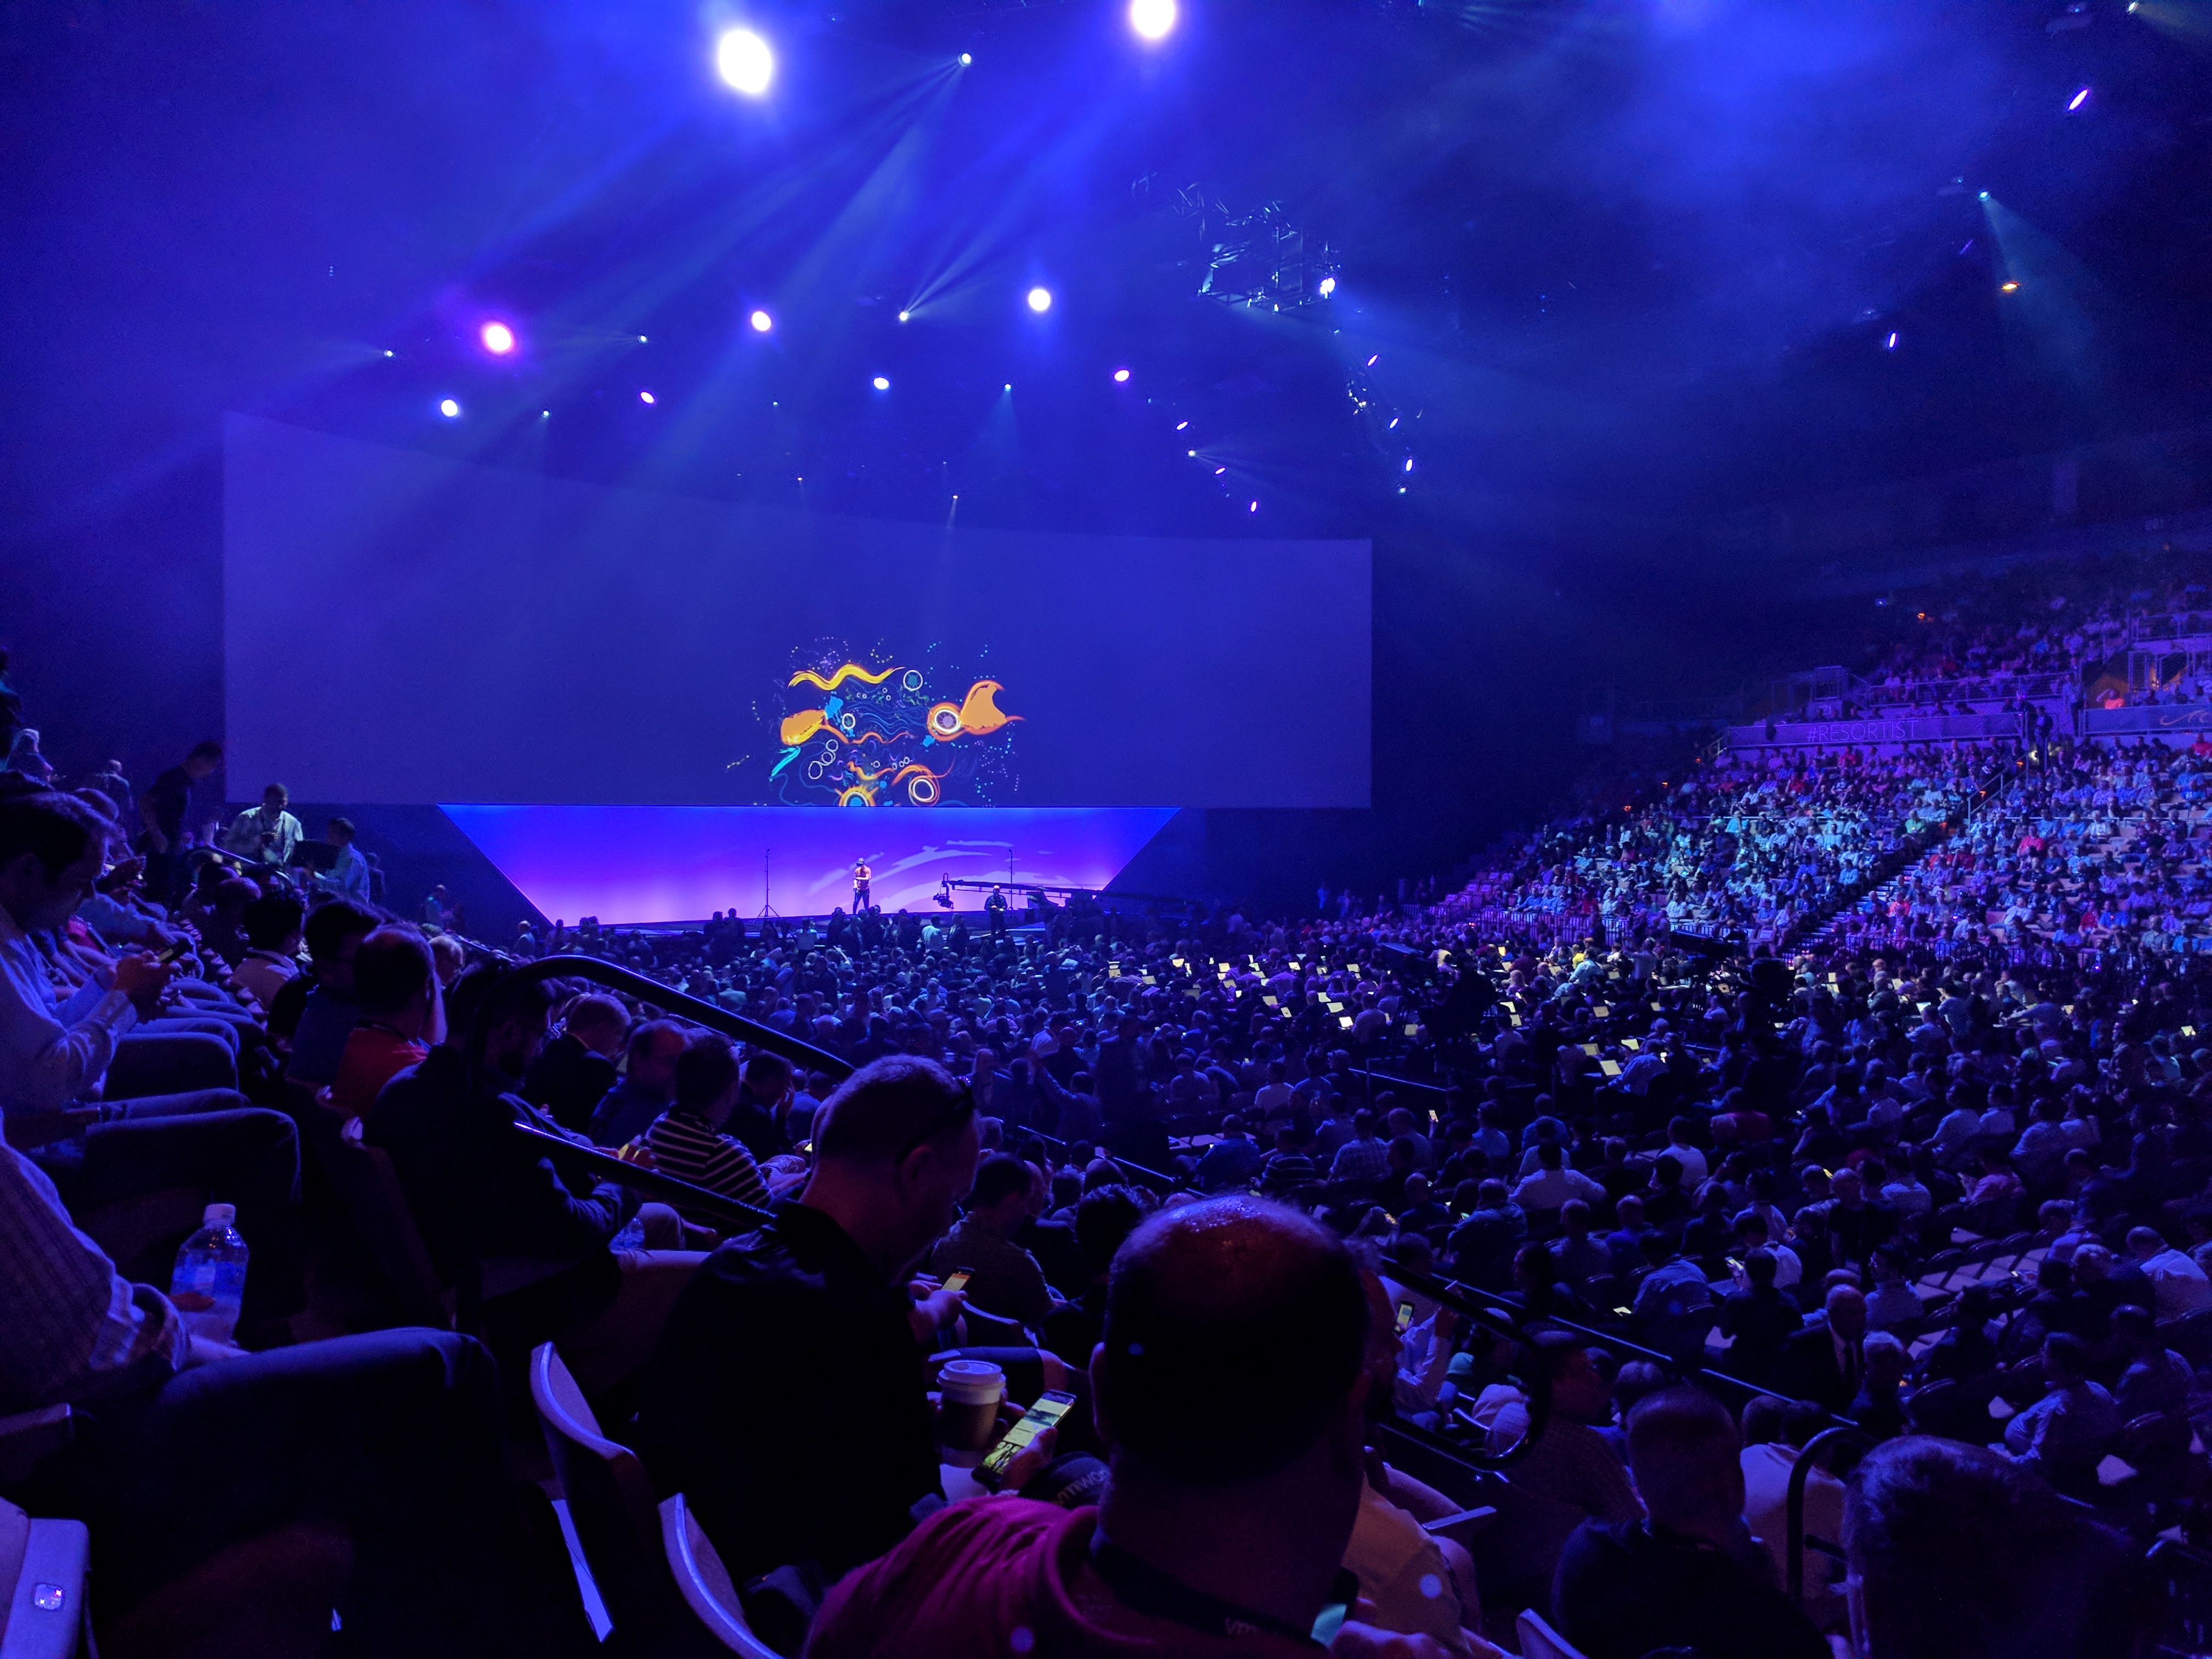
It’s that time of year again, time for VMworld in Las Vegas. I will make every attempt at updating my blog throughout the week. See you there!
Author: CaptainvOPs
Upgrading NSX from 6.2.4 to 6.2.8 In a vCloud Director 8.10.1 Environment
We use NSX to serve up the edges in vCloud Director environment currently running on 8.10.1. One of the important caveats to note here, that when you do upgrade an NSX 6.2.4 appliance in this configuration, you will no longer be able to redeploy the edges in vCD until you upgrade and redeploy the edge first in NSX. Then and only then will the subsequent redeploys in vCD work. The cool thing about that though, is VMware finally has a decent error message that displays in vCD if you do try to redeploy an edge before upgrading it in NSX, you’d see an error message similar to:
—————————————————————————————————————–
“[ 5109dc83-4e64-4c1b-940b-35888affeb23] Cannot redeploy edge gateway (urn:uuid:abd0ae80) com.vmware.vcloud.fabric.nsm.error.VsmException: VSM response error (10220): Appliance has to be upgraded before performing any configuration change.”
—————————————————————————————————————–
Now we get to the fun part – The Upgrade…
A little prep work goes a long way:
- If you have a support contract with VMware, I HIGHLY RECOMMEND opening a support request with VMware, and detail with GSS your upgrade plans, along with the date of the upgrade. This allows VMware to have a resource available in case the upgrade goes sideways.
- Make a clone of the appliance in case you need to revert (keep powered off)
- Set host clusters DRS where vCloud Director environment/cloud VMs are to manual (keeps VMs/edges stationed in place during upgrade)
- Disable HA
- Do a manual backup of NSX manager in the appliance UI
Shutdown the vCloud Director Cell service
- It is highly advisable to stop the vcd service on each of the cells in order to prevent clients in vCloud Director from making changes during the scheduled outage/maintenance. SSH to each vcd cell and run the following in each console session:
# service vmware-vcd stop
- A good rule of thumb is to now check the status of each cell to make sure the service has been disabled. Run this command in each cell console session:
# service vmware-vcd status
- For more information on these commands, please visit the following VMware KB article: KB1026310
Upgrading the NSX appliance to 6.2.8
- Log into NSX manager and the vCenter client
- Navigate to Manage→ Upgrade

- Click ‘upgrade’ button
- Click the ‘Choose File’ button
- Browse to upgrade bundle and click open
- Click the ‘continue button’, the install bundle will be uploaded and installed.


- You will be prompted if you would like to enable SSH and join the customer improvement program
- Verify the upgrade version, and click the upgrade button.

- The upgrade process will automatically reboot the NSX manager vm in the background. Having the console up will show this. Don’t trust the ‘uptime’ displayed in the vCenter for the VM.
- Once the reboot has completed the GUI will come up quick but it will take a while for the NSX management services to change to the running state. Give the appliance 10 minutes or so to come back up, and take the time now to verify the NSX version. If using guest introspection, you should wait until the red flags/alerts clear on the hosts before proceeding.
- In the vSphere web client, make sure you see ‘Networking & Security’ on the left side. If it does not show up, you may need to ssh into the vCenter appliance and restart the web service. Otherwise continue to step 12.
# service vsphere-client restart
12. In the vsphere web client, go to Networking and Security -> Installation and select the Management Tab. You have the option to select your controllers and download a controller snapshot. Otherwise click the “Upgrade Available” link.

13. Click ‘Yes’ to upgrade the controllers. Sit back and relax. This part can take up to 30 minutes. You can click the page refresh in order to monitor progress of the upgrades on each controller.

14. Once the upgrade of the controllers has completed, ssh into each controller and run the following in the console to verify it indeed has connection back to the appliance
# show control-cluster status
15. On the ESXi hosts/blades in each chassis, I would run this command just as a sanity check to spot any NSX controller connection issues.
esxcli network ip connection list | grep 1234
- If all controllers are connected you should see something similar in your output

- If controllers are not in a healthy state, you may get something similar to this next image in your output. If this is the case, you can first try to reboot the controller. If that doesn’t work try a reboot. If that doesn’t work…..weep in silence. Then call VMware using the SR I strongly suggested creating before the upgrade, and GSS or your TAM can get you squared away.

16. Now in the vSphere web client, if you go back to Network & Security -> Installation -> Host Preparation, you will see that there in an upgrade available for the clusters. Depending on the size of your environment, you may choose to do the upgrade now or at a later time outside of the planned outage. Either way you would click on the target cluster ‘Upgrade Available’ link and select yes. Reboot one host at a time that way the vibs are installed in a controlled fashion. If you simply click resolve, the host will attempt to go into maintenance mode and reboot.
17. After the new vibs have been installed on each host, run the following command to be sure they have the new vib version:
# esxcli software vib list | grep -E 'esx-dvfiler|vsip|vxlan'
Start the vCloud Director Cell service
- On each cell run the following commands
To start:
# service vmware-vcd start
Check the status after :
# service vmware-vcd status
- Log into VCD and by now the inventory service should be syncing with the underlining vCenter. I would advise waiting for it to complete, then run some sanity checks (provision orgs, edges, upgrade edges, etc)
Performing A Database Health Check On vRealize Operation Manager (vROPS) 6.5
In a previous post I showed how you could perform a healthcheck, and possibly resolve database load issues in vROPs versions from 6.3 and older. When VMware released the vROPS 6.5, they changed the way you would access the nodetool utility that is available with cassandra database.
$VCOPS_BASE/cassandra/apache-cassandra-2.1.8/bin/nodetool --port 9008 status
For the 6.5 release and newer, they added the requirement of using a ‘maintenanceAdmin’ user along with a password file. The new command to check the load status of the activity tables in a vROPS 6.5+ is as follows:
$VCOPS_BASE/cassandra/apache-cassandra-2.1.8/bin/nodetool -p 9008 --ssl -u maintenanceAdmin --password-file /usr/lib/vmware-vcops/user/conf/jmxremote.password status
Example output would be something similar to this if your cluster is in a healthy state:

If any of the nodes have over 600 MB of load, you should consult with VMware GSS or a TAM on the next steps to take, and how to elevate the load issues.
Next we can check the syncing status of the cluster to determine overall health. The command is as follows:
$VMWARE_PYTHON_BIN/usr/lib/vmware-vcops/tools/vrops-platform-cli/vrops-platform-cli.py getShardStateMappingInfo
Example output:

The “vRealize Ops Shard” refers to the data nodes, and the Master and Master Replica nodes in the main cluster. The available status’ are RUNNING, SYNCING, BALANCING, OUT_OF_BALANCE, and OUT_OF_SYNC.
- Out of Balance and Out of Sync should be enough to open an SR and have VMware take a look.
Lastly, we can take a look at the size of the activity table. You can do this by running the following command:
du -sh /storage/db/vcops/cassandra/data/globalpersistence/activity_tbl-*
Example Output:

If there are two listed here, you should consult with VMware GSS as to which one can safely be removed, as one would be left over from a previous upgrade.
Removing Old vROps Adapter Certificates
I’ve come across this issue in previous versions of vRealize Operations Manager prior to the 6.5 release, where you delete an adapter for data collection like vSphere, NSX or VCD, and immediately try to re-create it. Whether it was a timing issue, or vROps just didn’t successfully complete the deletion process, I’d typically get an error that the new adapter instance could not be created because a previous one exists with the same name. Now there are two ways around this. You can connect the adapter to whatever instance (VCD, NSX, vSphere) you are trying to collect data from using the IP address, instead of the FQDN (or vice-versa), or you can cleanup the certificate that was left behind manually as I will outline the steps below.
To resolve the issue, delete the existing certificate from Cassandra DB and accept the new certificate re-creating adapter instance.
1. Take snapshots of the cluster
2. SSH to the master node. Access the Cassandra DB by running the following command:
$VMWARE_PYTHON_BIN $VCOPS_BASE/cassandra/apache-cassandra-2.1.8/bin/cqlsh --ssl --cqlshrc $VCOPS_BASE/user/conf/cassandra/cqlshrc
3. Access the database by running the following command:
use globalpersistence;
4. We will need to look at the entries in the global persistence certificate store. To do this, first list all the entries in globalpersistence.certificate store by running the following command:
SELECT * from globalpersistence.certificate;
5. From the list, find the desired certificate. Now select that specific certificate with the following command:
SELECT * from globalpersistence.certificate where key = 'Certificate.<ThumbprintOfVCCert>' and classtype = 'certificate' ALLOW FILTERING;
For example:
SELECT * from globalpersistence.certificate where key = 'Certificate.e88b13c9e346633f94e46d2a74182d219a3c98b2' and classtype = 'certificate' ALLOW FILTERING;
6. The tables which contains the information:
namespace | classtype | key | blobvalue | strvalue | valuetype | version
——————-+—————+——-+—————–+————–+—————–+———
7. Select the Key which matches the Thumbprint of the Certificate you wish to remove and run the following command:
DELETE FROM globalpersistence.certificate where key = 'Certificate.<ThumbprintOfVCCert>' and classtype = 'certificate' and namespace = 'certificate';
For example:
DELETE FROM globalpersistence.certificate where key = 'Certificate.e88b13c9e346633f94e46d2a74182d219a3c98b2' and classtype = 'certificate' and namespace = 'certificate';
8. Verify that the Certificate has been removed from the VMware vRealize Operations Manager UI by navigating to:
Administration > Certificates
9. Click the Gear icon on the vSphere Solution to Configure.
10. Click the + icon to create an new instance. Do not remove the existing instance unless the data can be lost. If the old instance has already been deleted prior to this operation, then this warning can be ignored.
11. Click Test Connection and the new certificate will be imported.
12. Upon clicking Save there will be an error stating the Resource Key already exists. Ignore this and click Close and the UI will show Discard Changes?. Click Yes.
13. Upon clicking Certificates Tab the Certificate is shown for an existing VC Instance. Now you should have a new adapter configured and collecting. If you kept the old adapter for the data, it can safely be removed after the data retention period has expired.
Get VM Tools Version with VMware’s PowerCLI
I had an engineer visit me the other day asking if there was an automated way to get the current version of VMtools running for a set of virtual machines, and in this case, it was for a particular customer running in our vCenter. I said there most certainly was using PowerCLI.
Depending on the size of the environment, the first option here may be sufficient, although it can be an “expensive” query as I’ve noticed it takes longer to return results. Using PowerCLI, you can connect to the desired vCenter and run the following one-liner to get return output on the console. Here I was looking for a specific customer in vCloud Director, so in the vCenter I located the customers folder containing the VMs. Replace the ‘foldername’ inside the asterisks with the desired folder of VMs. This command would also work in a normal vCenter as well.
Get-Folder -name *foldername* | get-vm | get-vmguest | select VMName, ToolsVersion | FT -autosize
Example output:

You can see that this example that folder has a mix of virtual machines running, some not (no ToolsVersion value returned), and has a mix of VMtools versions running.
What if you just wanted a list of all virtual machines in the vCenter, the whole jungle?
Get-Datacenter -Name "datacentername" | get-vm | get-vmguest | select VMName, ToolsVersion | FT -autosize
In either case, if you want to redirect output to a CSV add the following to the end of the line
| export-csv -path "\path\to\file\filename.csv" -NoTypeInformation -UseCulture
Example:
Get-Folder -name *foldername* | get-vm | get-vmguest | select VMName, ToolsVersion | export-csv -path "\path\to\file\filename.csv" -NoTypeInformation -UseCulture
Another method/example of getting the tools version, and probably the fastest is using ‘Get-view’. A much longer string of command-lets, but this would be the ideal method for large environments if a quick return of data was needed, lets say for a nightly script that was least impactful to the vCenter.
Get-Folder -name *foldername* | Get-VM | % { get-view $_.id } | select name, @{Name=“ToolsVersion”; Expression={$_.config.tools.toolsversion}}, @{ Name=“ToolStatus”; Expression={$_.Guest.ToolsVersionStatus}}
Example Output:

If you are after a list of all virtual machines running in the vCenter, a command similar to this can be used:
Get-VM | % { get-view $_.id } | select name, @{Name=“ToolsVersion”; Expression={$_.config.tools.toolsversion}}, @{ Name=“ToolStatus”; Expression={$_.Guest.ToolsVersionStatus}}
VMware has put together a nice introductory blog on using get-view HERE
Just like last time, if you want to redirect output to a CSV file just take the following on to the end of the line for either method ie specific folder or entire vCenter:
| export-csv -path "\path\to\file\filename.csv" -NoTypeInformation -UseCulture
VMware Certified Professional 6 – Data Center Virtualization

I do apologies for being MIA these past couple of weeks. Anyone who has taken the VCP exam knows, it can be a brutal test to study for. I thought it best to keep my head down, and study hard so I can pass the VCP6-DCV exam on the first go around.
As I wait for VMware Education to finalize my records, I will be readying new material to share with my fellow virtualization geeks in the coming weeks ahead.
All the Best,
Cory B.
Shutdown and Startup Sequence for a vRealize Operations Manager Cluster
You ever hear the phrase “first one in, last one out”? That is the methodology you should use when the need arises to shutdown or startup a vRealize Operations Manager (vROps) cluster. The vROps master should always be the last node to be brought offline in vCenter, and the first node VM to be started in vCenter.
The proper shutdown sequence is as follows:
- FIRST: The data nodes
- SECOND: The master replica
- LAST: The master
The remote collectors can be brought down at any time. When shutting down the cluster, it is important to “bring the cluster offline”. Thing of this as a graceful shutdown of all the services in a controlled manor. You do this from the appliance admin page
1. Log into the admin ui…. https://<vrops-master>/admin/

2. Once logged into the admin UI, click the “Take Offline” button at the top. This will start the graceful shutdown of services running in the cluster. Depending on the cluster size, this can take some time.

3. Once the cluster reads offline, log into the vCenter where the cluster resides and begin shutting down the nodes, starting with the datanodes, master replica, and lastly the master. The remote collectors can be shutdown at any time.
4. When ready, open a VM console to the master VM and power it on. Watch the master power up until it reaches the following splash page example. It may take some time, and SUSE may be running a disk check on the VM. Don’t touch it if it is, just go get a coffee as this may take an hour to complete.
The proper startup sequence is as follows:
- FIRST: The master
- SECOND: The master replica
- LAST: The data nodes, remote collectors

5. Power on the master replica, and again wait for it to fully boot-up to the splash page example above. Then you can power on all remaining data nodes altogether.
6. Log into the admin ui…. https://<vrops-master>/admin/
7. Once logged in, all the nodes should have a status of offline and in a state of Not running before proceeding. If there are nodes with a status of not available, the node has not fully booted up.

8. Once all nodes are in the preferred state, bring the cluster online through the admin UI.
Alternatively…..
If there was a need to shutdown the cluster from the back-end using the same sequence, but you should always use the Admin UI when possible:
Proper shutdown:
- FIRST: The data nodes
- SECOND: The master replica
- LAST: The master
You would need to perform the following command to bring the slice offline. Each node is considered to be a slice. You would do this on each node.
# service vmware-vcops-web stop; service vmware-vcops-watchdog stop; service vmware-vcops stop; service vmware-casa stop
$VMWARE_PYTHON_BIN /usr/lib/vmware-vcopssuite/utilities/sliceConfiguration/bin/vcopsConfigureRoles.py --action=bringSliceOffline --offlineReason=troubleshooting
If there was a need to startup the cluster from the back-end using the same sequence, but you should always use the Admin UI when possible:
Proper startup:
- FIRST: The master
- SECOND: The master replica
- LAST: The data nodes, remote collectors
You would need to perform the following command to bring the slice online. Each node is considered to be a slice. You would do this on each node.
# $VMWARE_PYTHON_BIN $VCOPS_BASE/../vmware-vcopssuite/utilities/sliceConfiguration/bin/vcopsConfigureRoles.py --action bringSliceOnline
# service vmware-vcops-web start; service vmware-vcops-watchdog start; service vmware-vcops start; service vmware-casa start
If there is a need to check the status of the running services on vROps nodes, the following command can be used.
# service vmware-vcops-web status; service vmware-vcops-watchdog status; service vmware-vcops status; service vmware-casa status
Restarting Syslog Service on ESXi
Syslogs, we all use them in some form or another, and most places have their syslogs going to a collection server like Splunk or VMware’s own vRealize Log insight. In the event you have an alert configured that notifies you when an ESXi host has stopped sending syslogs to the logging server, or you get a “General System Error” when attempting to change the syslog.global.logdir configuration option on the ESXi host itself, you should open a secure shell to the ESXi server and investigate further.
1. Once a secure shell has been established with the ESXi host, check the config of the vmsyslogd service, and that the process is running by using the following command:
# esxcli system syslog config get
- If the process is running and configured, output received would be something similar to:
Default Network Retry Timeout: 180Local Log Output:/vmfs/volumes/559dae9e-675318ea-b724-901b0e223e18/logsLocal Log Output Is Configured:trueLocal Log Output Is Persistent:trueLocal Logging Default Rotation Size: 1024 Local Logging Default Rotations: 8Log To Unique Subdirectory:trueRemote Host: udp://logging-server.mydomain-int.net:514
2. If the process is up, look for the current syslog process with the following command:
# ps -Cc | grep vmsyslogd
3. If the service is running, the output received would be similar to the example below. If there is no output, then the vmsyslogd service is dead and needs to be started. Skip ahead to step 5 if this is the case.
132798531 132798531 vmsyslogd/bin/python-OO/usr/lib/vmware/vmsyslog/bin/vmsyslogd.pyo132798530 132798530 wdog-132798531/bin/python-OO/usr/lib/vmware/vmsyslog/bin/vmsyslogd.pyo
4. In this example, we would need to kill the vmsyslogd and wdog processes before we can restart the syslog daemon on the host.
# kill -9 132798530 # kill -9 132798531
5. To start the process issue the following command:
# /usr/lib/vmware/vmsyslog/bin/vmsyslogd
6. Verify that the process is correctly configured and running again.
# esxcli system syslog config get Default Network Retry Timeout: 180Local Log Output:/vmfs/volumes/559dae9e-675318ea-b724-901b0e223e18/logsLocal Log Output Is Configured:trueLocal Log Output Is Persistent:trueLocal Logging Default Rotation Size: 1024 Local Logging Default Rotations: 8Log To Unique Subdirectory:trueRemote Host: udp://logging-server.mydomain-int.net:514
7. Log into the syslog collection server and verify the ESXi host is now properly sending logs.
Creating, Listing and Removing VM Snapshots with PowerCLi and PowerShell
PowerCLi + PowerShell Method
-=Creating snapshots=-
Let’s say you are doing a maintenance, and need a quick way to snapshot certain VMs in the vCenter. The create_snapshot.ps1 PowerShell does just that, and it can be called from PowerCli.

- Open PowerCLi and connect to the desired vCenter

- From the directory that you have placed the create_snapshot.ps1 script, run the command and watch for output.
> .\create_snapshot.ps1 -vm <vm-name>,<vm-name> -name snapshot_name
Like so:

In vCenter recent tasks window, you’ll see something similar to:

-=Removing snapshots=-
Once you are ready to remove the snapshots, the remove_snapshot.ps1 PowerShell script does just that.

- Once you are logged into the vCenter through PowerCli like before, from the directory that you have placed the remove_snapshot.ps1 script, run the command and watch for output.
> .\remove_snapshot.ps1 -vm xx01-vmname,xx01-vmname -name snapshot_name
Like so:

In vCenter recent tasks window, you’ll see something similar to:

Those two PowerShell scripts can be found here:
create_snapshot.ps1 and remove_snapshot.ps1
_________________________________________________________________
PowerCLi Method
-=Creating snapshots=-
The PowerCLi New-Snapshot cmdlet allows the creation of snapshots in similar fashion, and there’s no need to call on a PowerShell script. However can be slower
> get-vm an01-jump-win1,an01-1-automate | new-snapshot -Name "cbtest" -Description "testing" -Quiesce -Memory

- If the VM is running and it has virtual tools installed, you can opt for a quiescent snapshot with –Quiesce parameter. This has the effect of saving the virtual disk in a consistent state.
- If the virtual machine is running, you can also elect to save the memory state as well with the –Memory parameter
- You can also
Keep in mind using these options increases the time required to take the snapshot, but it should put the virtual machine back in the exact state if you need to restore back to it.
-=Listing Snapshots=-
If you need to check the vCenter for any VM that contains snapshots, the get-snapshot cmdlet allows you to do that. You can also use cmdlets like format-list to make it easier to read.
> Get-vm | get-snapshot | format-list vm,name,created

Other options:
Description
Created
Quiesced
PowerState
VM
VMId
Parent
ParentSnapshotId
ParentSnapshot
Children
SizeMB
IsCurrent
IsReplaySupported
ExtensionData
Id
Name
Uid
-=Removing snapshots=-
The PowerCLi remove-snapshot cmdlet does just that, and used in combination with the get-snapshot cmdlet looks something like this.
> get-snapshot -name cbtest -VM an01-jump-win1,an01-1-automate | remove-snapshot -RunAsync -confirm:$false

- If you don’t want to be prompted, include –confirm:$False.
- Removing a snapshot can be a long process so you might want to take advantage of the –RunAsync parameter again.
- Some snapshots may have child snapshots if you are taking many during a maintenance, so you can also use –RemoveChildren to clean those up as well.
Failure Adding an Additional Node to vRealize Operations Manager Due to Expired Certificate
The Issue:
Unable to add additional nodes to cluster. This error happened while adding an additional data and remote collector. The cause ended up being a expired customer certificate, and surprisingly there was no noticeable mechanism such as a yellow warning banner in vROps UI to warn that a certificate had expired, or is about to expire.
Troubleshooting:
Log into the the new node being added, and tail the vcopsConfigureRoles.log
# tail -f /storage/vcops/log/vcopsConfigureRoles.log
You would see entries similar to:
2016-08-10 00:11:56,254 [22575] - root - WARNING - vc_ops_utilities - runHttpRequest - Open URL: 'https://localhost/casa/deployment/cluster/join?admin=172.22.3.14' returned reason: [SSL: CERTIFICATE_VERIFY_FAILED] certificate verify failed (_ssl.c:581), exception: 2016-08-10 00:11:56,254 [22575] - root - DEBUG - vcopsConfigureRoles - joinSliceToCasaCluster - Add slice to CaSA cluster response code: 9000 2016-08-10 00:11:56,254 [22575] - root - DEBUG - vcopsConfigureRoles - joinSliceToCasaCluster - Expected response code not found. Sleep and retry. 0 2016-08-10 00:12:01,259 [22575] - root - INFO - vcopsConfigureRoles - joinSliceToCasaCluster - Add Cluster to slice response code: 9000 2016-08-10 00:12:01,259 [22575] - root - INFO - vc_ops_logging - logInfo - Remove lock file: /usr/lib/vmware-vcopssuite/utilities/sliceConfiguration/conf/vcops-configureRoles.lck 2016-08-10 00:12:01,259 [22575] - root - DEBUG - vcopsPlatformCommon - programExit - Role State File to Update: '/usr/lib/vmware-vcopssuite/utilities/sliceConfiguration/data/roleState.properties' 2016-08-10 00:12:01,260 [22575] - root - DEBUG - vcopsPlatformCommon - UpdateDictionaryValue - Update section: "generalSettings" key: "failureDetected" with value: "true" file: "/usr/lib/vmware-vcopssuite/utilities/sliceConfiguration/data/roleState.properties" 2016-08-10 00:12:01,260 [22575] - root - DEBUG - vcopsPlatformCommon - loadConfigFile - Loading config file "/usr/lib/vmware-vcopssuite/utilities/sliceConfiguration/data/roleState.properties" 2016-08-10 00:12:01,261 [22575] - root - DEBUG - vcopsPlatformCommon - copyPermissionsAndOwner - Updating file permissions of '/usr/lib/vmware-vcopssuite/utilities/sliceConfiguration/data/roleState.properties.new' from 100644 to 100660 2016-08-10 00:12:01,261 [22575] - root - DEBUG - vcopsPlatformCommon - copyPermissionsAndOwner - Updating file ownership of '/usr/lib/vmware-vcopssuite/utilities/sliceConfiguration/data/roleState.properties.new' from 1000/1003 to 1000/1003 2016-08-10 00:12:01,261 [22575] - root - DEBUG - vcopsPlatformCommon - UpdateDictionaryValue - The key: failureDetected was updated 2016-08-10 00:12:01,261 [22575] - root - DEBUG - vcopsPlatformCommon - programExit - Updated failure detected to true 2016-08-10 00:12:01,261 [22575] - root - INFO - vcopsPlatformCommon - programExit - Exiting with exit code: 1, Add slice to CaSA Cluster failed. Response code: 9000. Expected: 200
Resolution:
Step #1
Take snapshot of all vROps nodes
Step #2
Revert back to VMware’s default certificate on all nodes using the following kb article. KB2144949
Step #3
The custom cert files that need to be renamed on the nodes are located at /storage/vcops/user/conf/ssl. This should be completed on all nodes. Alternatively, you can remove them, but renaming them is sufficient.
# mv customCert.pem customCert.pem.BAK
# mv customChain.pem customChain.pem.BAK
# mv customKey.pem customKey.pem.BAK
# mv uploaded_cert.pem uploaded_cert.pem.BAK
Step #4
Now attempt to add the new node again. From the master node, you can watch the installation of the new node by tailing the casa.log
# tail -f /storage/vcops/log/casa/casa.log
Delete the snapshots as soon as possible.
- To add a new custom certificate to the vRealize Operations Manager, follow this KB article: KB2046591
_________________________________________________________________
Alternative Solutions
- There could be an old management pak installed that was meant for an older version of vROps. This has been know to cause failures. Follow this KB for more information: KB2119769
- If you are attempting to add a node to the cluster using an IP address previously used, the operation may fail. Follow this KB for more information: KB2147076
You must be logged in to post a comment.