Cloud Engineer experienced in the VMware stack. Thought I'd empty out my evernote and create a blog with all of my notes I've collected over the years.
Since I’ve been on this Professional Services path, as a sub contractor for VMware, I’ve normally been pretty busy. In fact, the majority of last year I spent on the road visiting customers, and so my Monday through Thursday was spent away from home. This made it incredibly difficult to find the motivation to continue my education. This year I’m making use of all the home time during the pandemic to level up. I really love working from home!
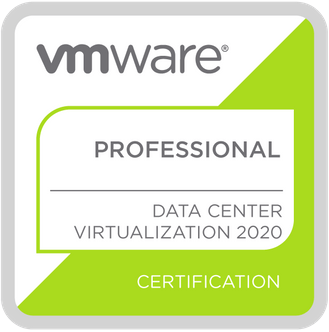
In May 2020 I was able to re-certify and pass the VMware Data Center Virtualization Exam for 2020. I spent weeks on prep, and it paid off as I scored 357 out of 300. This was also my first certification at home, rather than going to a testing center.
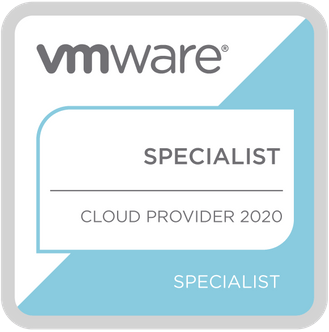
In July 2020, I decided to go after my first VMware Specialist class certification – Cloud Provider 2020. This certification centers around VMware Cloud Director, and its associated components VMware Cloud Availability and NSX. I’m no longer in the VMware Cloud Provider space, however that’s really where I cut my teeth on VMware technologies, and spent 2014 to 2018 designing, deploying, managing and upgrading five different vCloud Director based cloud environments. I’ve been told that this is a rare skill in VMware’s Professional Services, and have been able to work on a few vCD engagements for VMware as a result, so I felt it was important to have this. Oddly enough assignments I’ve had were not with Cloud Providers, but I’ve gotten to see some pretty unique ways the platform is used outside that space.
I am focusing on prepping for the vSphere VCAP design and deploy certifications. This Cloud Provider specialist cert was a nice distraction. I also have a class scheduled for NSX-T in the fall as I hope to get certified on VCP-NV 2020 as well. I might try and go for the vROps specialist exam this year too, but I really want to get at least one VCAP out of the way first.
Update 11/18/2020
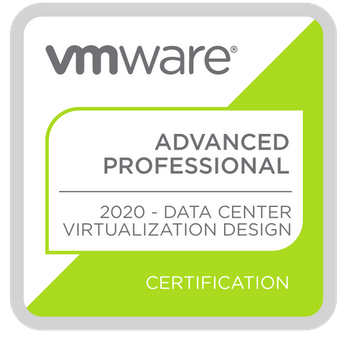
I forgot to post here, but in August I finally completed my certification for the VMware Advanced Professional – Data Center Design 2020.
I was hoping that the VCAP- Deploy 2020 would also be made virtual, but I will have to schedule something at a testing facility.
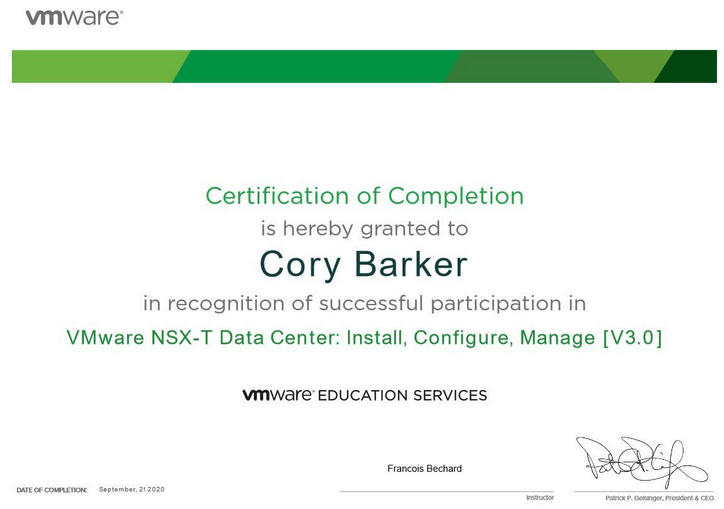
I was able to attend a NSX-T 3.0 Data Center: Install, Configure, Manage course. However the week that I scheduled it, my customer had an outage, so I wasn’t able to focus 100% on this.
I was also able to take an NSX-T 3.0 live fire course, but this too came second to my customer’s needs. Such is Professional Services life I suppose. I was hoping to get the NSX cert this year, but it’s looking like I will need to push that off until 2021.
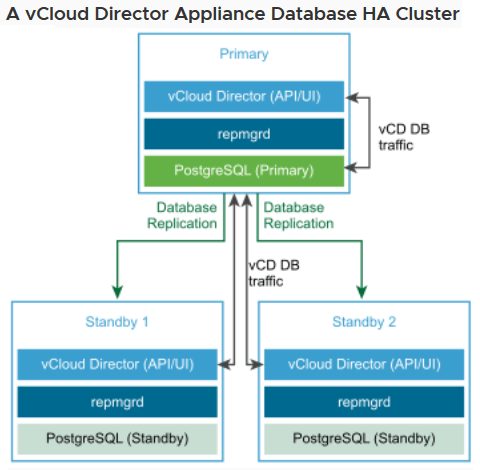
In my last blog, I walked through the process of Deploying the vCloud Director Appliance v10, and today’s blog will feature the process of deploying two additional standby appliances to create an HA database configuration for vCD. To get an idea of what that architecture would look like, I’ll rip this excellent diagram from VMware’s own documentation.
Deploying additional appliances are pretty straight forward, so lets get started.
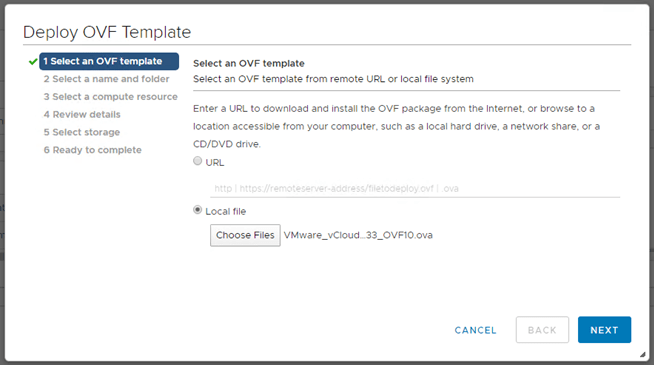
1 – Find and upload the OVF for vCD.
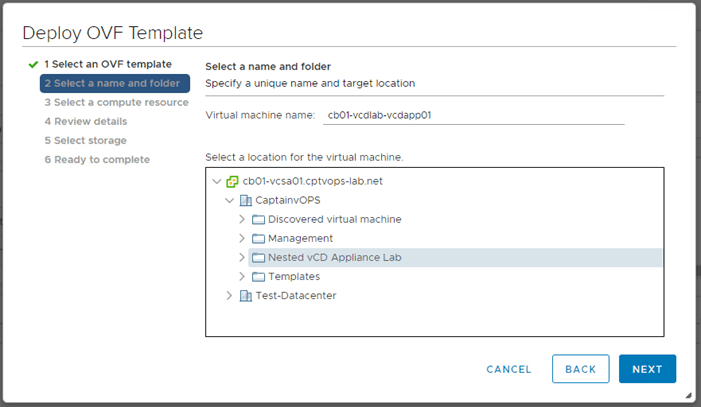
2 – Name the VM, select the datacenter and virtual machine folder.
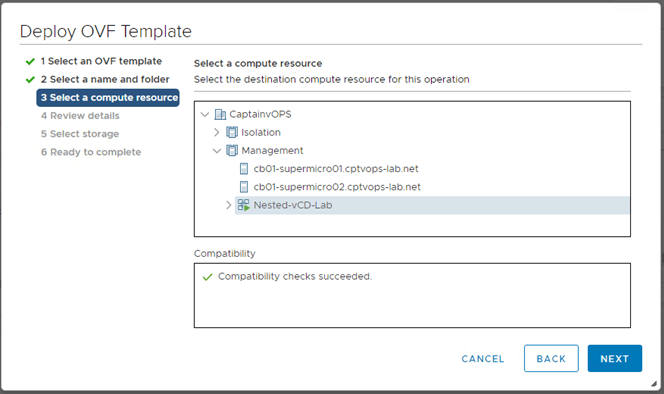
3 – Select the compute cluster
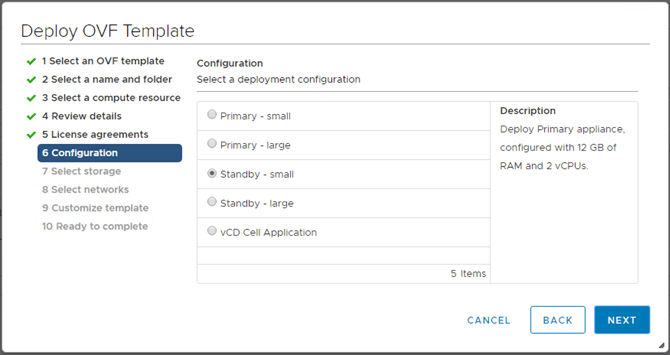
4 – The primary appliance has already been deployed. It is important to note that the same size standby appliance has to be deployed. Because our first primary appliance was deployed as small, so to shall the standby appliance. VMware’s sizing guide and be found here.
5 – Select desired storage disk format and storage where the appliance will reside.
6 – Configure the networks for each network interface, keeping in mind that they will be in reverse order as discussed before.
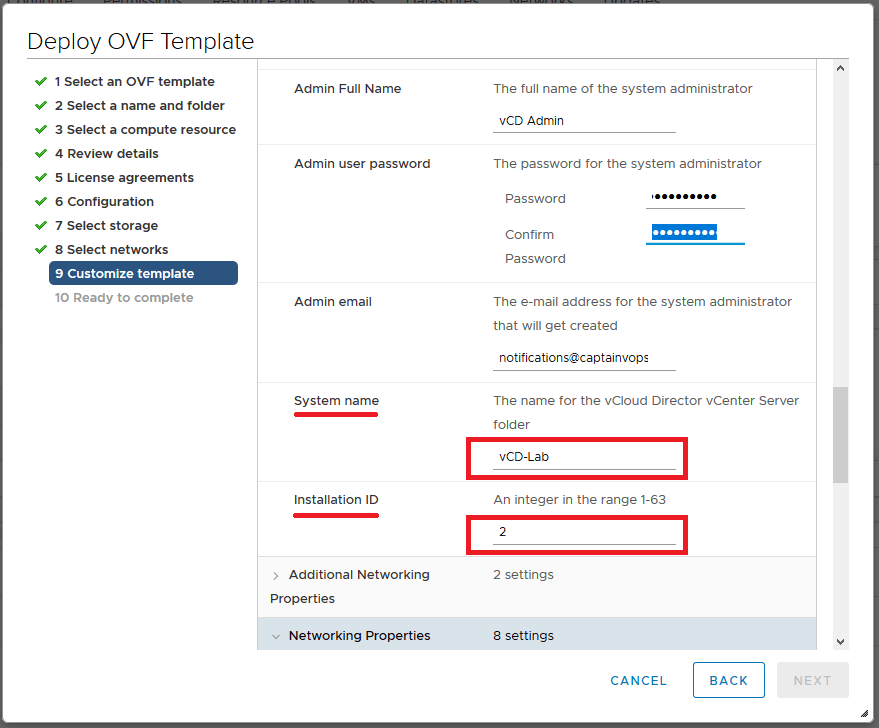
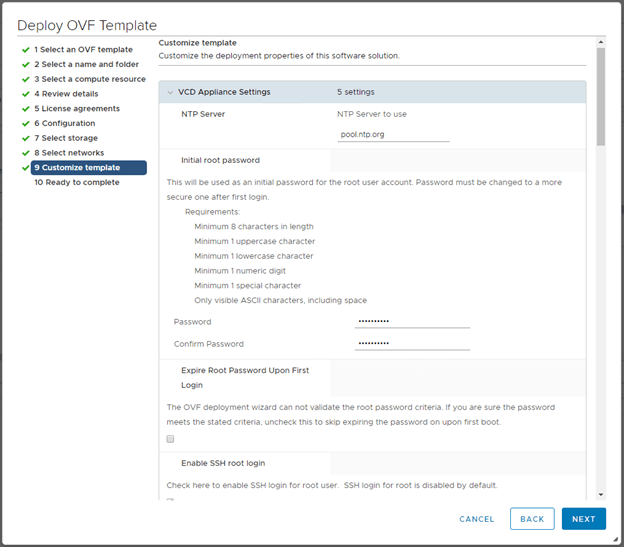
7 – Fill out the template customization page just like before. Remember all fields including the administrator email are required.
Note: – Be sure to use the same “System name” that was used for the original vCD primary appliance deployment. – For the “Installation ID” section, make sure this value reflects increases with the number of appliance being deployed. In this demonstration I am deploying the 2nd and 3rd appliances, so the installation IDs would be 2 and 3 respectively.
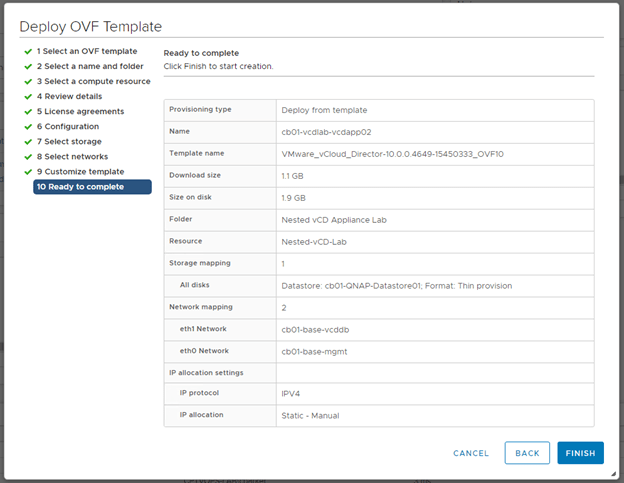
8 – On the summary page, verify the deployment and click finish.
9 – Before starting the appliance, it may be a good idea to take a snapshot. Once the appliance has been started, and the configuration scripts attempt to run and fail, the appliance will need to be redeployed. I’d also take a snapshot of the primary appliance, to roll back any failed attempts to join.
10 – Once you have started the appliance, watch for the “Guest OS Initialization Script”. This should take a couple of minutes to run in order to be successful. If it runs for less than 10 seconds, then there was a problem and the appliance will need to be redeployed.
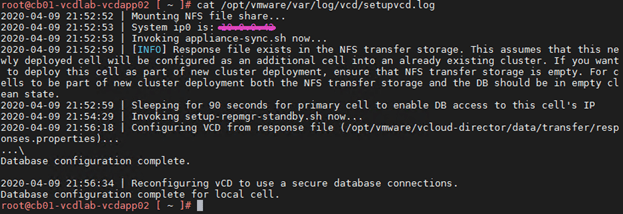
11 – After the appliance boots, look at the /opt/vmware/var/log/vcd/setupvcd.log to validate a successful cluster join. This log can also be used if the appliance deployment failed.
A successful join would look something like this:
12 – Now deploy the 3rd standby appliance using steps 1 through 11.
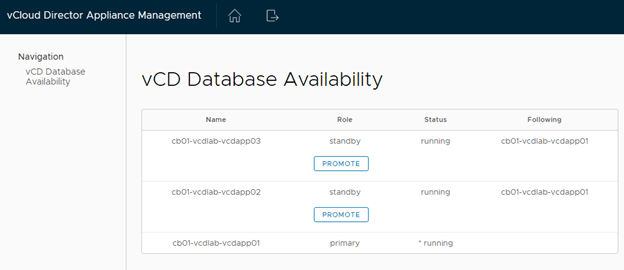
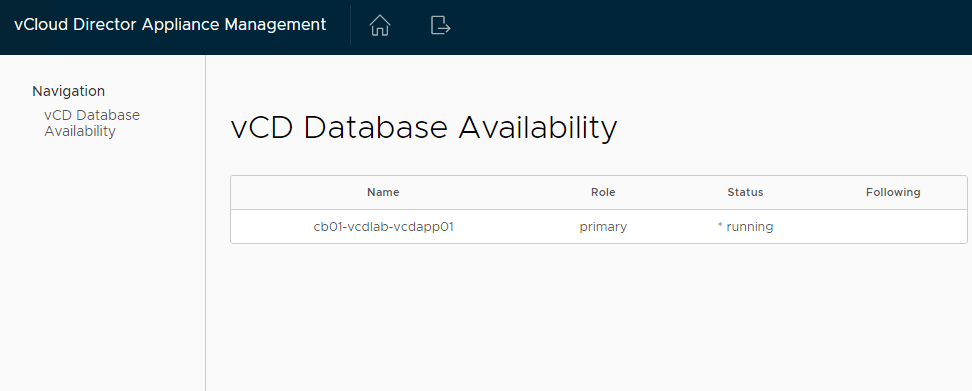
13 – Once the 3rd appliance has been deployed, it would be a good idea to log into the primary appliance’s 5480 page to validate the health of the new DB cluster.
15 – Here we can also see the state of the cloud cells.
End – I’ll finish this blog post here. In my next blog, I’ll walk through the steps of configuring the newly deployed vCloud Director environment. Stay tuned.
Prior to this blog post, blogged and walked through the steps of creating a NFS linux server using CentOS 7. You can find the link to that blog post here.
The VMware Cloud Director (vCD) platform is primarily used by service providers, as a cloud offering for their customers. Back when I worked for a service provider, the bulk of my experience came from the version 8.x days, when vCD was a software package to be installed on a Linux VM. Fast forward a few years, and I’ve started deploying vCD 9.7 and vCD 10 appliances for VMware customers, part of Professional Services engagements for VMware that I’ve been working on. Interestingly enough, both customers were not cloud providers, but had specific use cases that vCD achieved.
The vCD appliance deployment certainly is not as clean as other appliances like vCSA and vROps, and I’ve found there to be a few gotchas that can lead to a failed appliance deployment.
Deploying the vCD appliance
Like most appliance deployments, we’ll deploy an ovf template.
2. Name the virtual machine, and select desired deployment datacenter and VM folder location.
3. Select the desired compute location
4. Select the size of the appliance. As this is the first primary cell, select an option that contains “primary”. If you are deploying appliance cells two and three, then you’d select “standby” here if you are creating a cluster. The “vCD Cell Application” would be used for the fourth appliance. – You’ll also notice two different sizes: Small and Large. These will depend on your environment needs. VMware’s official sizing documentation can be found here.
5. Select desired storage disk format and storage where the appliance will reside.
6. We’ve arrived at the first gotcha: Selecting the network. This is the only ovf deployment I’ve seen that lists the NICs in reverse order. VMware states in their official documentation that “the source network list might be in reverse order. Verify that you are selecting the correct destination network for each source network.” I have yet to see the networks display in the proper order. VMware also states that eth0 and eth1 must be on separate networks in their documentation here. I’ve asked GSS but wasn’t given an answer why. I haven’t found an issue with both connections being on the same network, but for demonstration purposes we’ll do as the official documentation says. Note: I have noticed at least in my lab that the appliance uses eth1 to connect to the NFS server.
7. The second gotcha: Filling out the template customization page. It’s not indicated here that ALL fields are REQUIRED. Yes even the email address is a hard requirement, even though no other appliance deployment requires it.
8. On the summary page, verify the deployment and click finish.
9. Before starting the appliance, it may be a good idea to take a snapshot. Once the appliance has been started, and the configuration scripts attempt to run and fail, the appliance will need to be redeployed.
10. Once you have started the appliance, watch for the “Guest OS Initialization Script”. This should take a couple of minutes to run in order to be successful. If it runs for less than 10 seconds, then there was a problem and the appliance will need to be redeployed.
10a – If the appliance failed to deploy, log into the appliance as root, and look at the /opt/vmware/var/log/vcd/setupvcd.log for details.
10b – On a successful run, you’d see something similar to:
11 – On a successful deployment, log into the appliance 5480 page, and you should see something similar to:
12 – The primary appliance has successfully been deployed. If additional standby appliances are needed, now would be the best time to deploy them.
End – That’s it. In upcoming blog posts, I’ll walk through the process of deploying additional standby appliances, and the initial configuration of vCloud Director.
It has been a while since I posted updates about my VMware home lab. If you have followed my recent posts (here) and (here), I have made some minor upgrades to my original home lab. In the later part of 2019, I expanded my home lab an added an additional sister host luckily with the same hardware.
In short, this is a two host setup currently with 128GB DDR4 each for memory, and 1 socket 8 cores for compute, attached to my NAS that is providing ISCSI VMFS 6 storage.
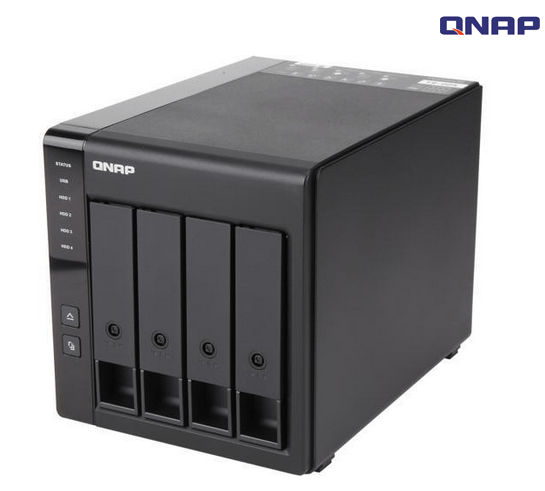
Storage The white QNAP here, is not providing storage for my lab, and only acts as the conduit to the black QNAP expansion bay attached which is solely used for lab storage. It is equipped with 4 WD Blue 3D NAND 1TB SSDs running as pooled storage LUN in VJBOD mode. In this mode I am just shy of 4tb usable capacity.
I do have some local storage for the hosts, that may or may not be used for vSAN in the future, but right now it is unnecessary.
Overall Capacity Each host single socket Xeon processor with 8 cores, so combined that gives me 33.59 GHz total. Each host has 128GB so around 255.8 GB total memory. 3.17 TB usable shared storage. Each host has roughly 1.5tb local storage that I use for nested labs mostly. Each host has dual 10GB NICs. There’s also an additional NIC specifically for console connection which is super handy. If I need additional storage I can always carve it out of my white NAS, but as that runs plex, there’s a noticeable performance hit while streaming, which is the main reason I am using the black expansion bay to take all of the I/O from the lab.
Motherboard(x2)
SUPERMICRO MBD-X10SDV-TLN4F-O Mini ITX Server Motherboard Xeon processor D-1541 FCBGA 1667
SUPERMICRO CSE-721TQ-250B Black Mini-Tower Server Case 250W Flex ATX Multi-output Bronze Power Supply Newegg Cost: First host 11/14/2017 = $159.99 Cost: Second host 10/22/2019 = $184.85
NAS Expansion
QNAP TR-004-US 4-Bay USB 3.0 Type-C (5Gbps) Hardware RAID Expansion Enclosure / DAS Newegg Cost: 10/22/2019 = $199.00
NAS SSDs (x4)
WD Blue 3D NAND 1TB Internal SSD – SATA III 6Gb/s 2.5″/7mm Solid State Drive – WDS100T2B0A
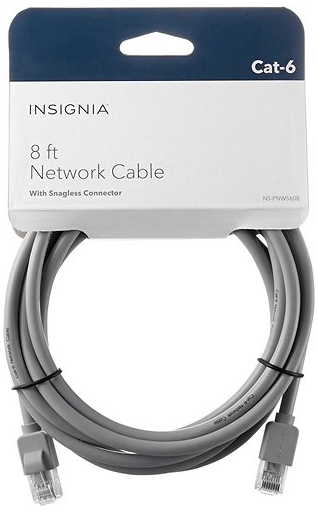
Insignia™ – 8′ Cat-6 Network Cable – Gray Best Buy
Cost: $89.94 ($14.99 ea.)
Home lab total cost as of today 1/25/2020: $5,580.70
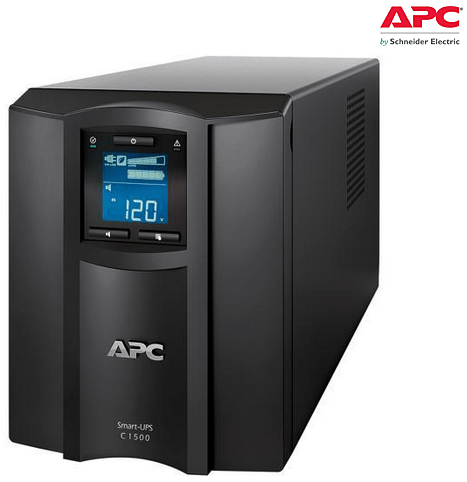
According to my APC, the total power being consumed atm: 185 watts (+/-). This also includes the white NAS and other home network equipment.
The lab itself is used for various things now that I’ve been working with VMware customers as a PSO sub contractor. I have nested hosts for different vCloud Director labs, vRealize Operations Manager, NSX and vRealize Log Insight to name a few VMware appliances. I’ve been adding more to it over time based on customer needs. I also use this lab for teaching myself scripting when I find the time. I currently have around 50 virtual machines in total, but that can change depending on the need for other labs.
For the purposes of this demonstration, I will be configuring NFS services on a CentOS 7 VM, deployed to a vSphere 6.7 U3 homelab environment.
NFS Server VM Configuration
Host Name: cb01-nfs01 IP Address: 10.0.0.35 CPU: 2 RAM: 4GB
Disk 1: 20GB – Linux installation (thin provisioned) Disk 2: 100GB – Will be used for the vCD NFS share (thin provisioned)
Configure the vCD NFS share disk
For this demonstration, I have chosen not to configure Disk 2 that was added to the VM. Therefore, this “how-to” assumes that a new disk has been added to the VM, and the NFS server has been powered on after.
1) Open a secure shell to the NFS server. I have switched to the root account. 2) On my NFS server, the new disk will be “/dev/sdb”, if you are unsure run the following command to identify the new disk on yours:
fdisk -l
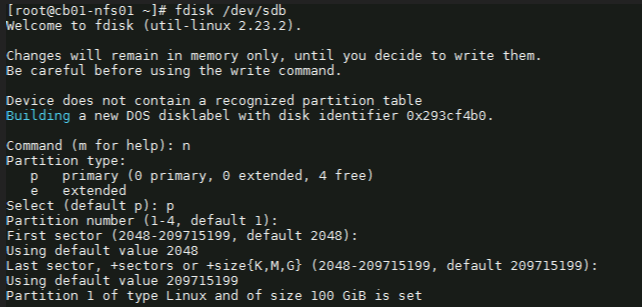
3) We need to format the newly added disk. In my case /dev/sdb. So run the following command:
fdisk /dev/sdb
4) Next with the fdisk utility, we need to partition the drive. I used the following sequence: (for new partition) : n (for primary partition) : p (default 1) : enter (default first sector) : enter (default last sector) : enter
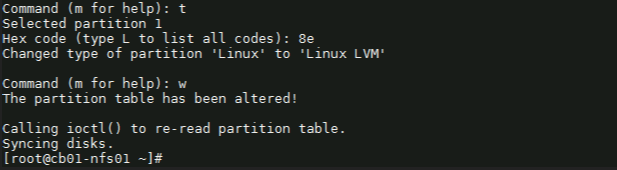
5) Before saving the partition, we need to change it to ‘Linux LVM’ from its current format ‘Linux’. We’ll first use the option ‘t’ to change the partition type, then use the hex code ‘8e’ to change it to Linux LVM like so:
Command (m for help): t Selected partition 1
Hex code (type L to list all codes): 8e Changed type of partition ‘Linux’ to ‘Linux LVM’.
Command (m for help): w
Once you see “Command (m for help):” type ‘w’ to save the config.
Create a ‘Physical Volume, Volume Group and Logical Volume
6) Now that the partition is prepared on the new disk, we can go ahead and create the physical volume with the following command:
# pvcreate /dev/sdb1
7) Now we to create a volume group. You can name it whatever suites your naming standards. For this demonstration, I’ve created a volume group named vg_nfsshare_vcloud_director using /dev/sdb1, using the following command:
# vgcreate vg_nfsshare_vcloud_director /dev/sdb1
Creating a volume group allows us the possibility of adding other devices to expand storage capacity when needed.
8) When it comes to creating logical volumes (LV), the distribution of space must take into consideration both current and future needs. It is considered good practice to name each logical volume according to its intended use. – In this example I’ll create one LV named vol_nfsshare_vcloud_director using all the space. – The -n option is used to indicate a name for the LV, whereas -l (lowercase L) is used to indicate a percentage of the remaining space in the container VG. The full command used looks like: # lvcreate -n vol_nfsshare_vcloud_director -l 100%FREE vg_nfsshare_vcloud_director
9) Before a logical volume can be used, we need to create a filesystem on top of it. I’ve used ext4 since it allows us both to increase and reduce the size of the LV. The command used looks like:
Writing the filesystem will take some time to complete. Once successful you will be returned to the command prompt.
Mounting the Logical Volume on Boot
10) Next, create a mount point for the LV. This will be used later on for the NFS share. The command looks like:
# mkdir -p /nfsshare/vcloud_director
11) To better identify a logical volume we will need to find out what its UUID (a non-changing attribute that uniquely identifies a formatted storage device) is. The command looks like:
To see that it was successfully mounted, use the following command similar to:
# mount | grep nfsshare
Assign Permissions to the NFS Share
14) According to the Preparing the Transfer Server Storage section of the vCloud DIrector 10.0 guide, you must ensure that its permissions and ownership are 750 and root:root .
Setting the permissions on the NFS share would look similar to:
# chmod 750 /nfsshare/vcloud_director
Setting the ownership would look similar to:
# chown root:root /nfsshare/vcloud_director
Install the NFS Server Utilities
15) Install the below package for NFS server using the yum command:
# yum install -y nfs-utils
16) Once the packages are installed, enable and start NFS services:
# systemctl enable nfs-server rpcbind
# systemctl start nfs-server rpcbind
16) Modify /etc/exports file to make an entry for the directory /nfsshare/vcloud_director .
– According to the Preparing the Transfer Server Storage guide, the method for allowing read-write access to the shared location for two cells named vcd-cell1-IP and vcd-cell2-IP is the no_root_squash method.
# vi /etc/exports
17) For this demonstration, my vCD appliance IP on the second nic is 10.0.0.38, so I add the following:
– There must be no space between each cell IP address and its immediate following left parenthesis in the export line. If the NFS server reboots while the cells are writing data to the shared location, the use of the sync option in the export configuration prevents data corruption in the shared location. The use of the no_subtree_check option in the export configuration improves reliability when a subdirectory of a file system is exported. – As this is only a lab, I only have a single vCD appliance for testing. If a proper production deployment, add additional lines for each appliance IP.
18) Each server in the vCloud Director server group must be allowed to mount the NFS share by inspecting the export list for the NFS export. You export the mount by running exportfs -a to export all NFS shares. To re-export use exportfs -r.
# exportfs -a
– To check the export, run the following command:
# exportfs -v
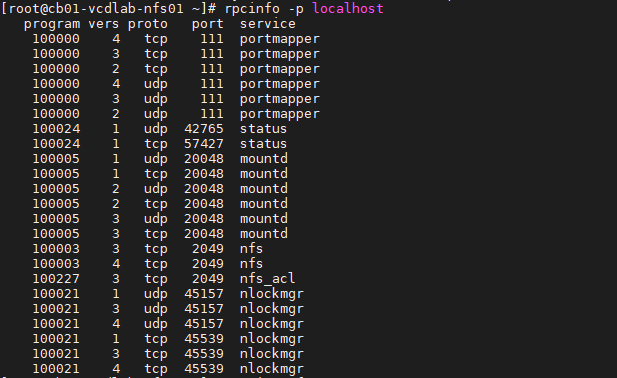
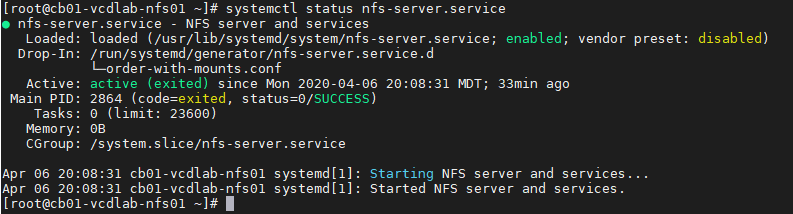
– Validate NFS daemons are running on the server by using rpcinfo -p localhost or service nfs status. NFS daemons must be running on the server.
# rpcinfo -p localhost
or
# systemctl status nfs-server.service
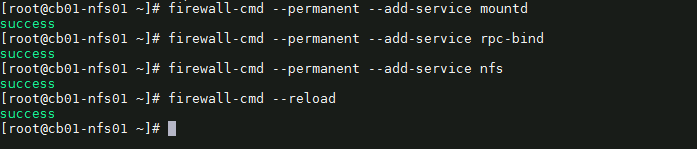
Configure the Firewall
19) We need to configure the firewall on the NFS server to allow NFS client to access the NFS share. To do that, run the following commands on the NFS server. # firewall-cmd --permanent --add-service mountd # firewall-cmd --permanent --add-service rpc-bind # firewall-cmd --permanent --add-service nfs # firewall-cmd --reload
20) That’s it. Now we can deploy the vCloud Director 10.0 appliance(s).
Optional NFS Share Testing
I highly recommend testing the NFS share before continuing with the vCloud DIrector 10.0 appliance deployment. For my testing, I have deployed a temporary CentOS 7 VM, with the same hostname and IP address as my first vCD appliance. I have installed nfs-utils on my test VM. # yum install -y nfs-utils
OT-1) Check the NFS shares available on the NFS server by running the following command on the test VM. change the IP and share here to your NFS server.
# showmount -e 10.0.0.35
As you can see, my mount on my NFS server is showing one exported list for 10.0.0.38, my only vCD appliance
OT-2) Create a directory on NFS test VM to mount the NFS share /nfsshare/vcloud_director which we have created on the NFS server. # mkdir -p /mnt/nfsshare/vcloud_director
OT-3) Use below command to mount the NFS share /nfsshare/vcloud_director from NFS server 10.0.0.35 in /mnt/nfsshare/vcloud_director on NFS test VM.
# mount 10.0.0.35:/nfsshare/vcloud_director /mnt/nfsshare/vcloud_director
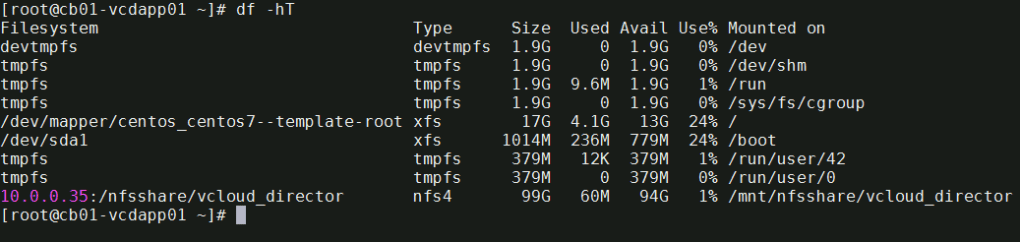
OT-4) Verify the mounted share on the NFS test VM using mount command.
# mount | grep nfsshare
You can also use the df -hT command to check the mounted NFS share.
# df -hT
OT-5) Next we’ll create a file on the mounted directory to verify the read and write access on NFS share. IMPORTANT** during the vCD appliance deployment, it is expected that this directory is empty, else it could make the deployment fail. Remember to cleanup after the test.
# touch /mnt/nfsshare/vcloud_director/test
OT-6) Verify the test file exists by using the following command:
# ls -l /mnt/nfsshare/vcloud_director/
OT-7) Clean your room. Cleanup the directory so that it is ready for the vCD deployment.
# rm /mnt/nfsshare/vcloud_director/test
After successfully testing the share, we now know that we can write to that directory from the vCD appliance IP address, and that we can remove files.
In my next post, I will cover deploying the vCloud Director 10.0 appliance. Stay tuned!
Looking back on this past week, all I can say is that it was pretty crazy. It was my first time to San Francisco, and I honestly left with mixed feelings on the City.
VMworld itself was pretty good! VMware cut back the general sessions to just two days (Monday and Tuesday), and I am honestly conflicted about the missing Thursday general session, as they usually showcase some non VMware related tech for this session.
If I could sum up VMworld in just one word this year, it would be: Kubernetes
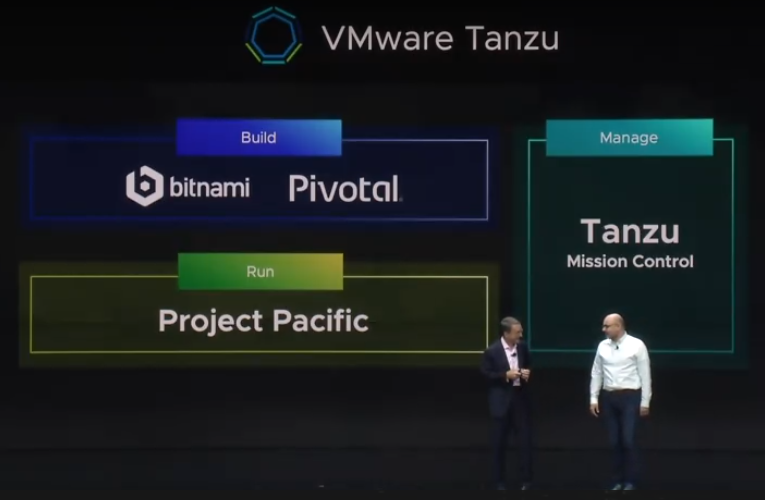
VMware debuted their cloud management solution VMware Tanzu with partnership with Pivital, and showcased the ability to manage multiple Kubernetes clusters across multiple clouds, all from one central management dashboard, and Project Pacific, VMware’s endeavor to embed Kubernetes into vSphere.
VMware also added the Odyssey competition this year just outside of the Hands on Labs area. This was in the HOL style, however this only gave attendees hints on what needed to be completed, and really allowed you to test your knowledge and skills in order to complete the task, without the hand holding that the typical HOL provides. Teams were able to compete against each other for the best times, and had some pretty decent prizes.
All in all, it was a decent VMworld, and they will be returning to San Francisco next year. I can’t say that I enjoyed the location, especially with the homeless problem San Francisco has, and I would much rather see VMworld bring it’s 20k+ attendees to a cleaner city, without the drugs, pan handlers, and human waste on the streets. You’d think that as someone who grew up on a farm, and is used to certain sights and smells, that it wouldn’t have bothered me so much, but this took me by surprise
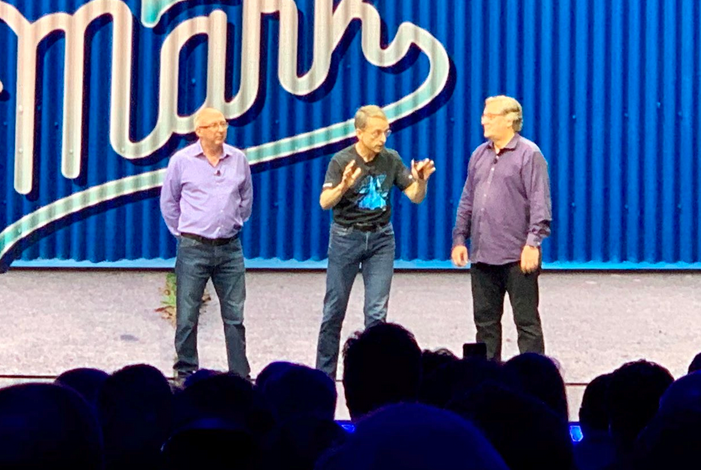
This was also a special VMworld for me this year, as I was finally able to meet Pat Gelsinger. I can tell he really likes the community, and would love to stay longer and chat with everyone. I certainly would have loved the chance to talk with him longer, but I know he had other obligations that night.
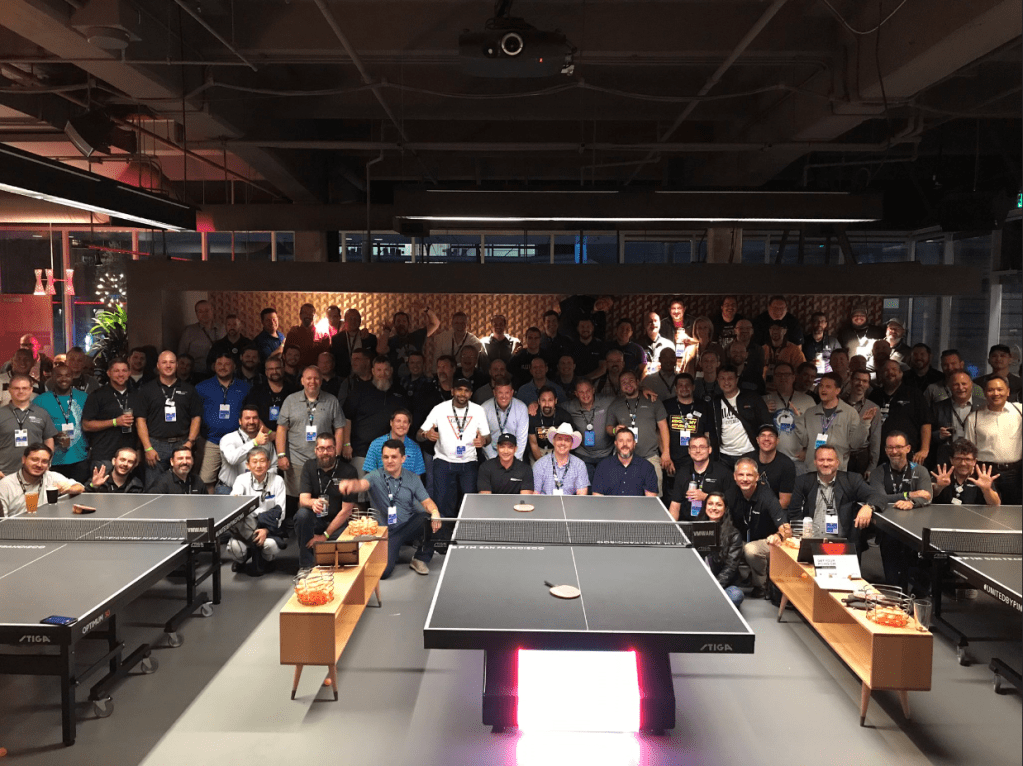
The vExpert party was fun as always, and we were able to get a nice photo of the group.
The last session I attended this year was “If this then that for vSphere – the power of event-driven automation” with keynote speakers William Lam, and Michael Gasch. Several well known VMware employees and bloggers were in attendance, including Alan Renouf, who was two chairs down from me, and for this first time I felt this crippling awkwardness of wanting to take pictures with all of them, but was so star stuck that I couldn’t bring myself to it. I know these guys are just normal folks who just happen to be stars in the vCommunity, but I had to contain myself, and enjoy the keynote. Hopefully our paths will cross again, and I can personally meet them.
Day 3 of VMworld 2019 in San Francisco is underway, and it is the second day of General sessions. Clearly today’s theme is Kubernetes, and VMware’s Ray O’Farrell kicked off the keynote by talking about VMware Tanzu and Tanzu’s mission control.
The Keynote then included the integration of NSX-T with Tanzu. The ability to test changes, to see the impact on the environment before going live, was truly amazing
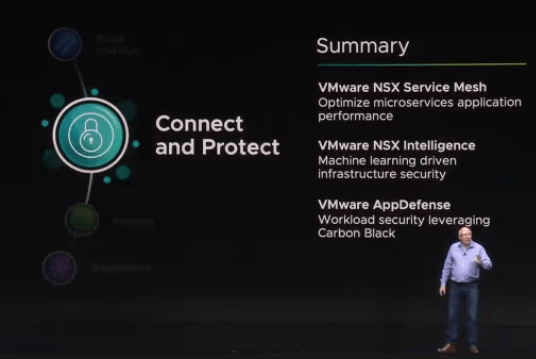
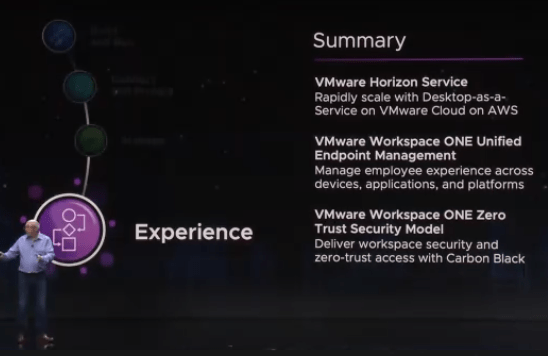
There was also an interesting demo with VMware Horizon and Workspace ONE, showcasing the usage deploying work spaces rapidly from the cloud, and creating zero-trust security policy withing workspace ONE with Carbon Black
Pat jumped up on stage to announce that Ray O’Ferrell (@ray_ofarrell) would be leading VMware’s cloud native apps division, and Greg Lavender (@GregL_VMware) was named the New CTO of VMware.
VMware also announced a limited edition t-shirt that would be given away later that day. VMware had roughly 1000 of these shirts made up, and luckily I was able to get a shirt before they ran out.
Plenty of people were upset about not getting a shirt due to the limited run. Gives a whole new meaning to nerd rage…. (sorry I couldn’t help myself).
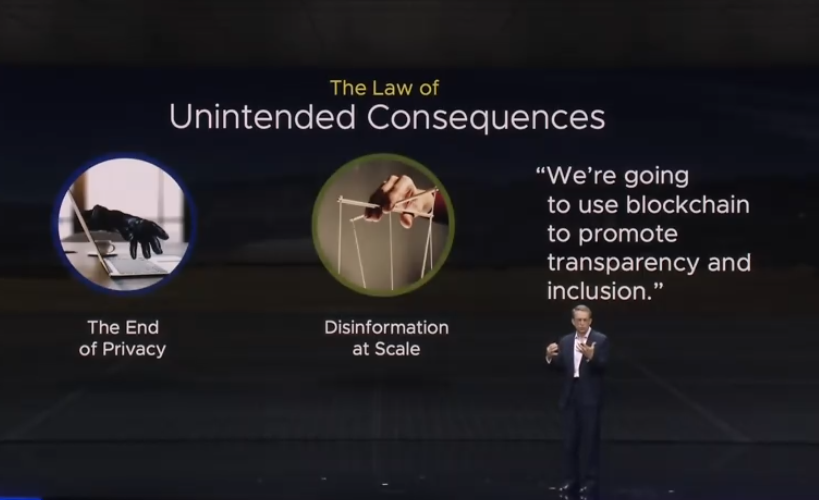
The start of VMworld 2019 in San Francisco is underway, and Pat kicked off the general session talking about his excitement for being back in San Francisco, while poking fun at us “Vegas lovers”. Pat also talked about technology, our digital lives, and technologies role being a force for good. He talked about charities, and cancer research foundations.
Pat Then talked about The Law of Unintended Consequences, and how technology has advanced, we as a society have given up certain aspects of Privacy, the need to combat disinformation at scale available widely on the social media platforms.
Surprisingly, according to Pat, Bitcoin is Bad and contributes to the climate crisis.
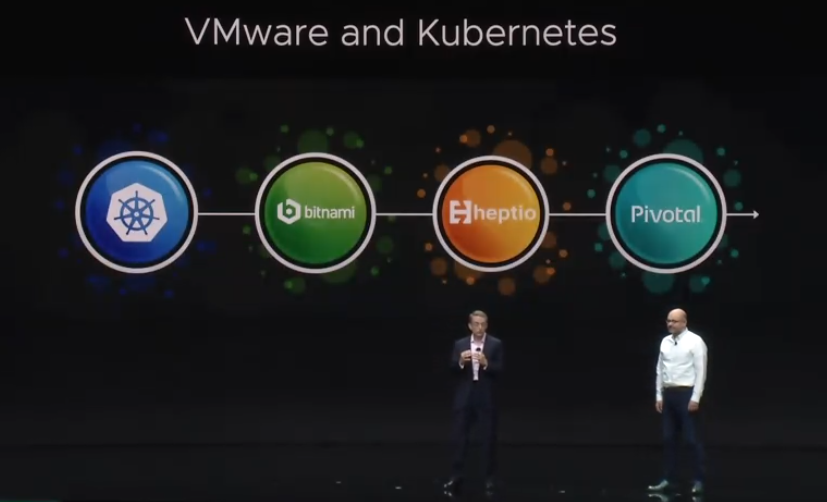
First Major Announcement with Kubernetes, as VMware has been focussing on containers
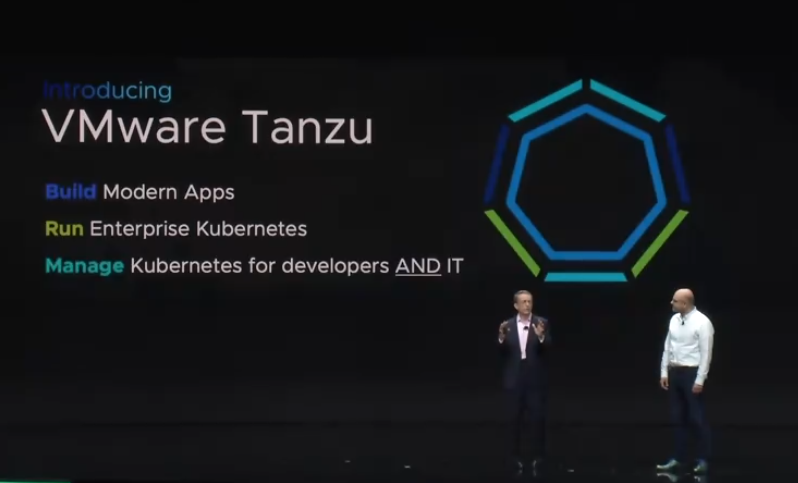
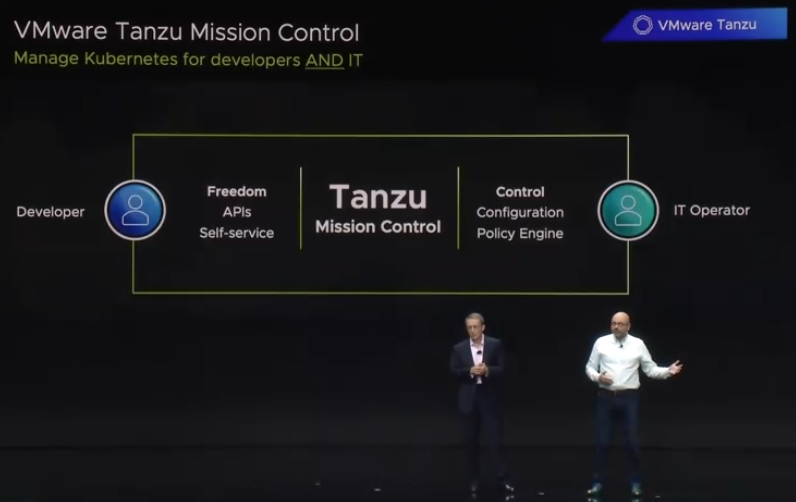
Pat then announced the creation of VMware Tanzu, which is the initiative to have a common platform that allows developers to build modern apps, run enterprise Kubernetes, and platform to manage Kubernetes for developers and IT..
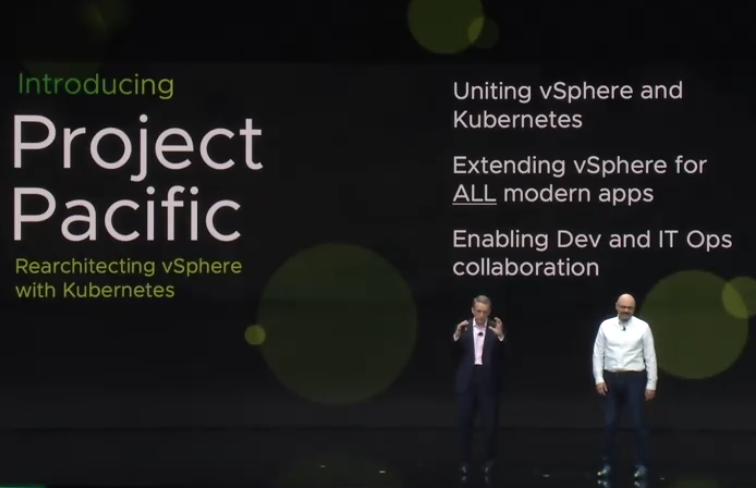
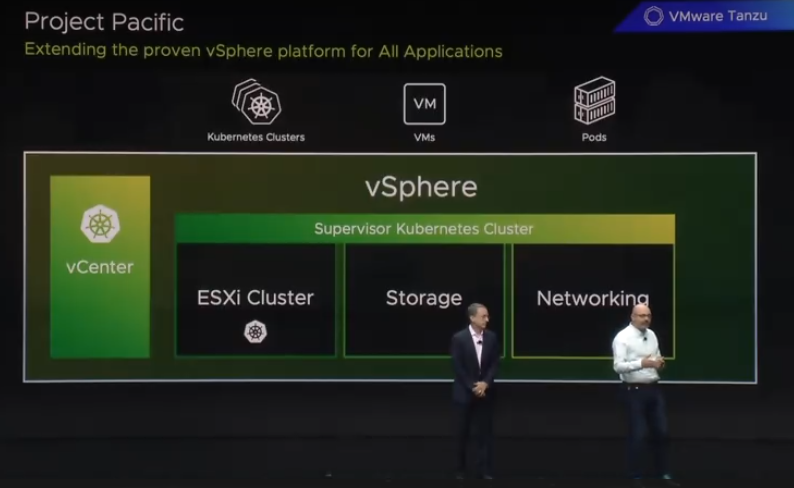
Second Major Announcement, Project Pacific. An ambitious project to unite vSphere and Kubernetes for the future of modern IT
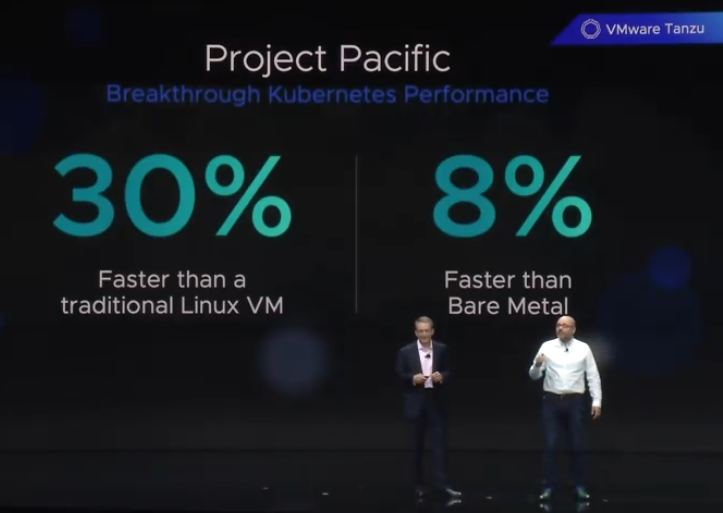
Interestingly, Project Pacific was announced to be 30% faster than a traditional Linux VM, and 8% faster than solutions running on bare metal.
Project Pacific brings Kubernetes to the VMware Community, and will be offered by 20K+ Partner resellers, 4K+ Service providers and 1,100+ technology partners.
Tanzu also comes with mission control, a centralized tool allowing IT Operations to manage Kubernetes for developers and IT.
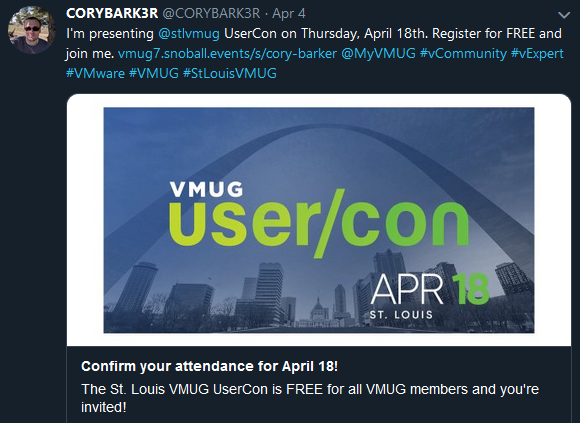
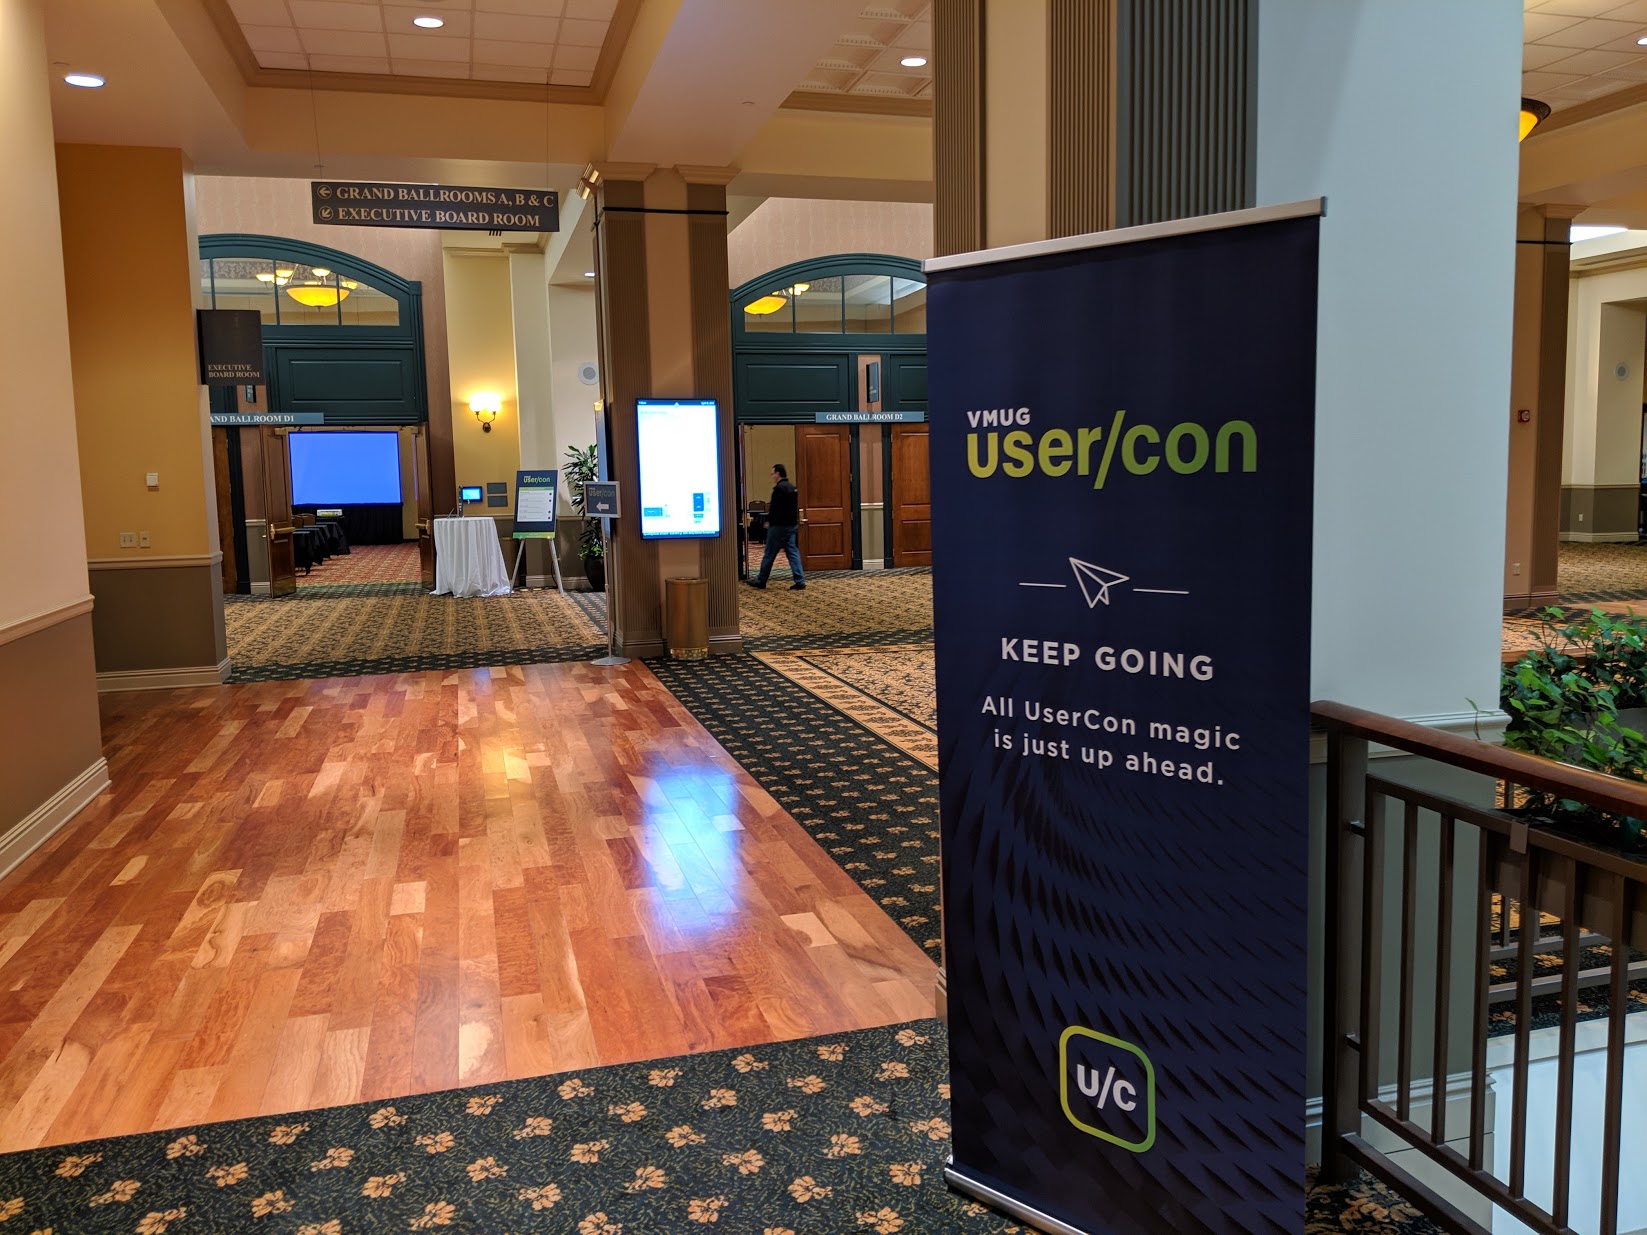
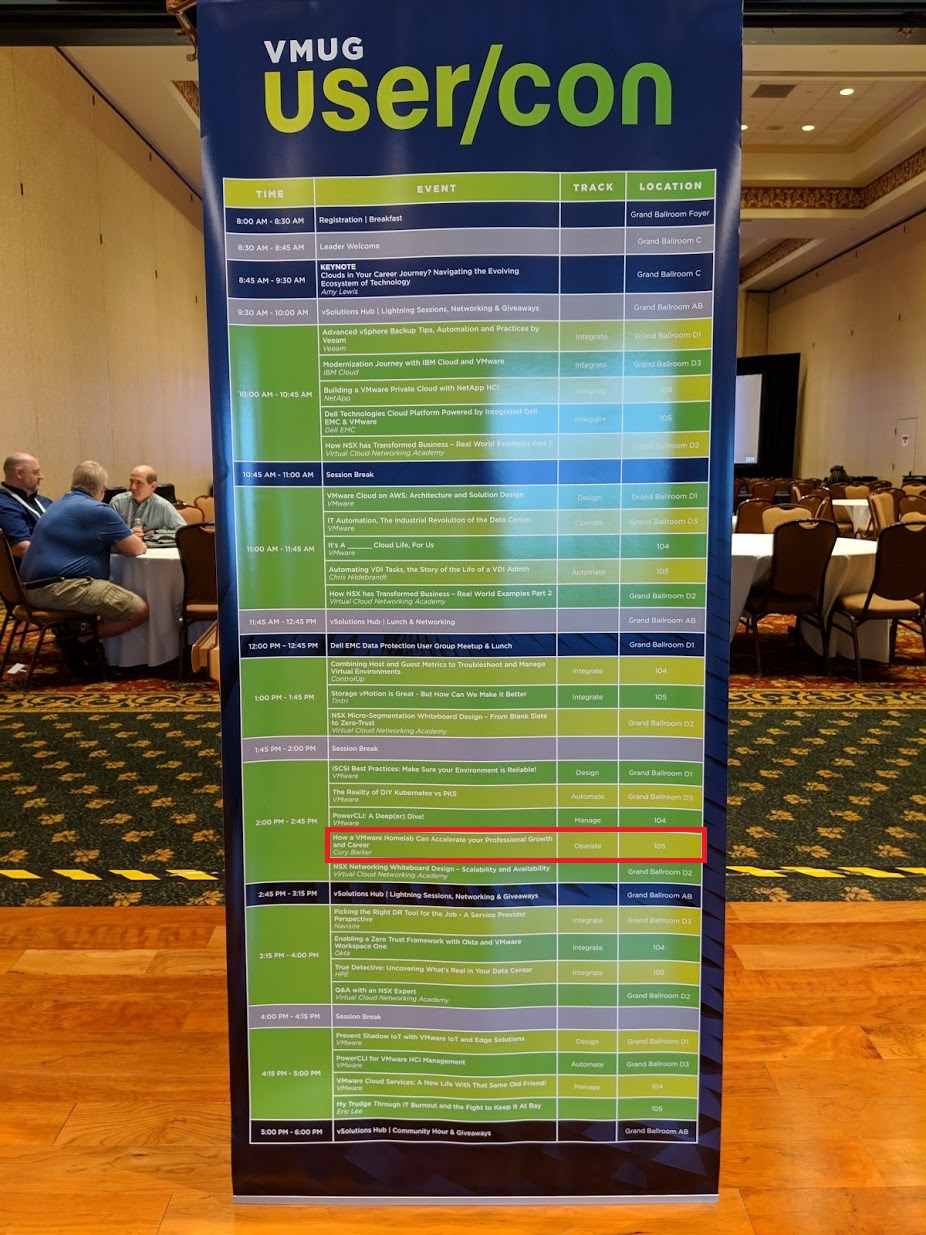
The VMUG leadership invited me to speak at the St. Louis VMUG Usercon on April 18, 2019, and share my presentation on How VMware Home Labs Can Improve Your Professional Growth and Career.
This would be my second time giving a public presentation, but I left The Denver VMUG UserCon with a certain charge, or a spring in my step as it were. I didn’t have a lot of time to prepare or to change up my presentation, remembering that I have a PSO customer that I need to take care of. I arrived a day early for the speaker dinner that was being put on by the St. Louis VMUG leadership.
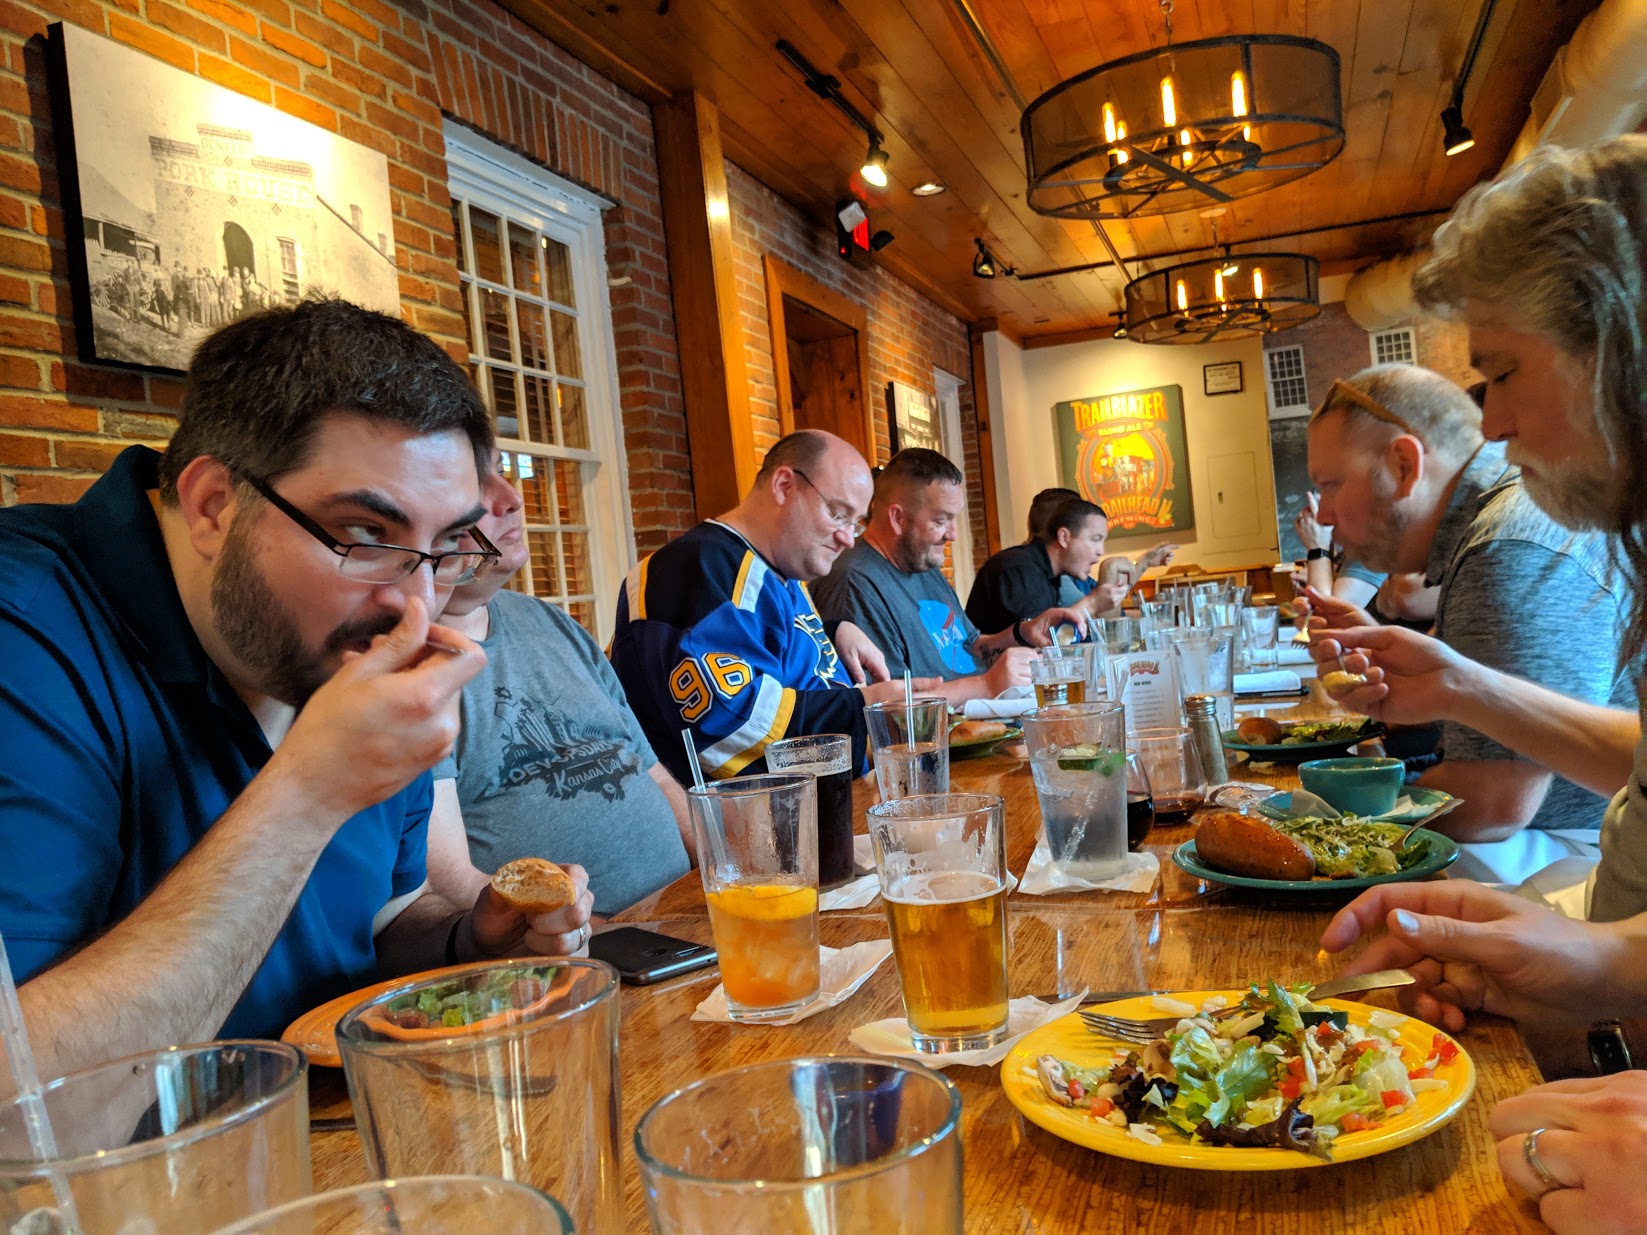
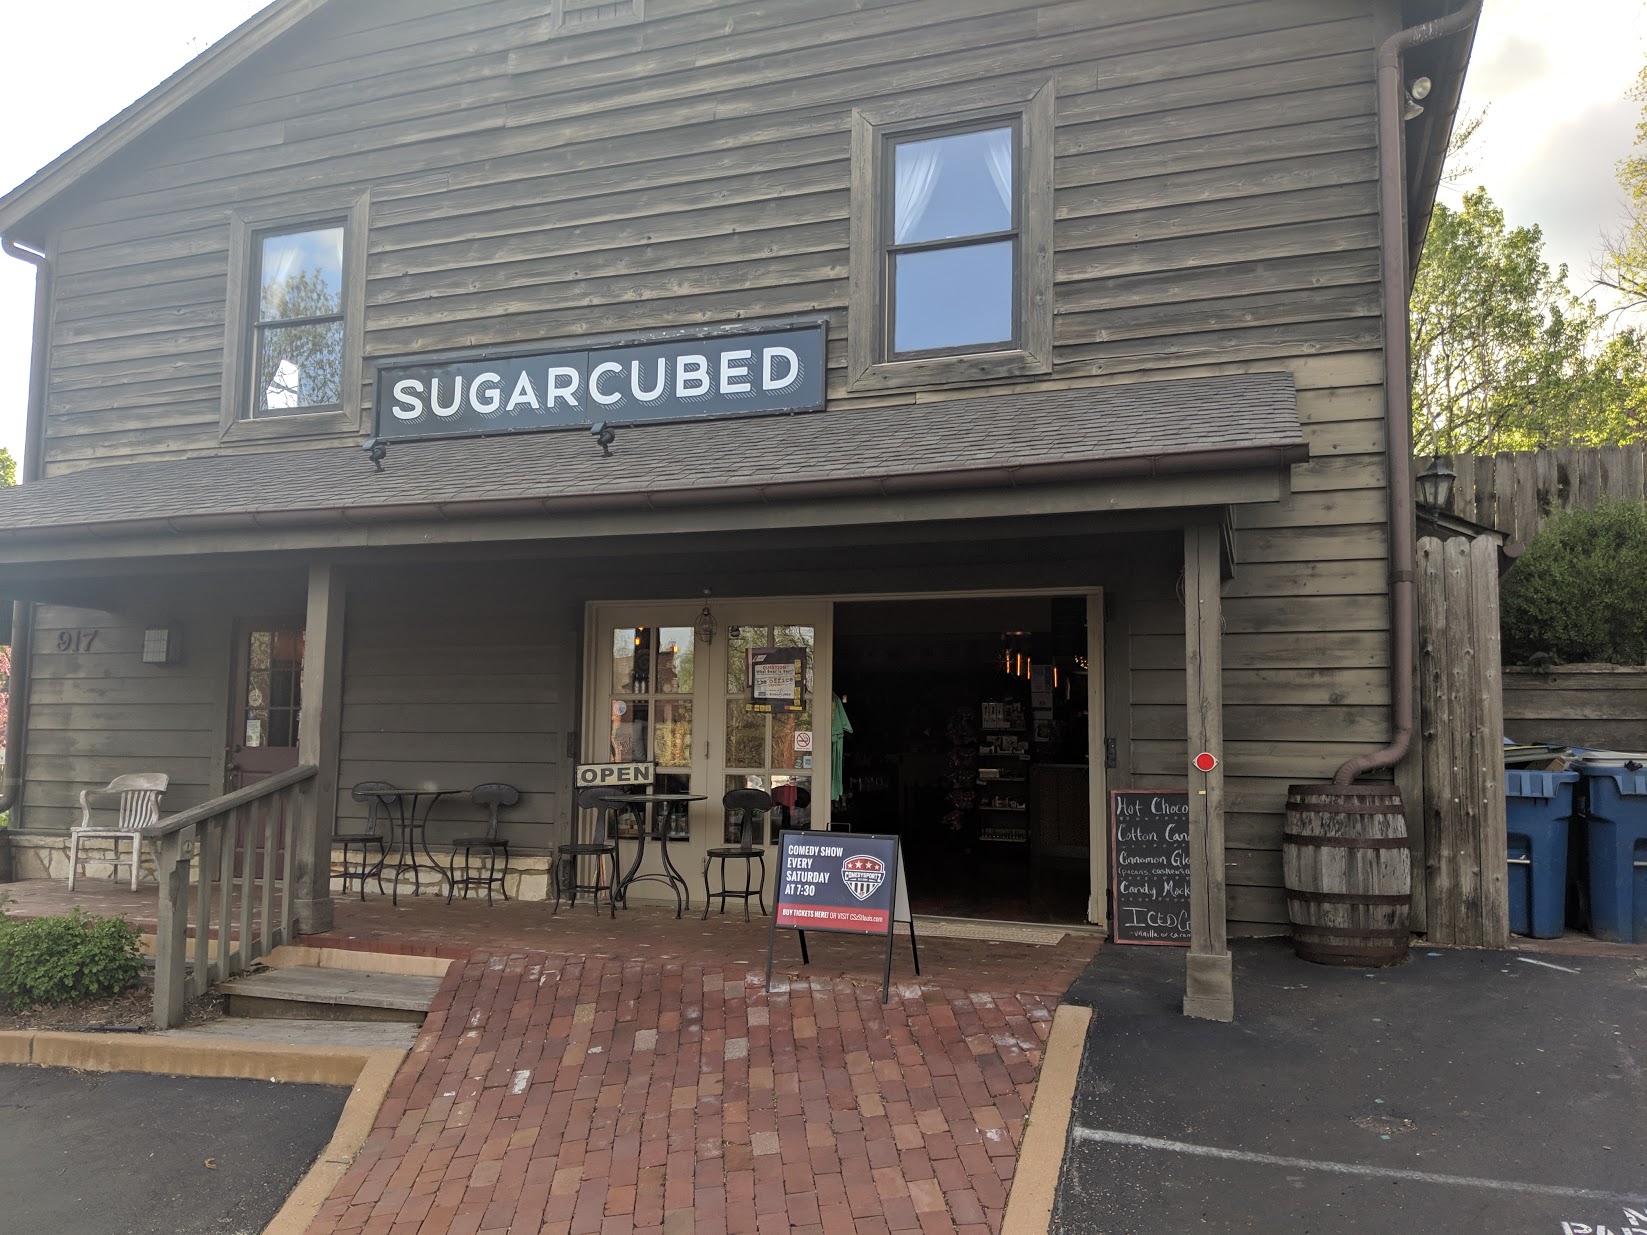
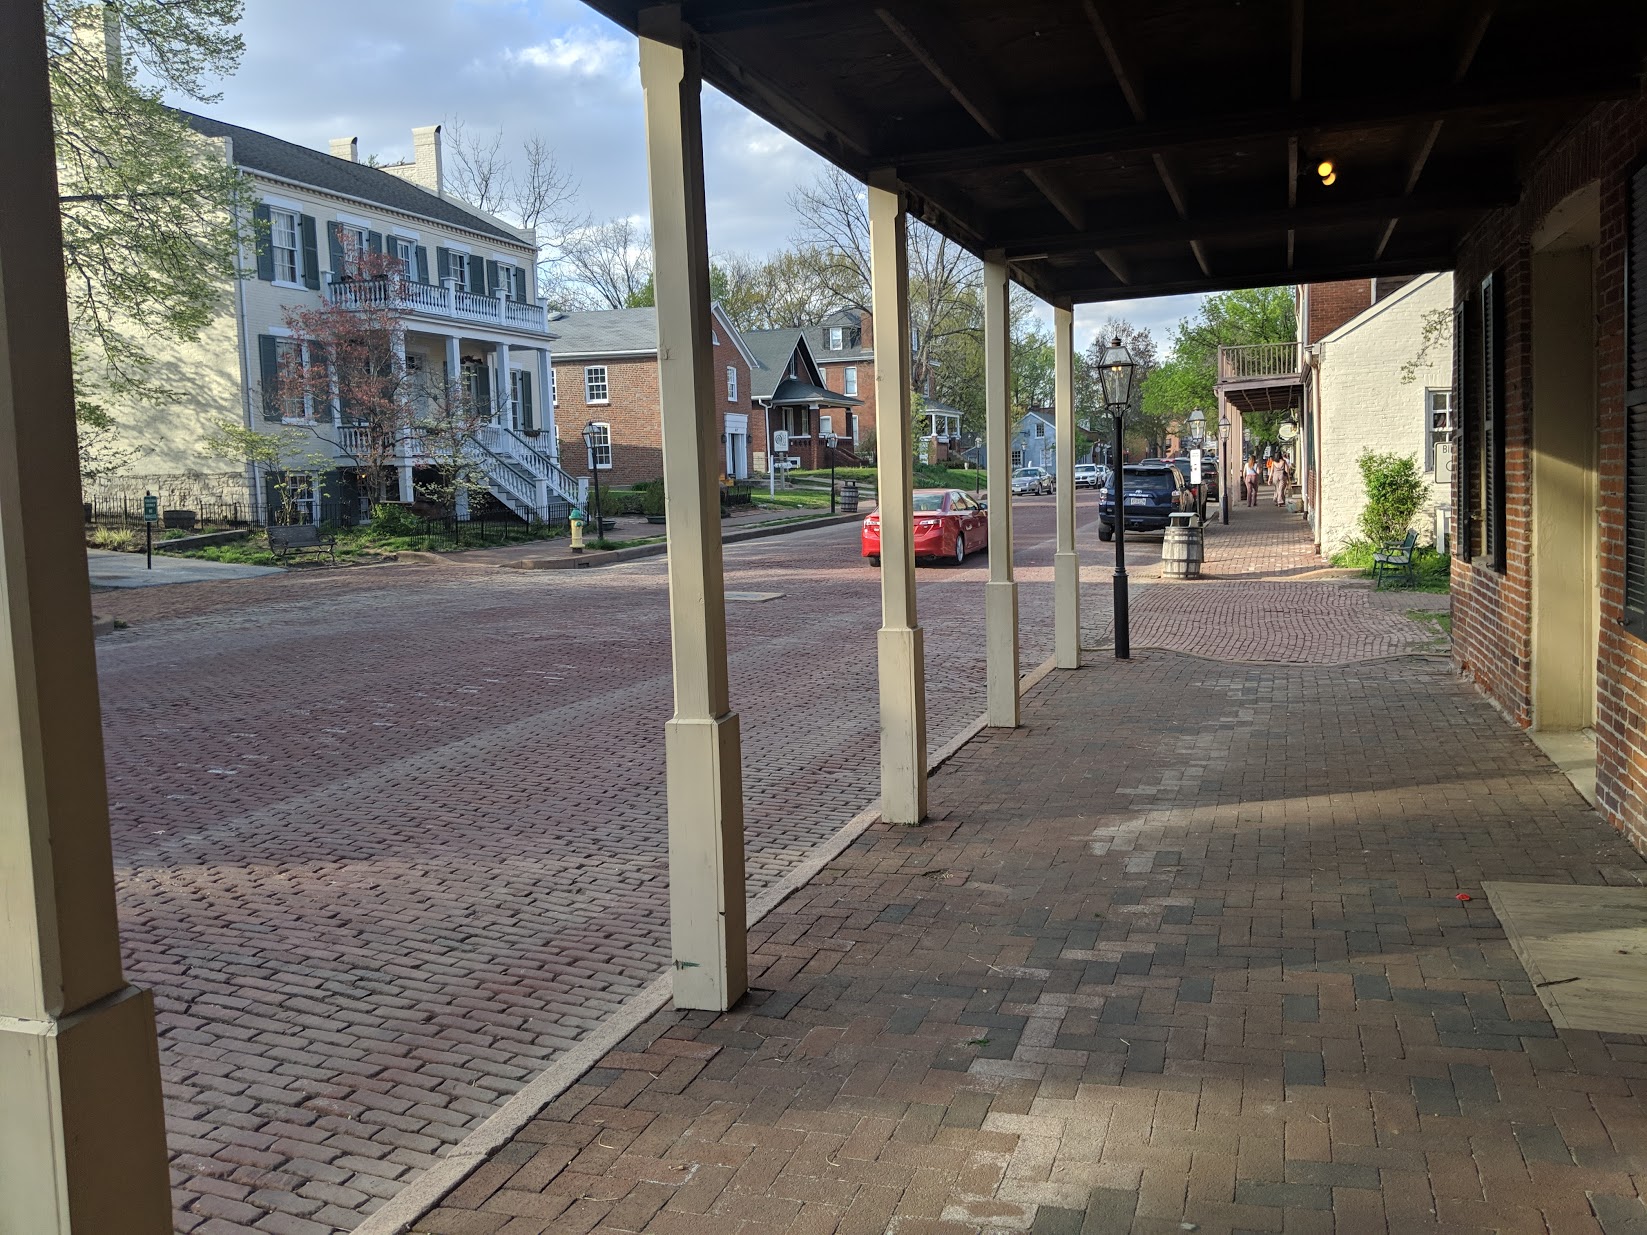
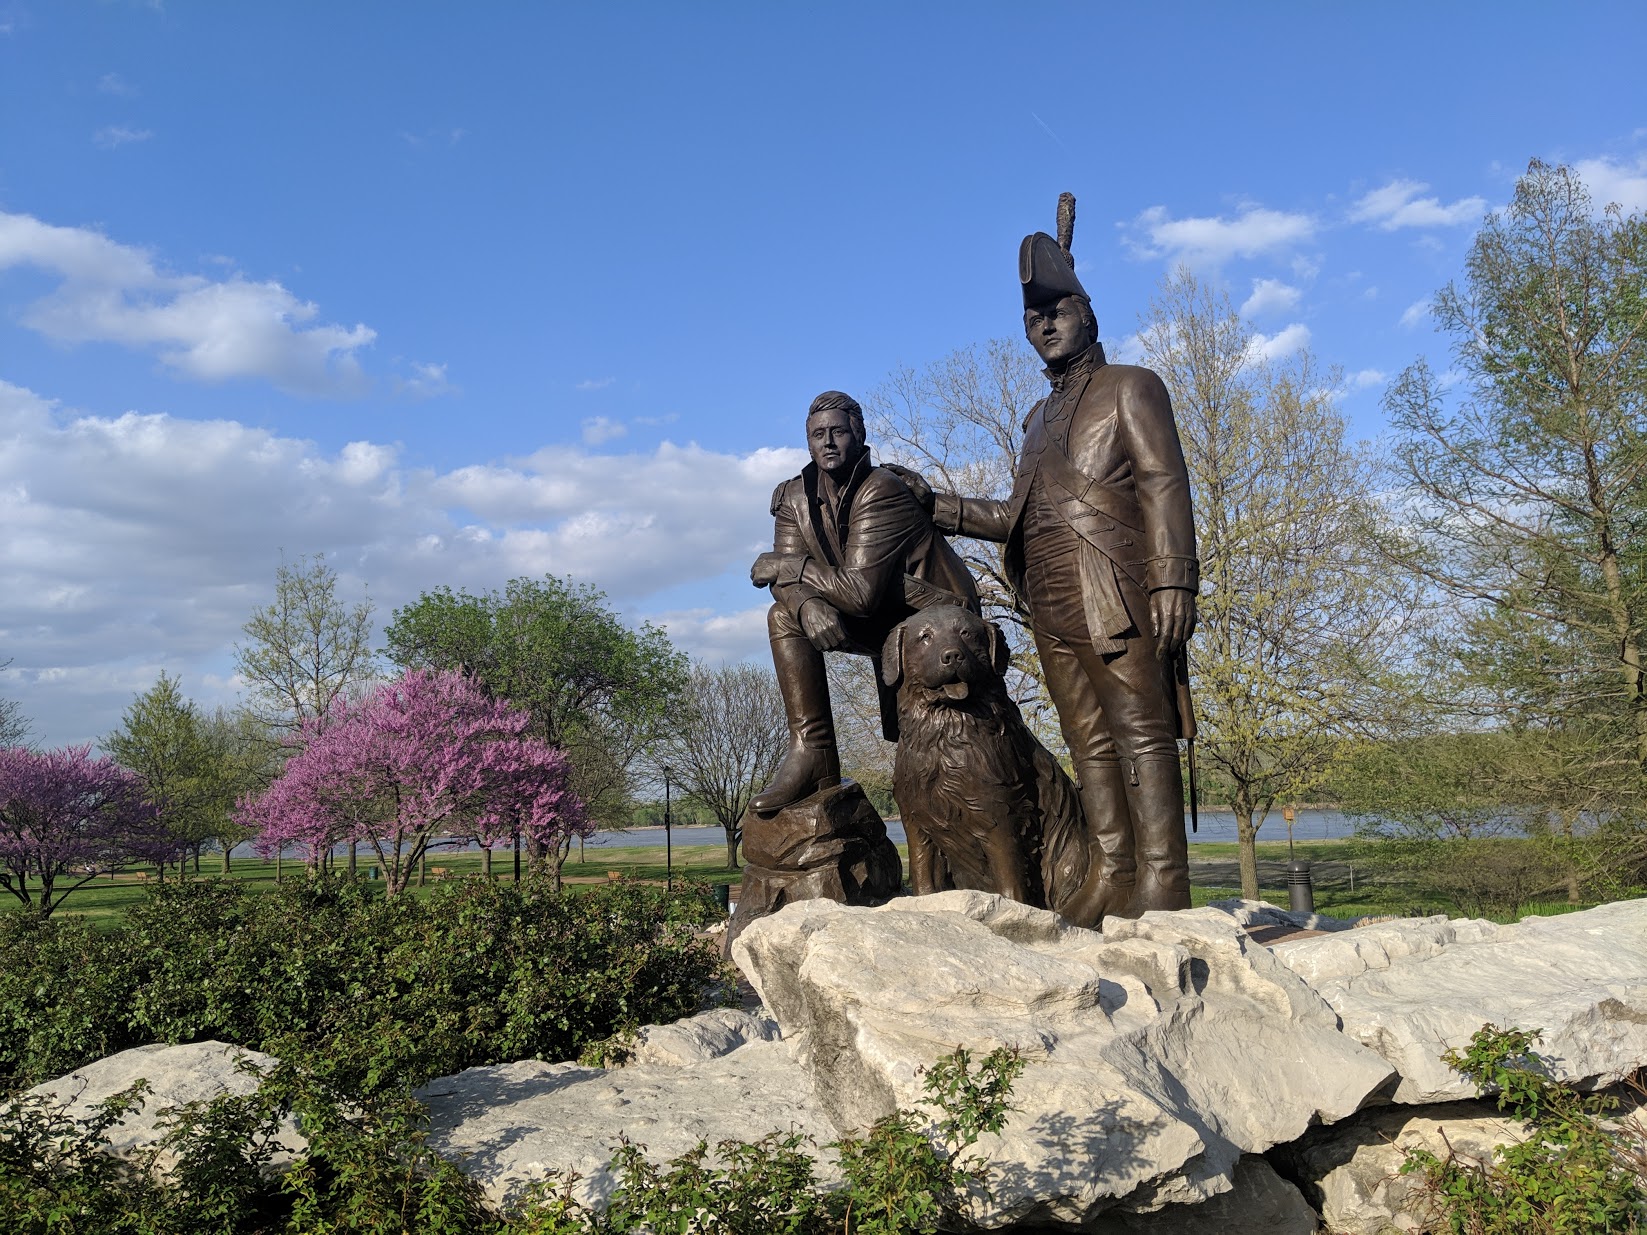
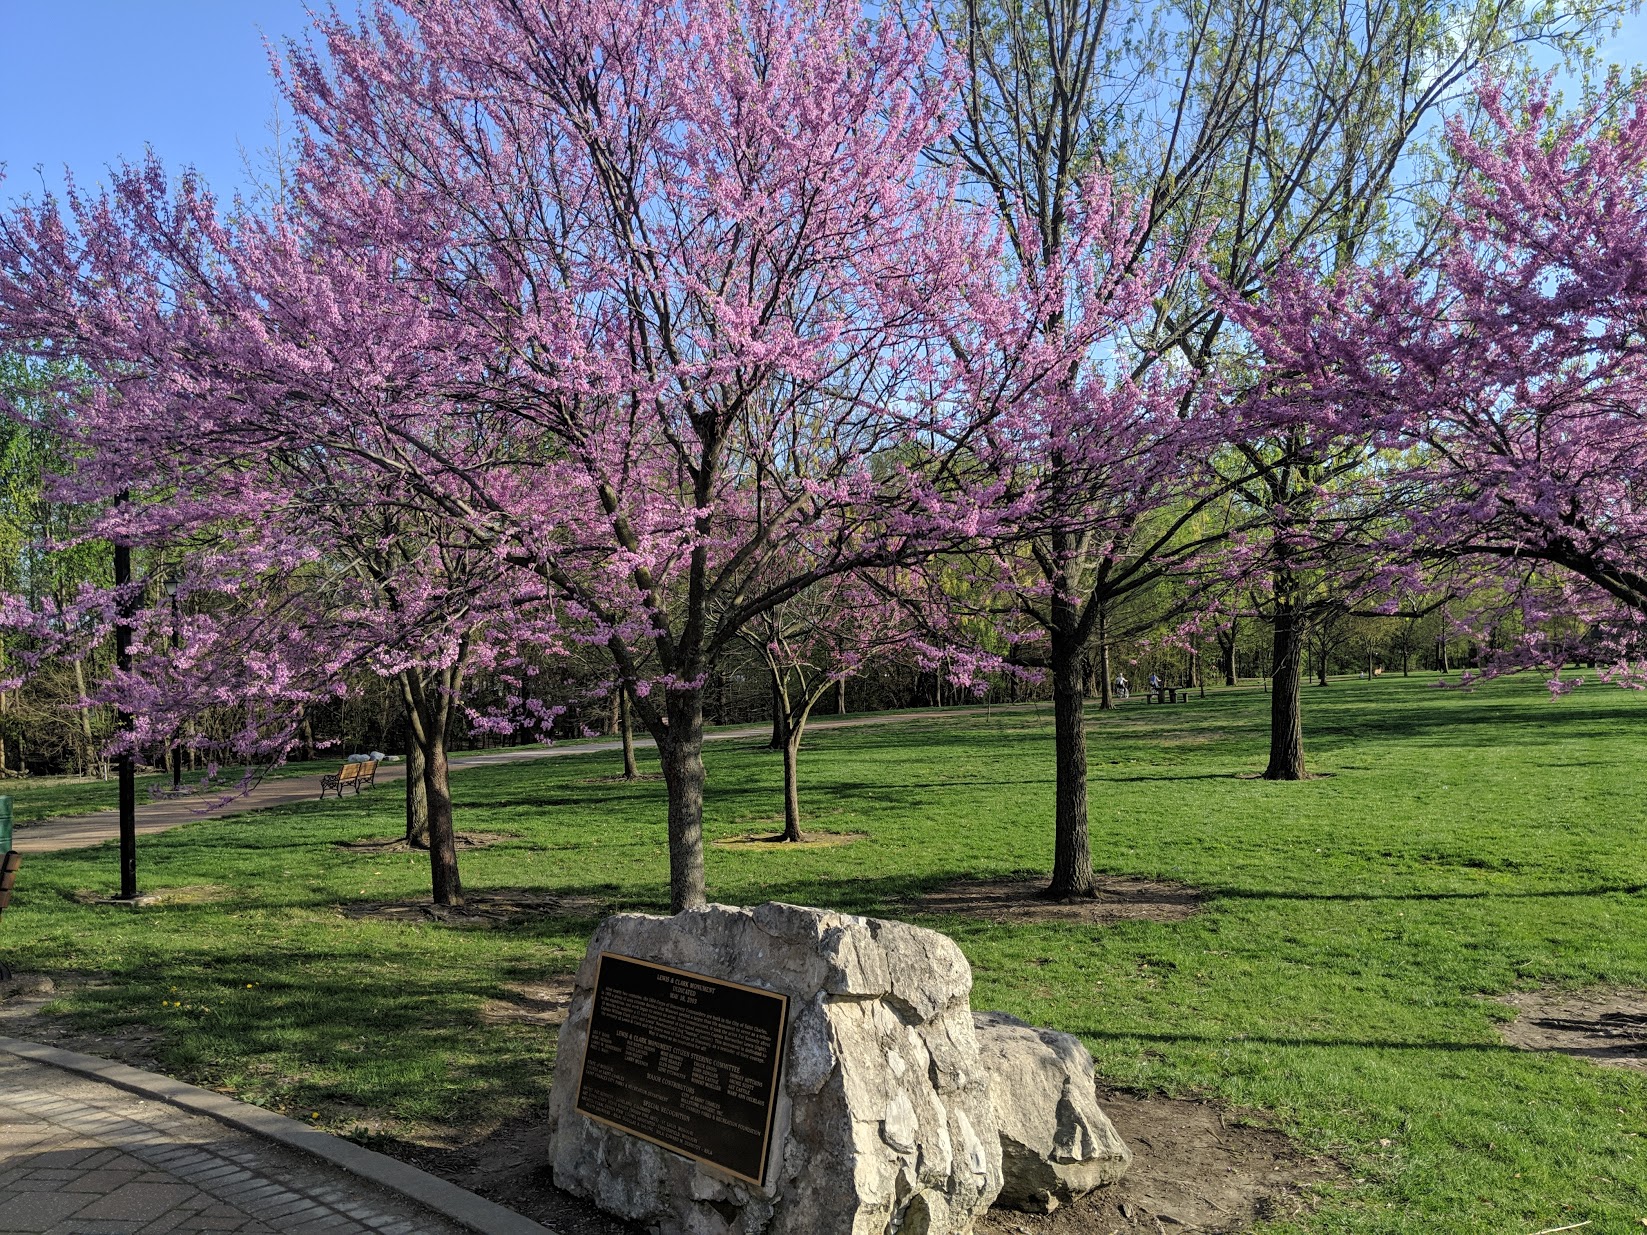
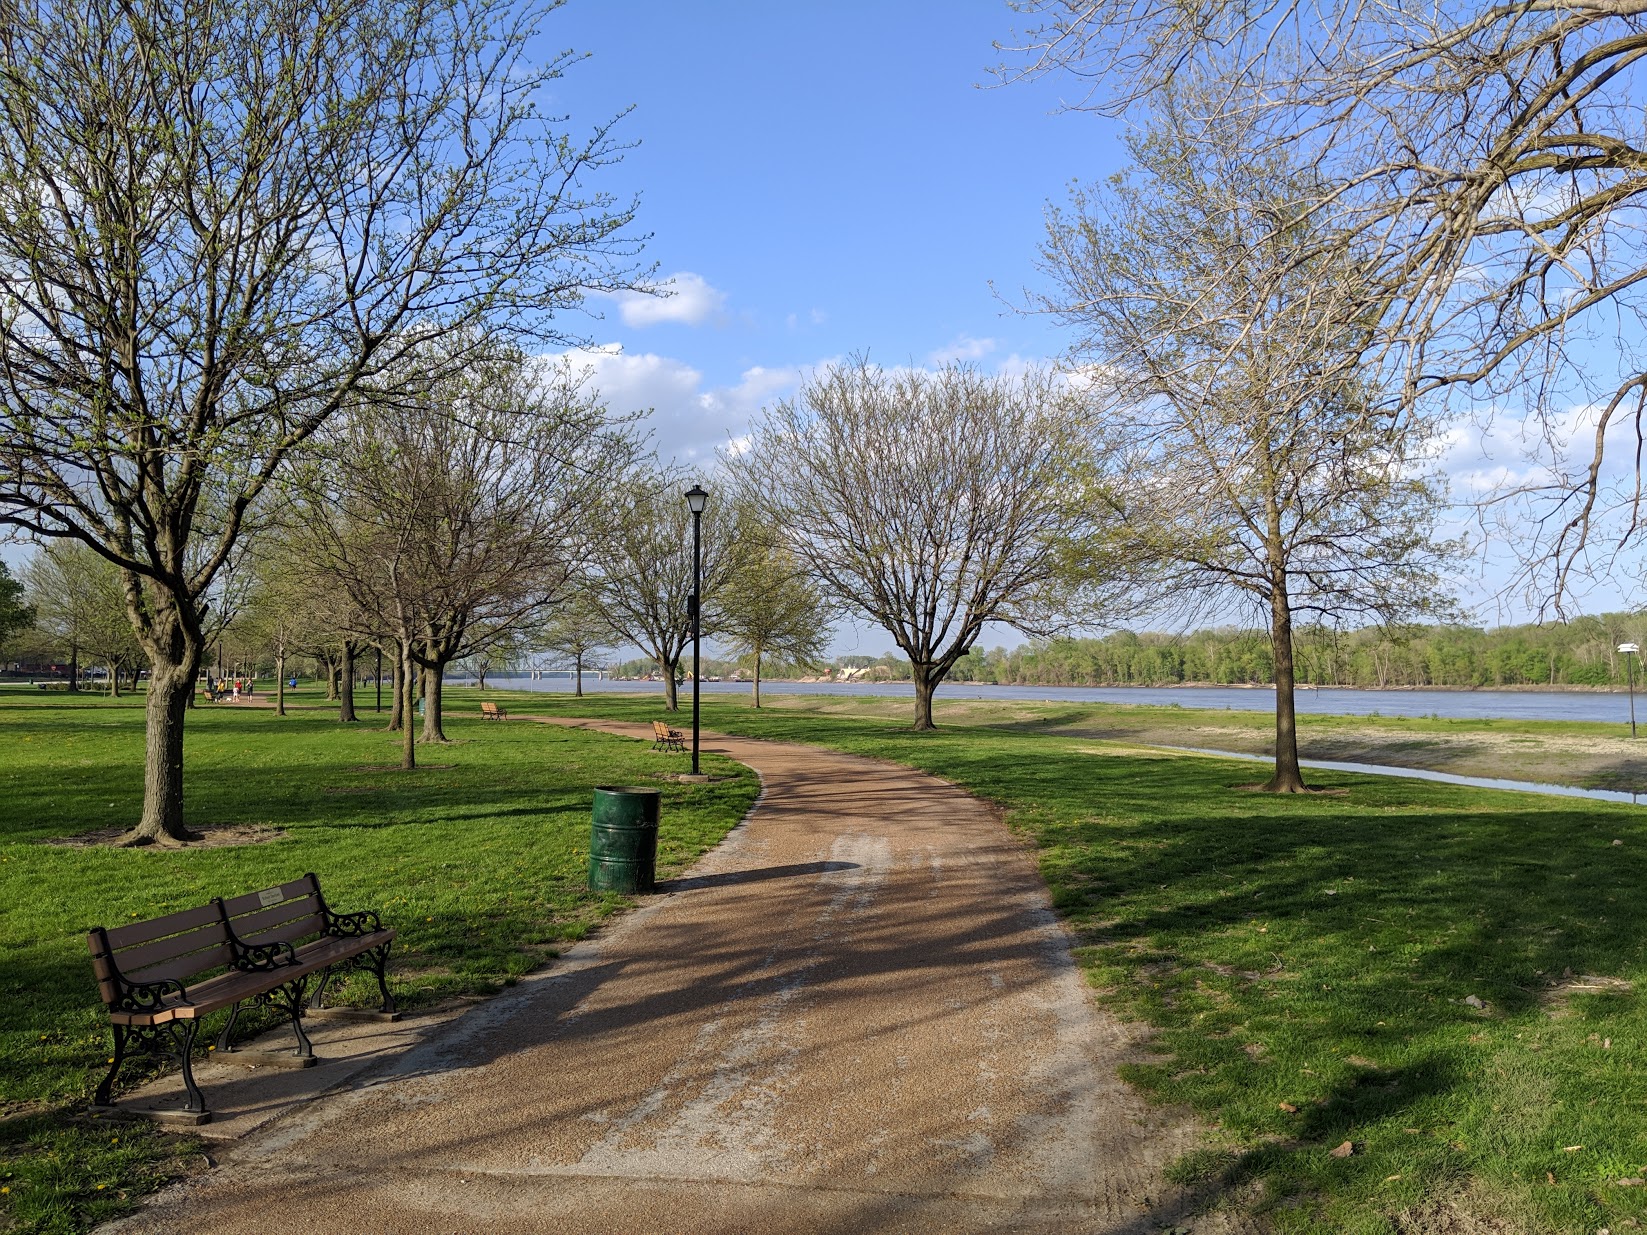
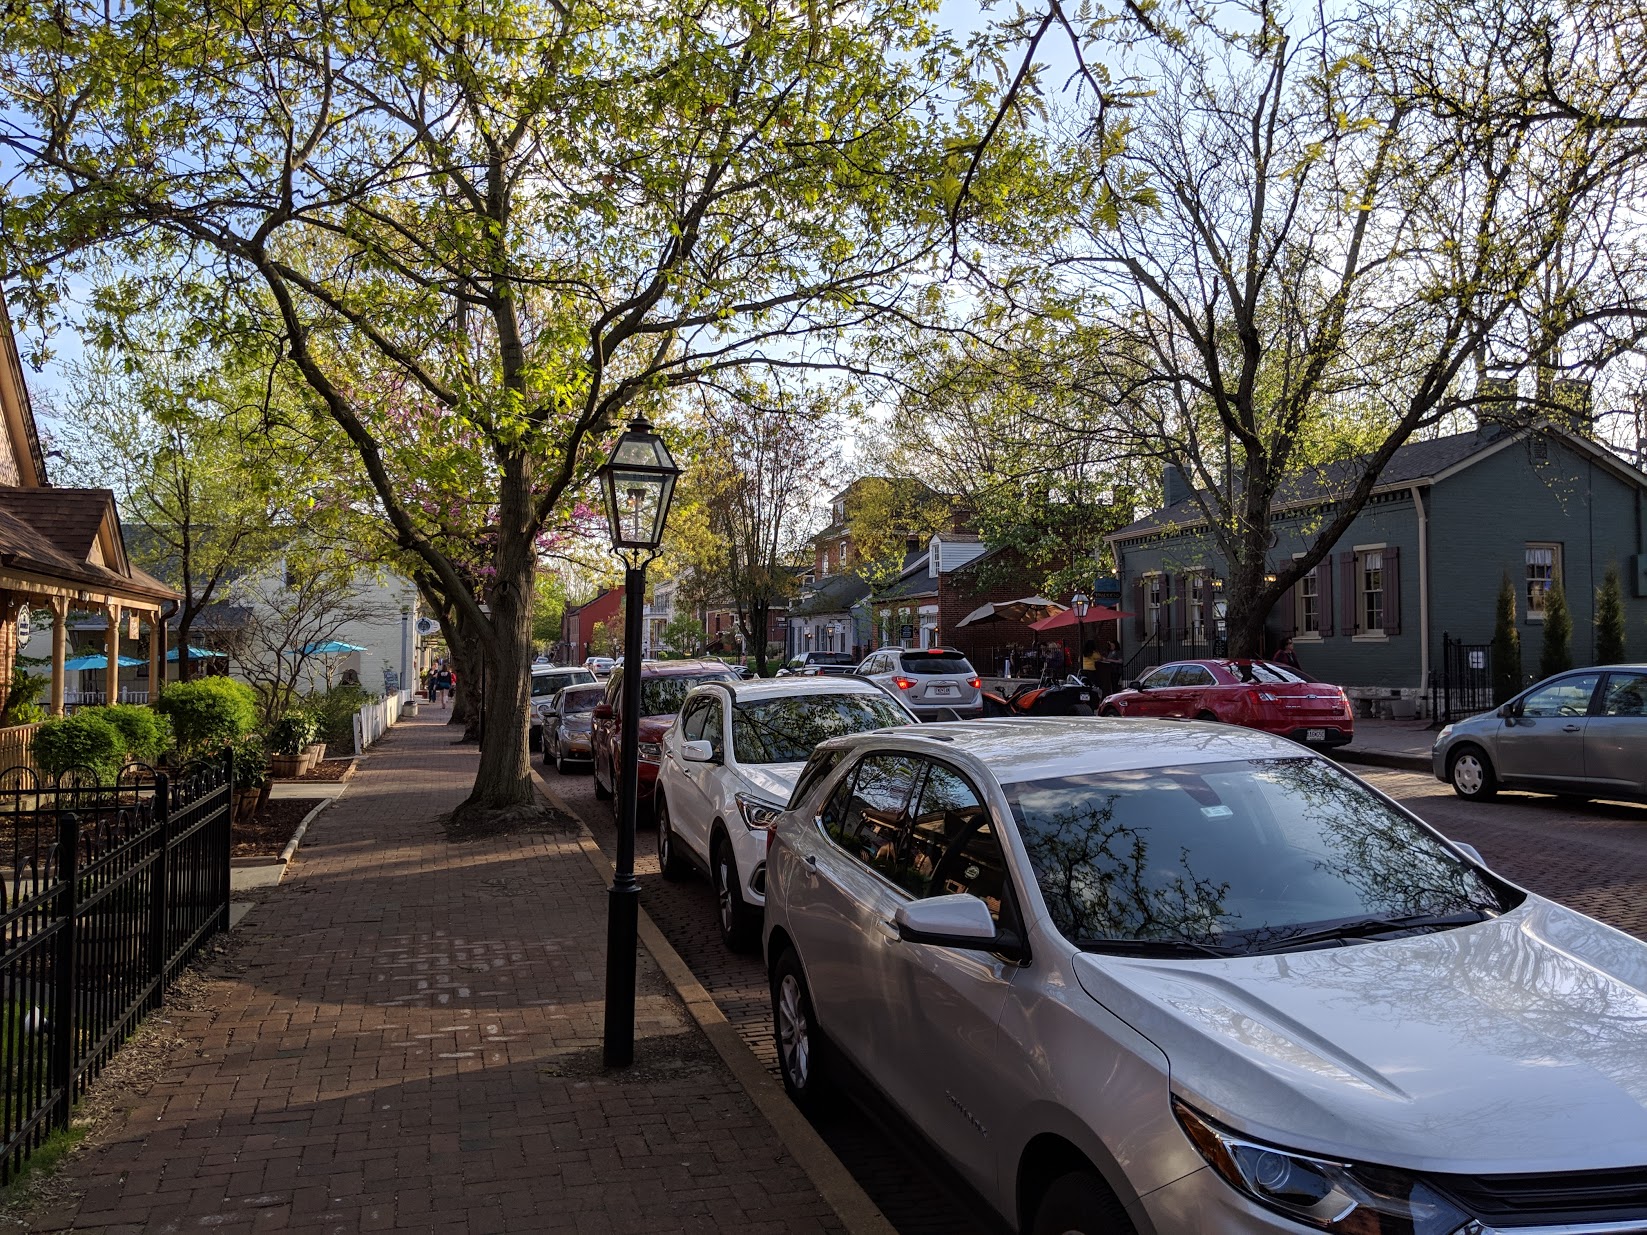
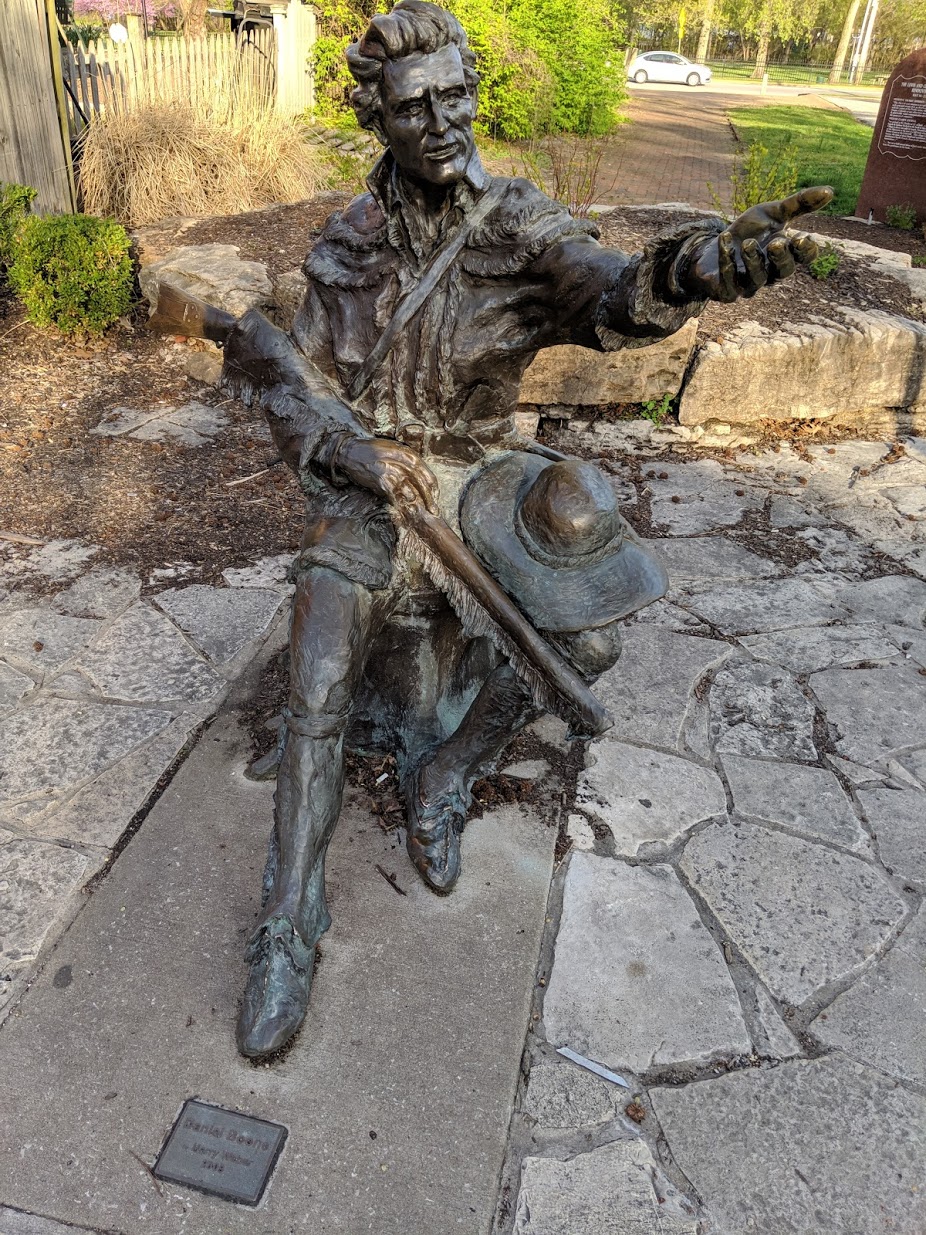
Prior to the dinner, I was able to explore the historical, and picturesque city of St. Charles.
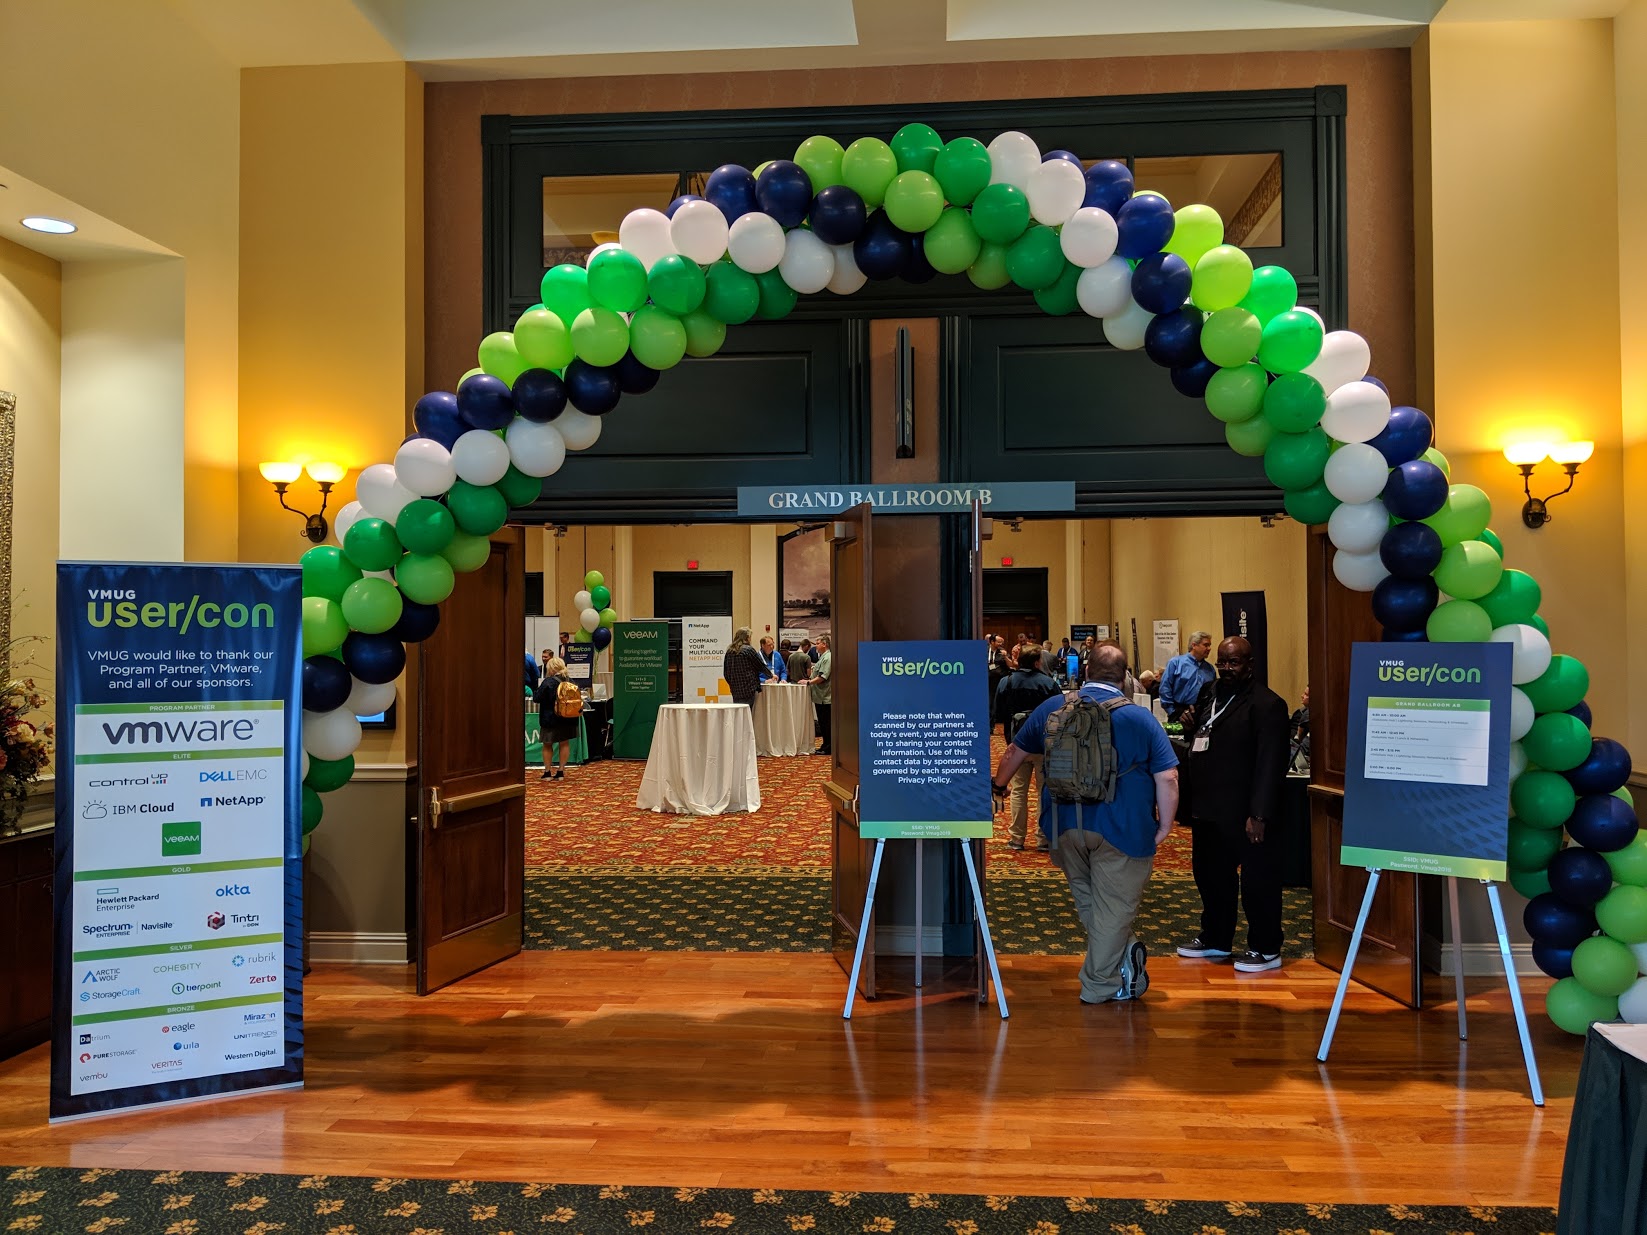
The next day, we all converged on the convention center for the St. Louis UserCon. This way to success!
Seeing your name as a speaker amongst a list of people you’ve looked forward to meeting, have met, or follow on social media, certainly is humbling.
This time, my session was in the afternoon, so in true fashion of many public speakers in the #vCommunity, I had all day to make tweaks. I was also able to join a few sessions. Finally found my room in the maze of this convention center and got setup.
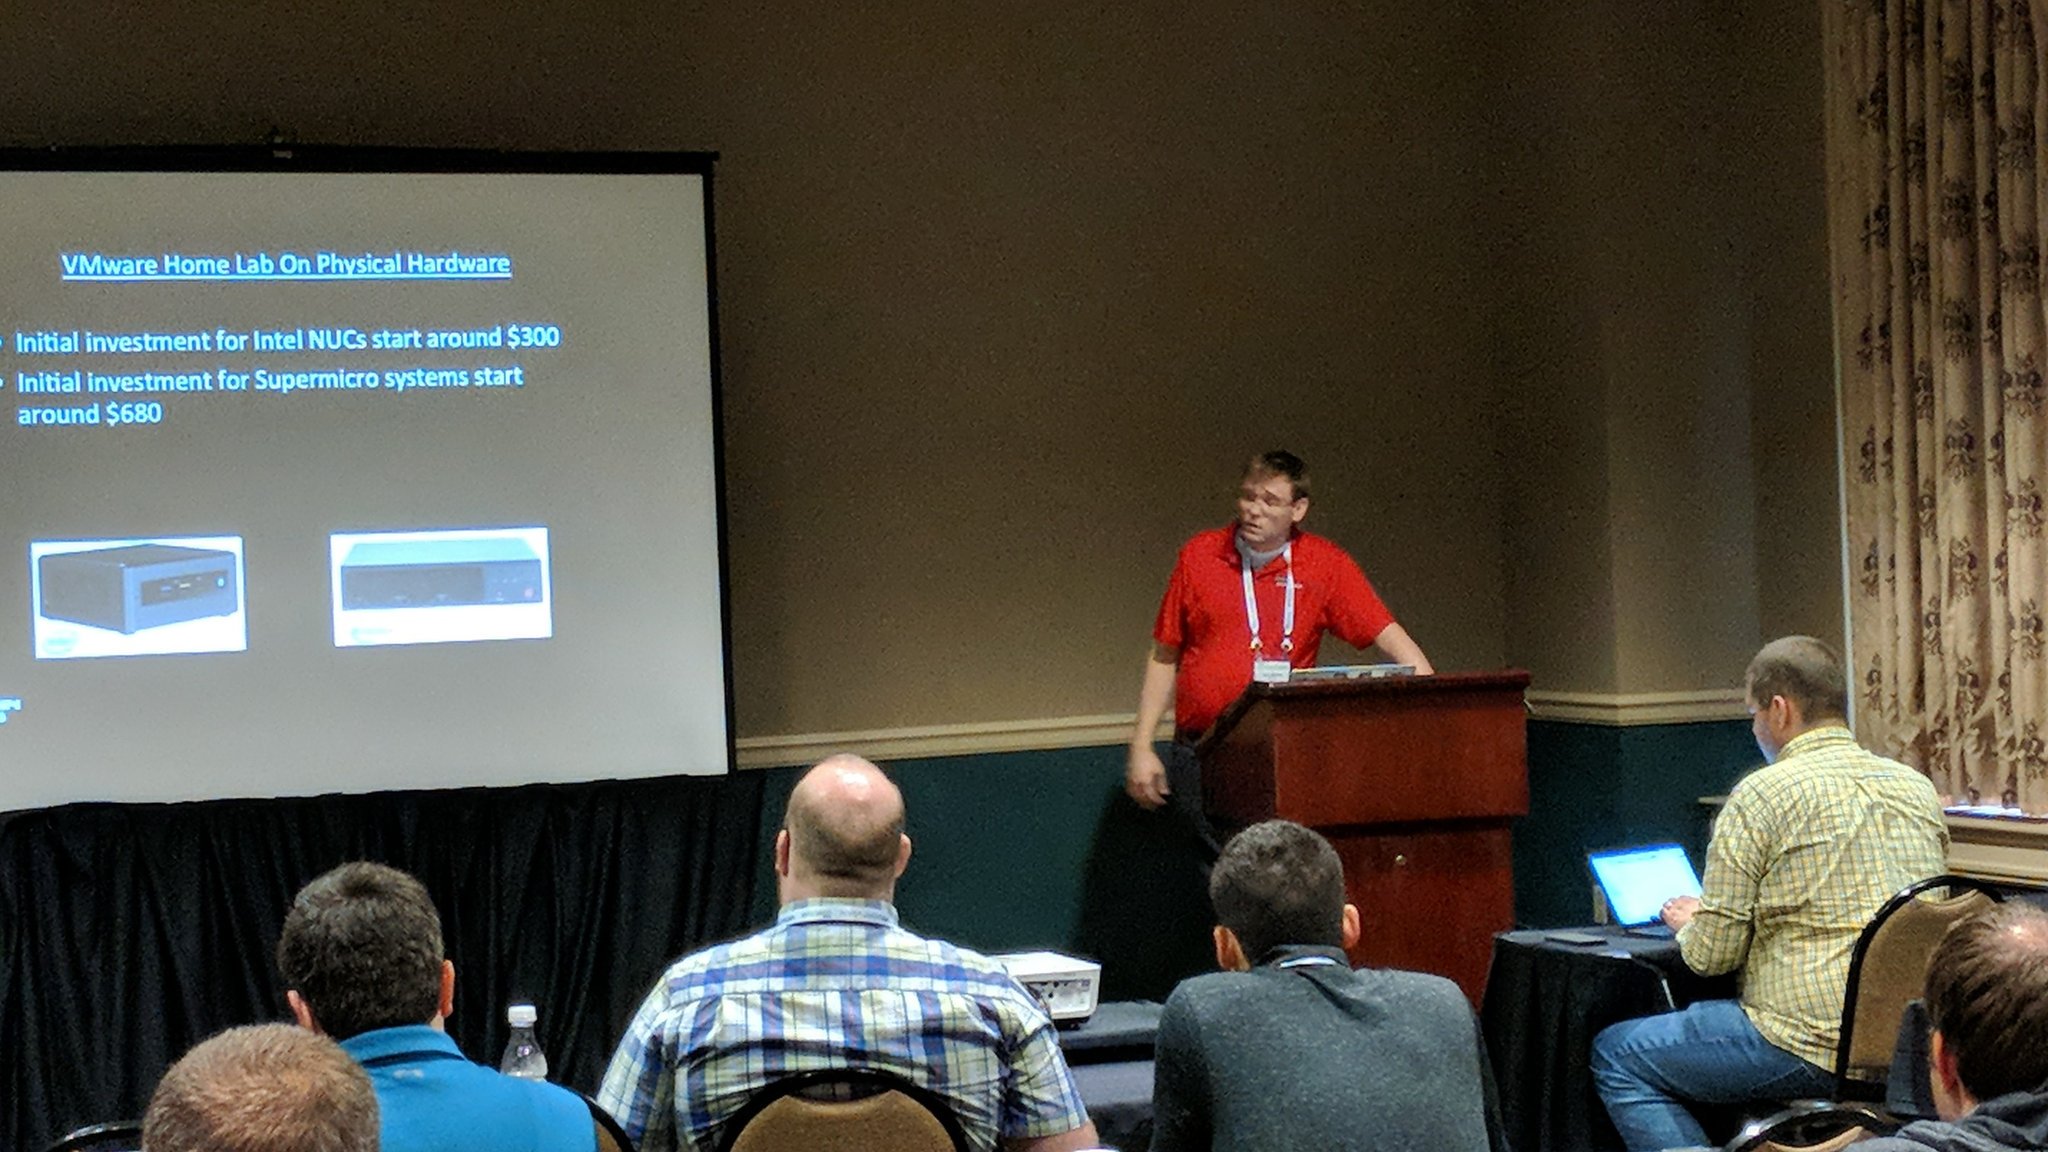
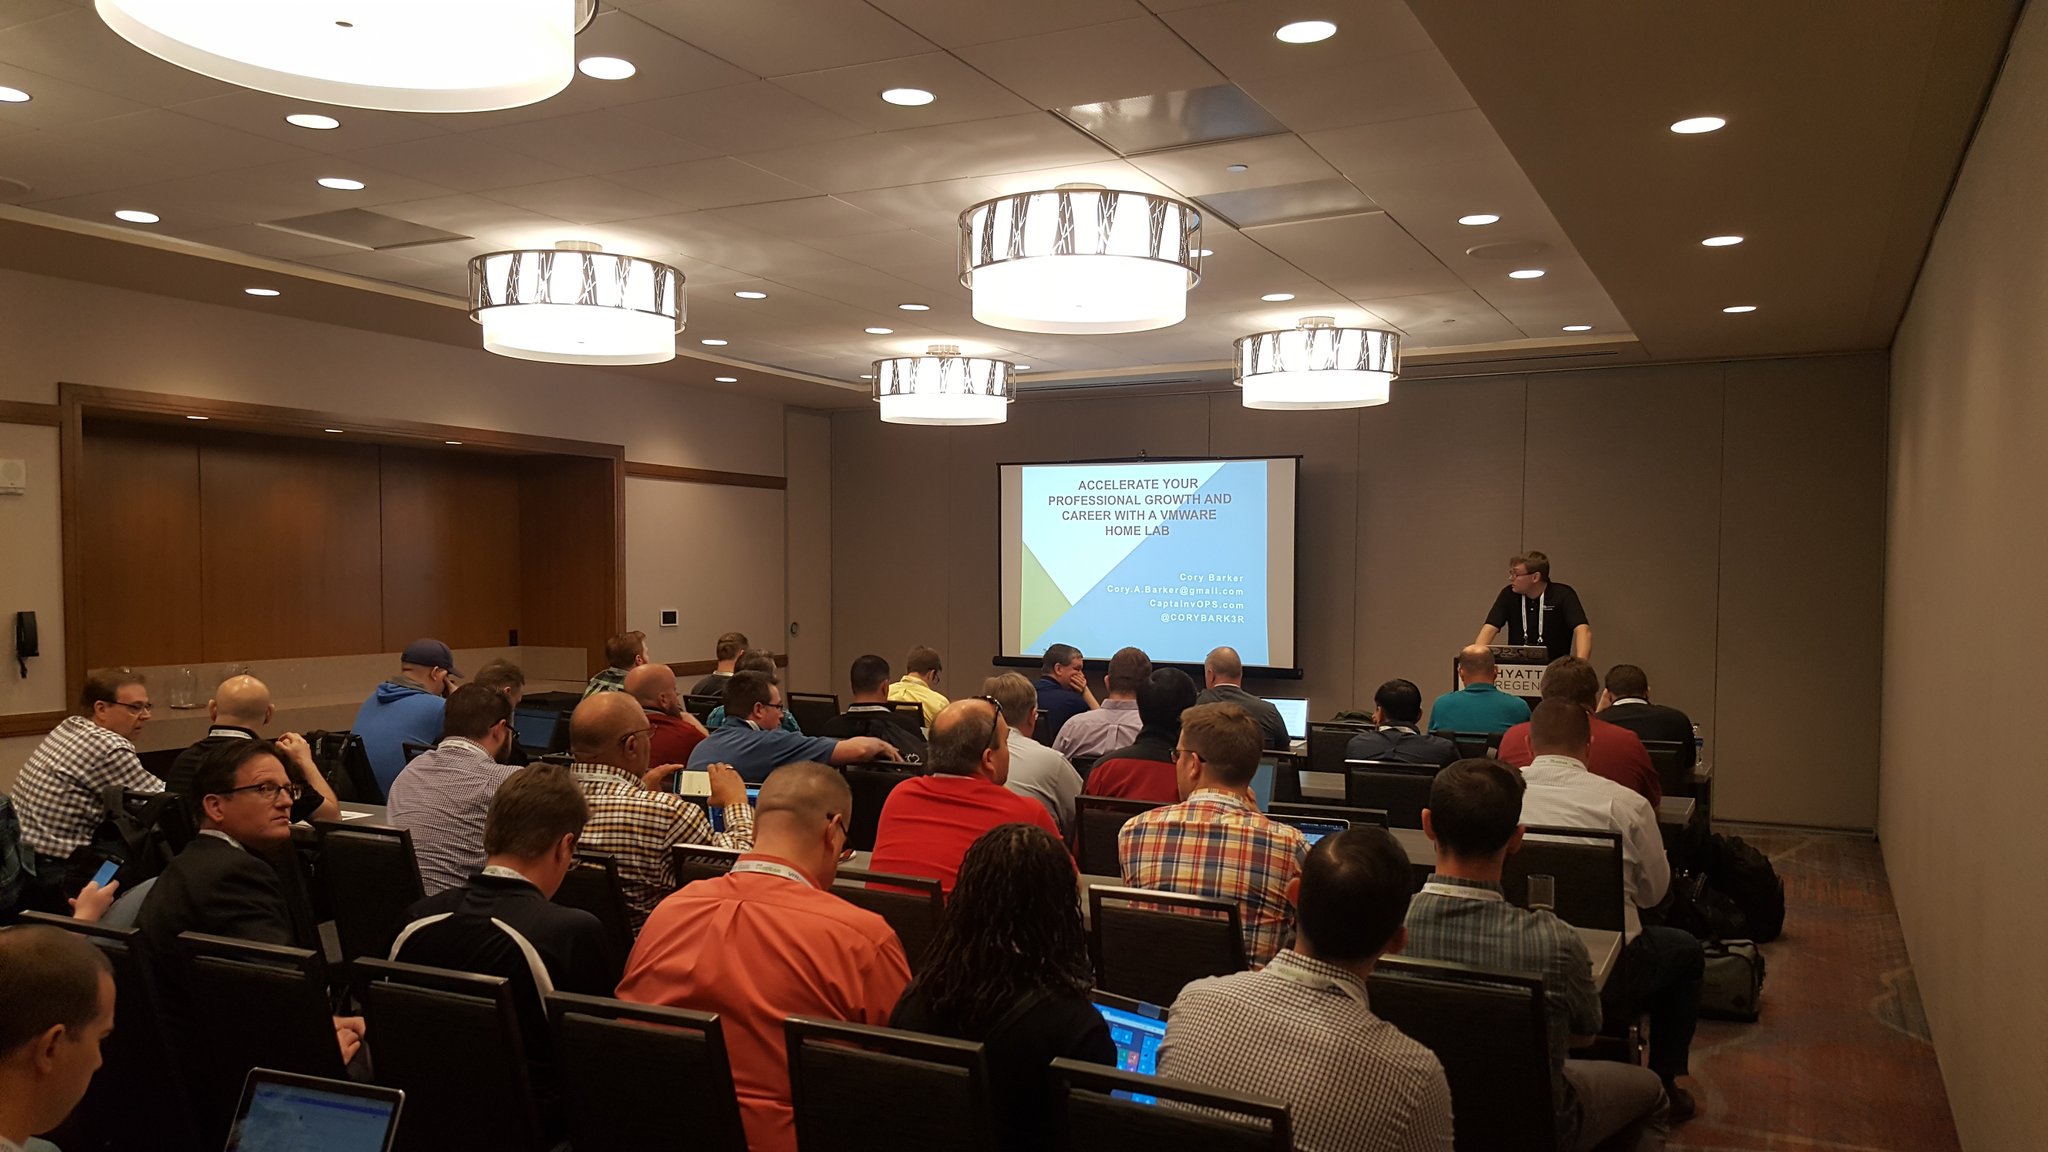
The ninja, and co-leader of the St. Louis UserCon, Jonathan Stewart (@virtuallyanadmi), managed to take a picture of me giving my presentation.
A special thank you to the St. Louis VMUG leadership team, who invited me out to meet and share with their community: Marc Crawford (@uber_tech_geek), Jonathan Stewart (@virtuallyanadmi) and Mike Masters (@vMikeMast)
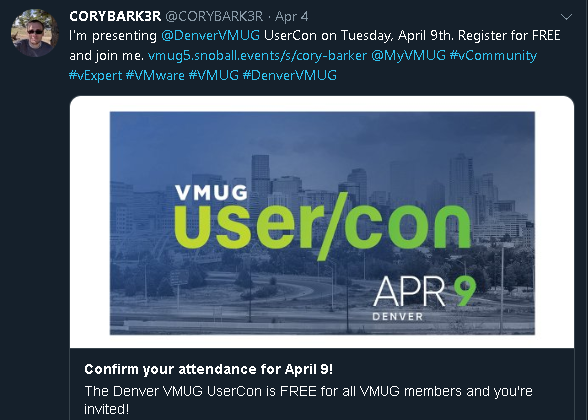
This post is a little late, considering the Denver VMUG UserCon was on April 9th, but alas I have been traveling a lot over the past few months
The Denver UserCon was my first time speaking at a public event in front of a large audience. Public speaking is something that I have thought about doing for a while now, and how fitting that my first event, be a year after my very first UserCon attendance, at the very same venue. If I am completely honest, as this was my first time, I was a little nervous, but like anything you just have to take that leap of faith.
My good friend Ariel Sanchez (@arielsanchezmor) has been encouraging me to start this journey, and because this will give me the skills I need for a future role as a marketing engineer, I decided this would be the year to get my feet wet. But what to present?
I’d like to think that most presenters have a blog, that they can reshape into a power point presentation, so I submitted two community sessions. One about vROps, and the other about VMware homelabs. We in the #vCommunity use home labs a lot. Not only our daily use, but to better ourselves professionally. Home labs give us a safe place to experiment with new VMware releases, plan upgrades, and just familiarize ourselves with other products that we may not have a chance to work with in a production environment.
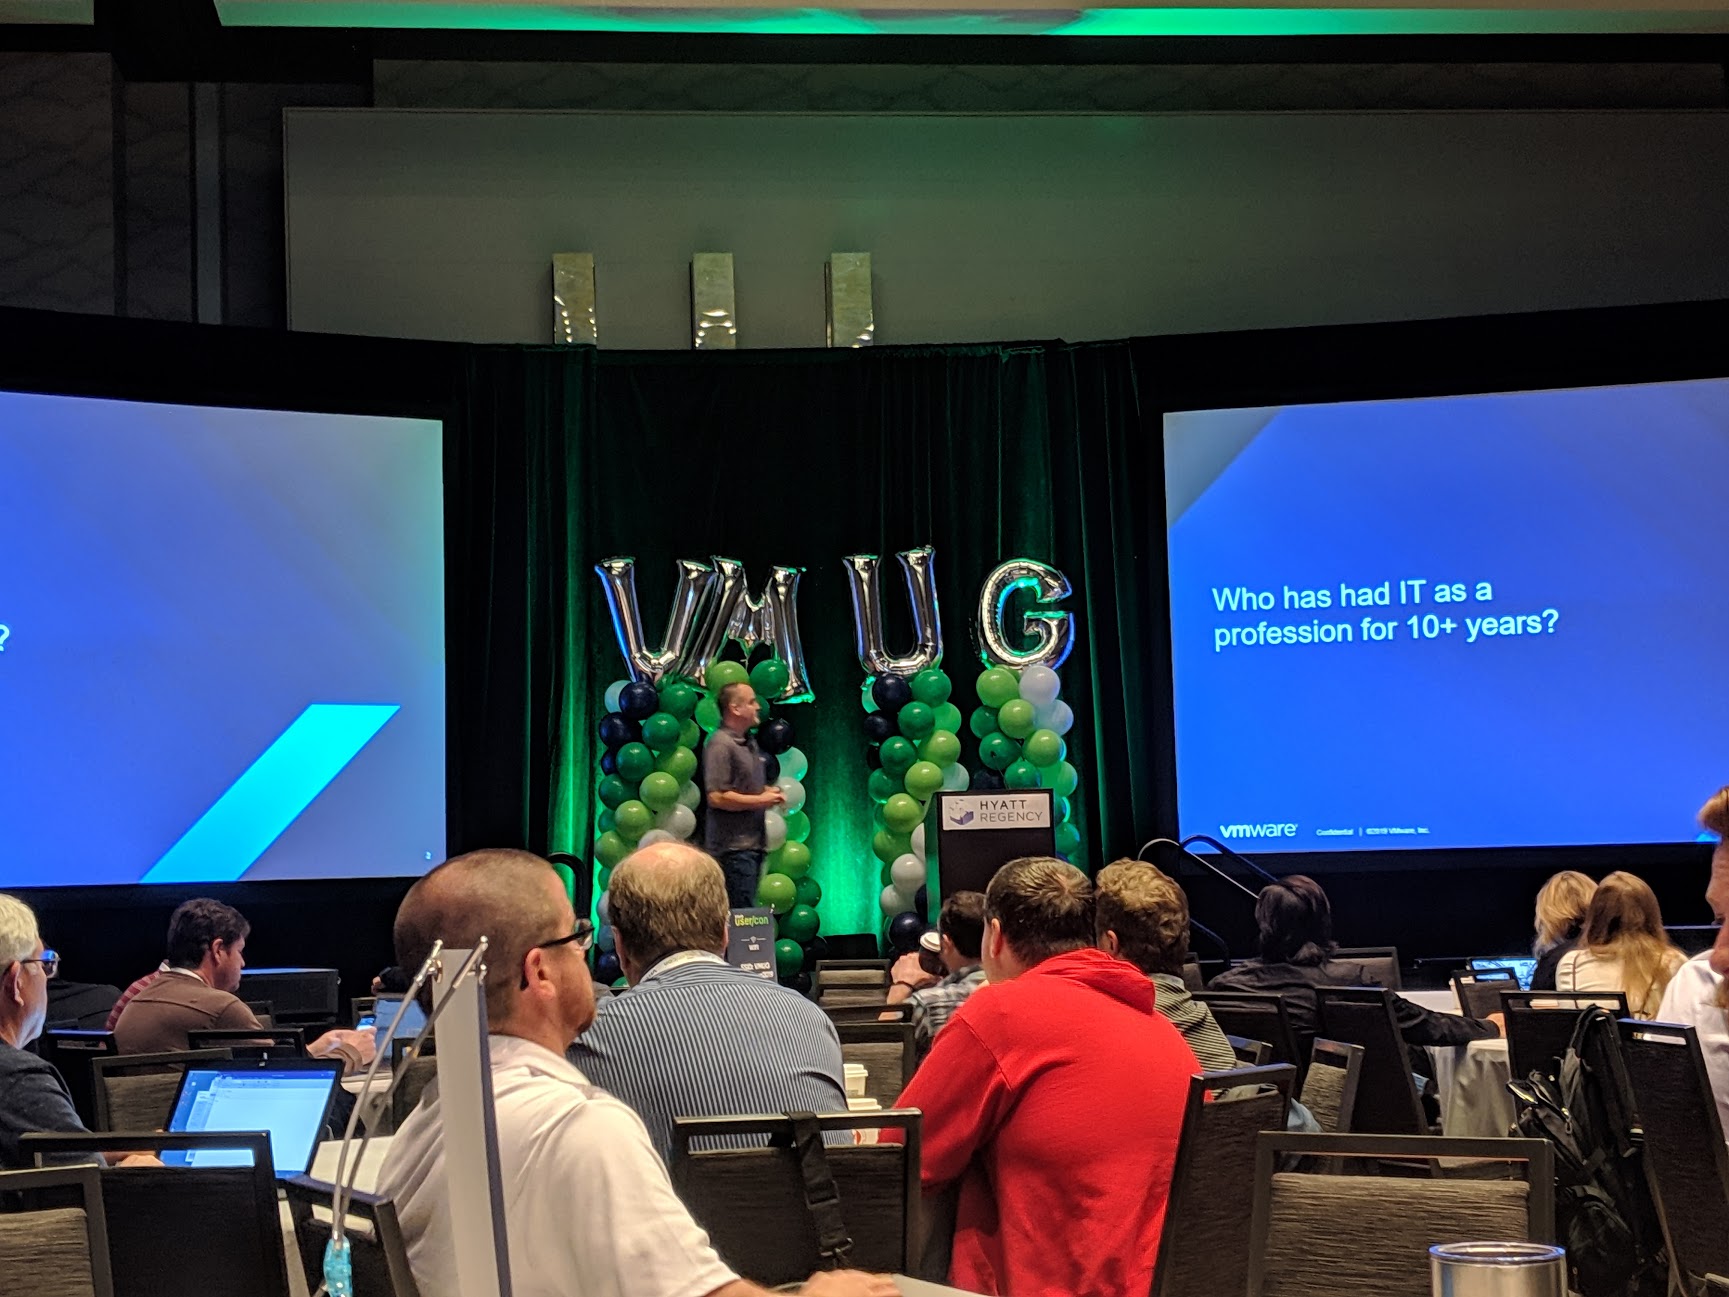
As such, the VMUG community leadership selected my presentation on “How VMware Home labs How a VMware Home lab Can Accelerate Your Career”.
Given the amount of attendees who came to learn and support my first presentation, I’d say that the desire to learn and build a VMware home lab is strong.
I’m not going to lie, as this was my first time, I was certainly nervous. Breath…..count to five……..jump. The presentation was well received, and my friends who joined in support, gave me some positive feedback, along with constructive feedback for improvement.
The evening was capped off with a nice dinner with friends from the #vCommunity.
A special thank you to the Denver VMUG leadership team, who invited me out to meet and share with the community: Jason Valentine (@JasonV_VCP5), Tony Gonzalez (@vGonzilla) and Scott Seifert (@vScottSeifert)


You must be logged in to post a comment.