
Blog Date: December 2, 2021
VMware Cloud Foundation 4.3.1 used during deployment.
In my last post, I went over the process of Configuring Your First Kubernetes Namespace. In this post I will go over the simple steps to enabling the embedded harbor registry. There are basically two methods to deploying a Harbor registry; the embedded harbor which I will be showing in this post, and Deploying Harbor Registry as a Shared Service.
Note: To use the embedded Harbor Registry, you must deploy the Supervisor Cluster with NSX-T Data Center as the networking solution.
Procedure:
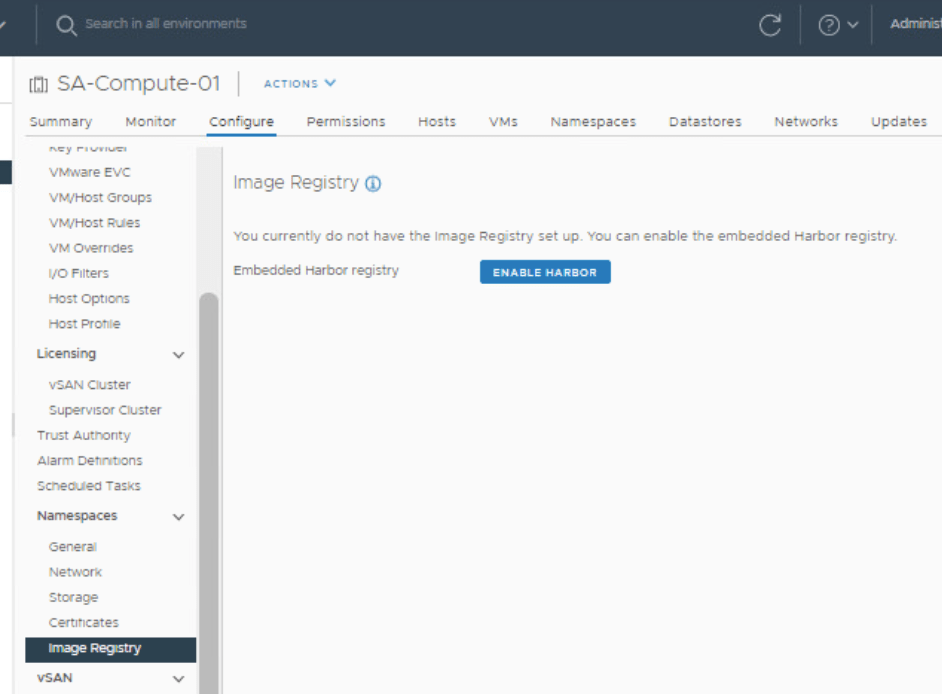
In the vSphere client/workload domain that has Tanzu deployed, select the compute cluster, click on the configure tab, and then in the center menu, scroll down until you find Namespaces. Under Namespaces, select “Image Registry”.
Click Enable Harbor.
In the Select Storage Policies window, select K8S Storage Policy and click OK

The embedded Harbor Registry begins deploying.
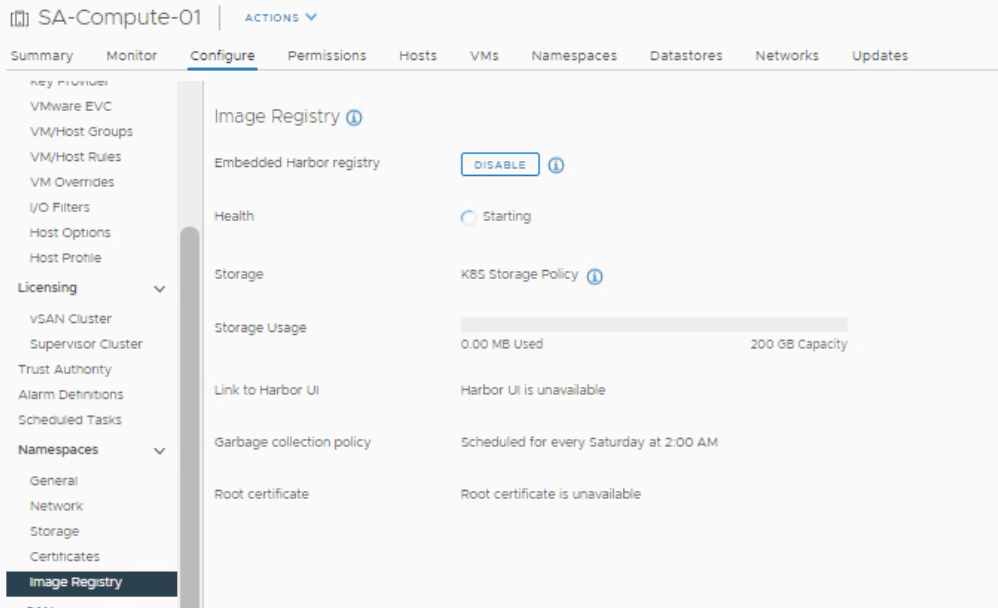
The deployment can take up to 20 minutes depending on how large the cluster is, but I have seen the deployment take less than 10 minutes for small clusters of four.
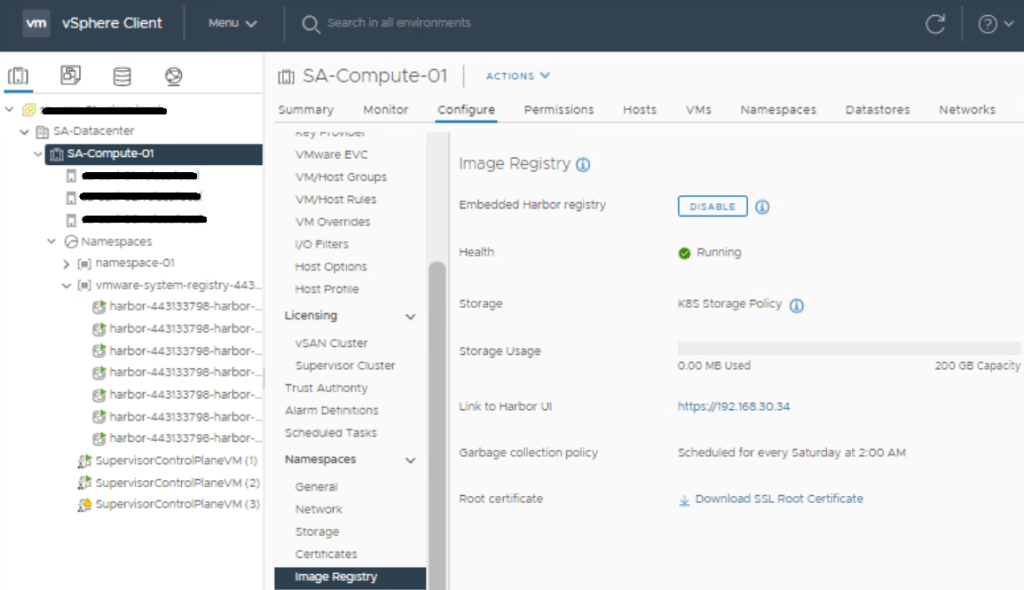
You’ll find the IP address and link to the Harbor UI on this page once the deployment completes. We’ll come back to this in a later post. If you’d like, you can log into the harbor registry UI with the user and or group account that was defined in the namespace permissions section.
In my next post, I’ll go over the steps of getting the Ubuntu VM ready, which I will either refer to as the developer box or developer workstation. We’ll get docker installed, the vsphere plugin which has the Kubernetes cli, and the docker credential helper to start with. Later on we’ll also install some TKG extensions like helm, kapp, and ytt.

You must be logged in to post a comment.