
Blog Date: February 2026
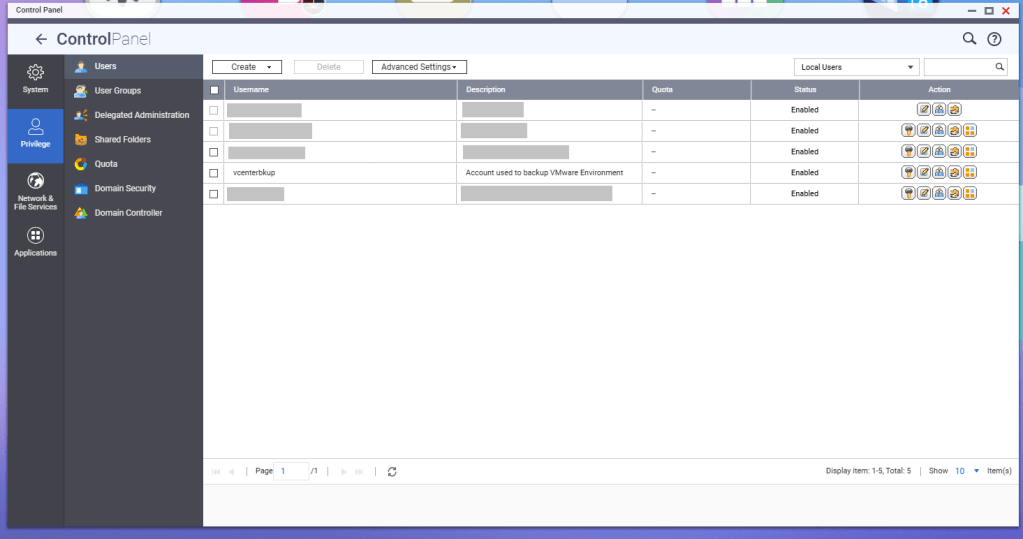
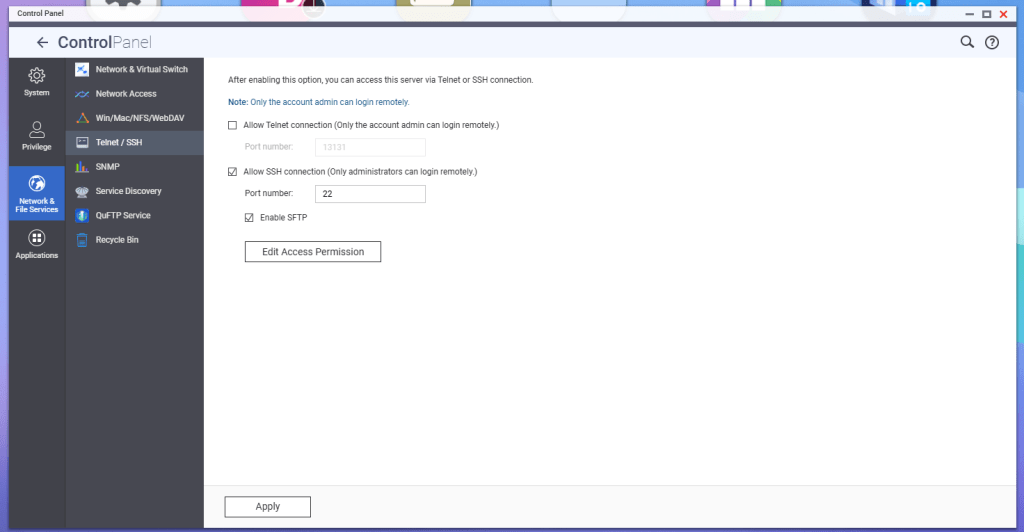
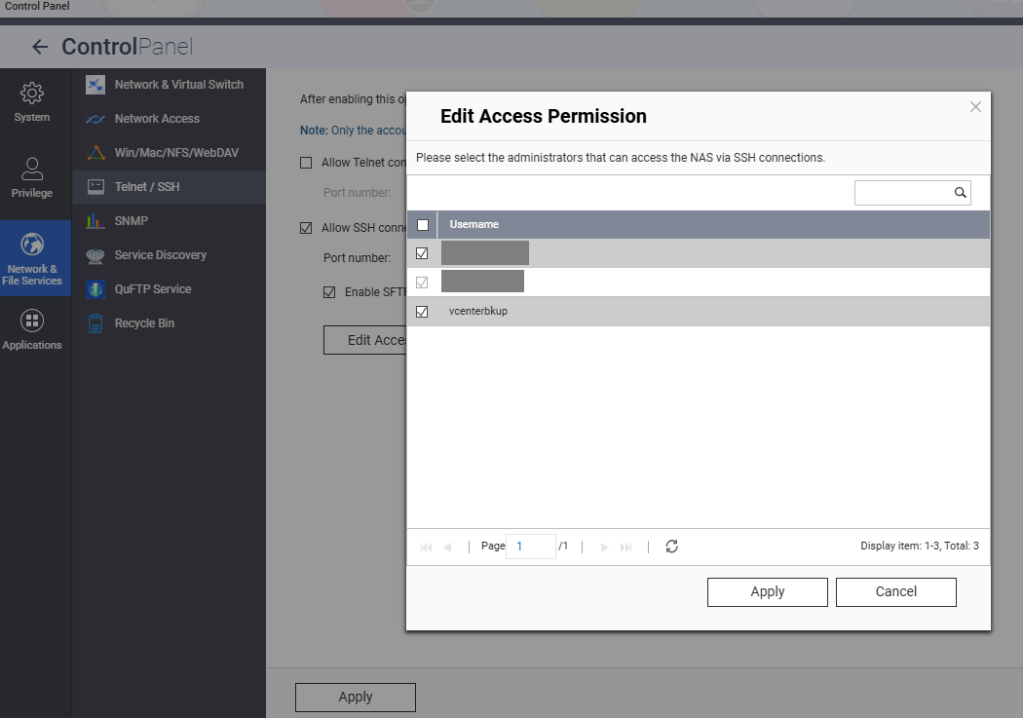
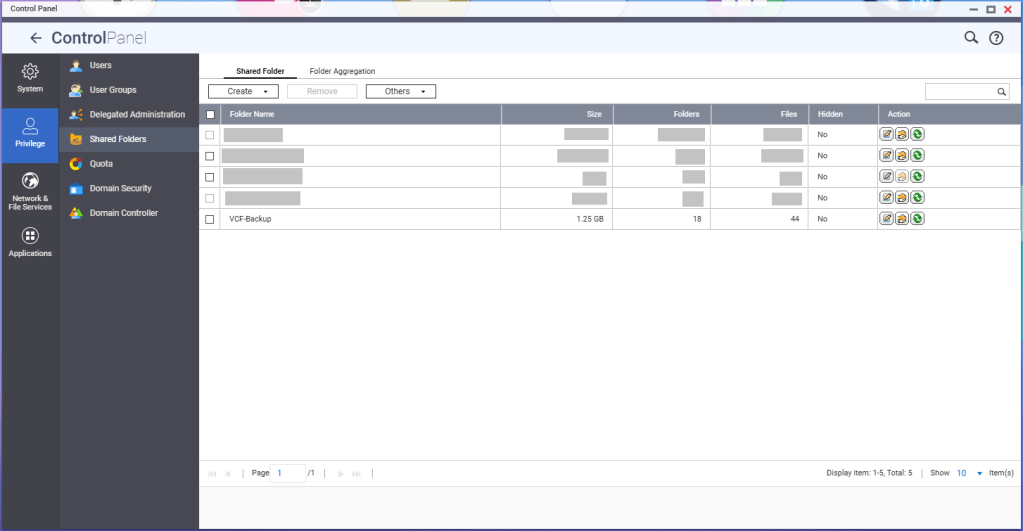
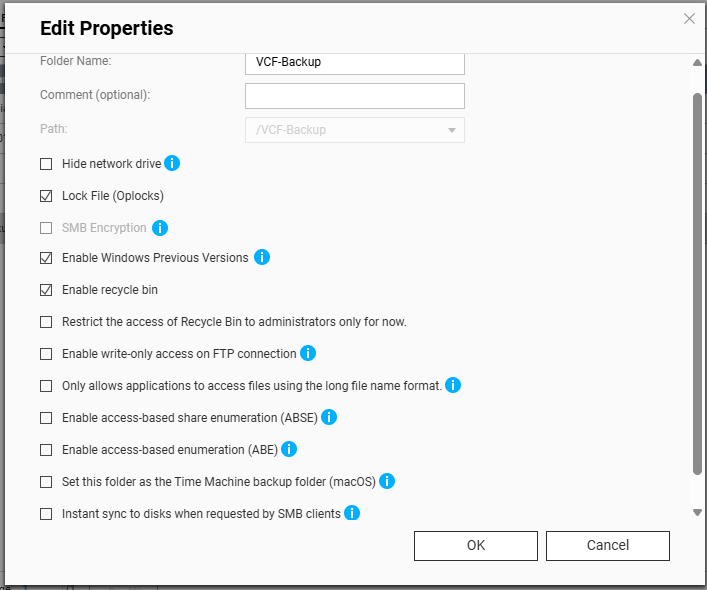
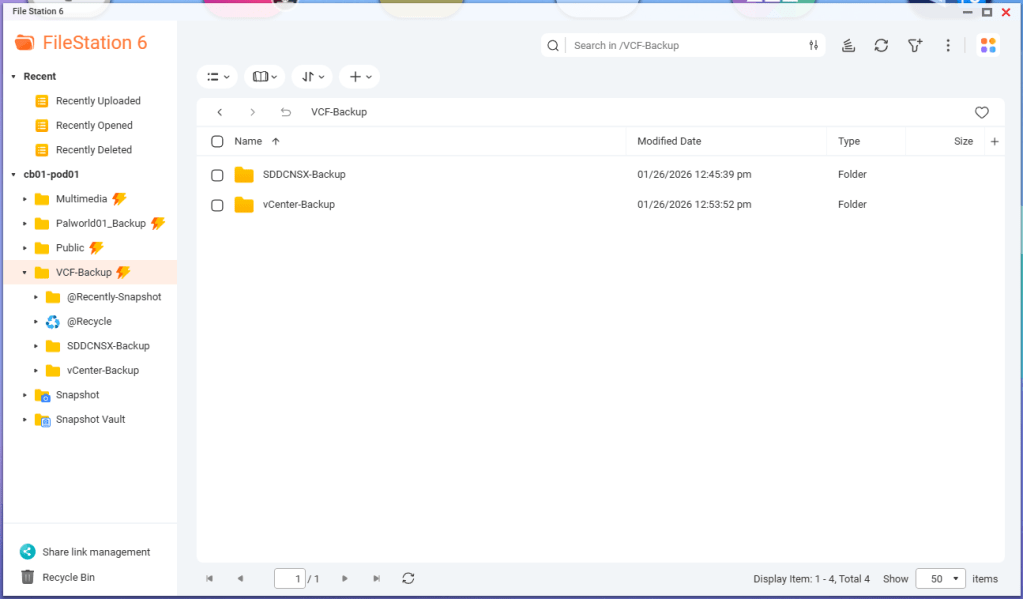
In my previous bog HERE, I walk through the steps of creating a backup directory on a QNAP NAS, enable SFTP connections, and created a service account. In this blog, I will complete the backup configuration in the SDDC manager for this VCF 9 deployment in my home lab.
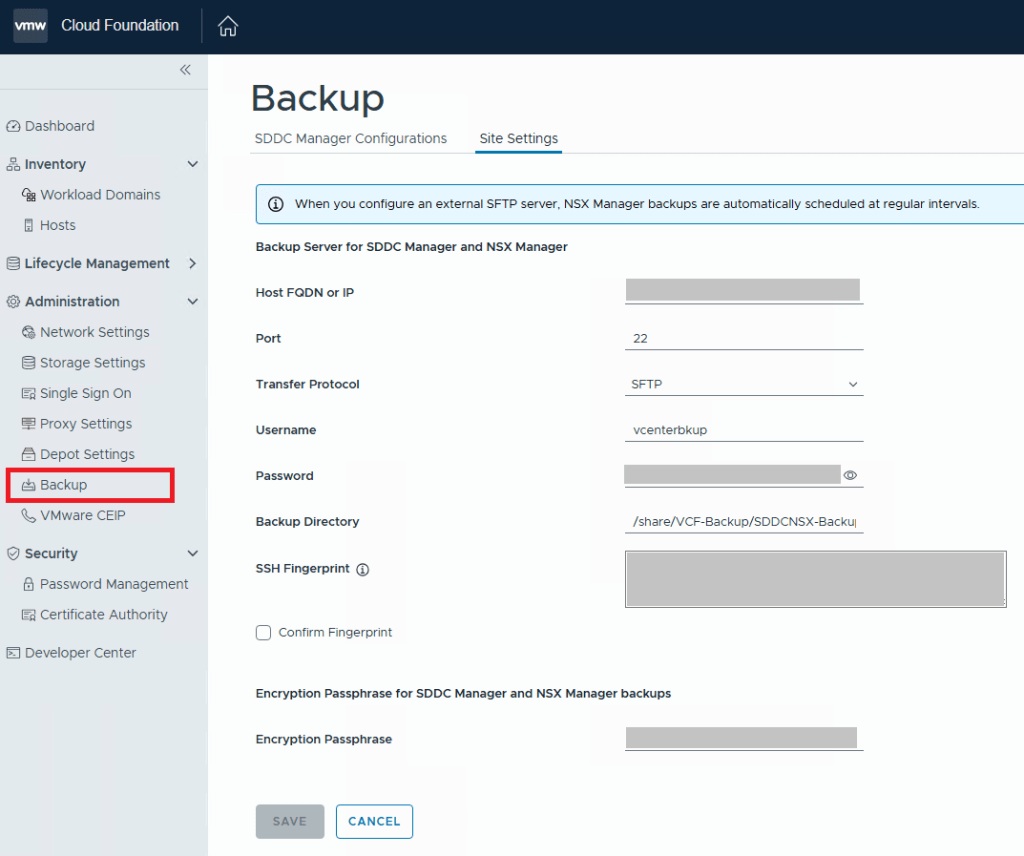
For VCF 9.0.X, and previous versions, you log into the SDDC manager, and click on Backup on the left side menu under Administration. On the “Site Settings” tab, you then fill in your specifics for backup configuration.
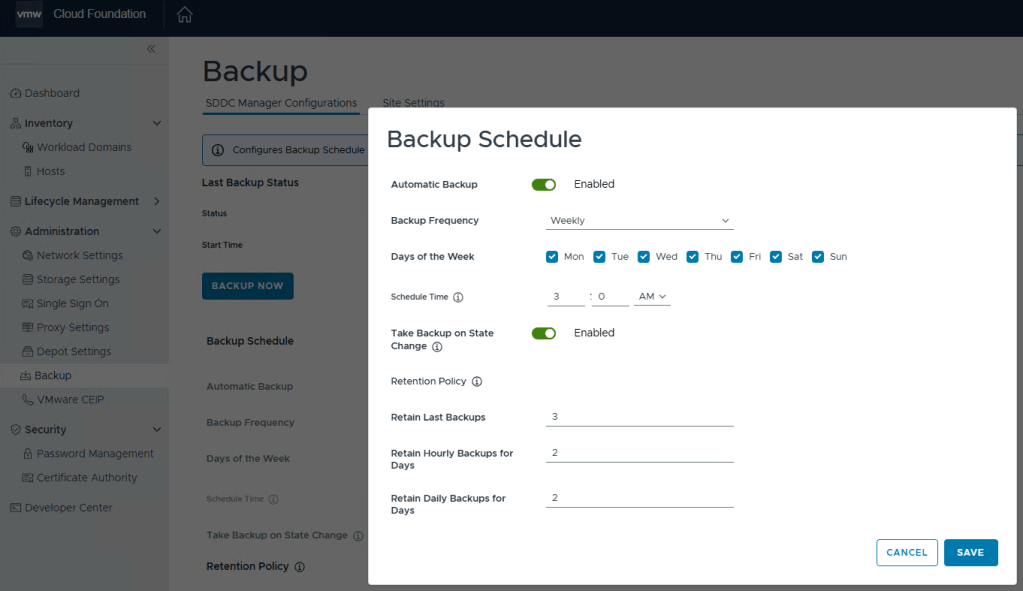
After you click the Save button, go back to the “SDDC Manager Configurations” tab, and now you will be able to click “EDIT” next to the backup schedule.
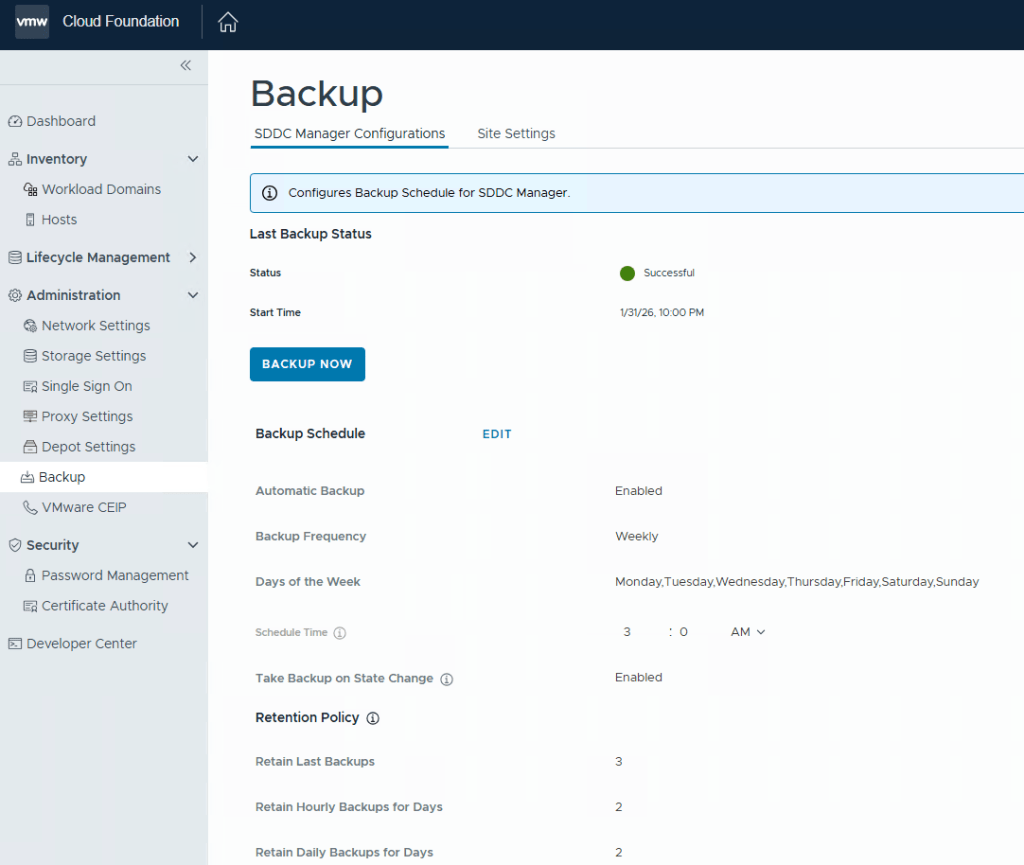
You can define the backup schedule to suit your needs depending on how busy your environment is, and how often workload domains are updated. This schedule however, does not reflect your NSX backup which is counter intuitive considering enabling the backups in the SDDC manager also enables the backups in NSX. Just not the schedule.
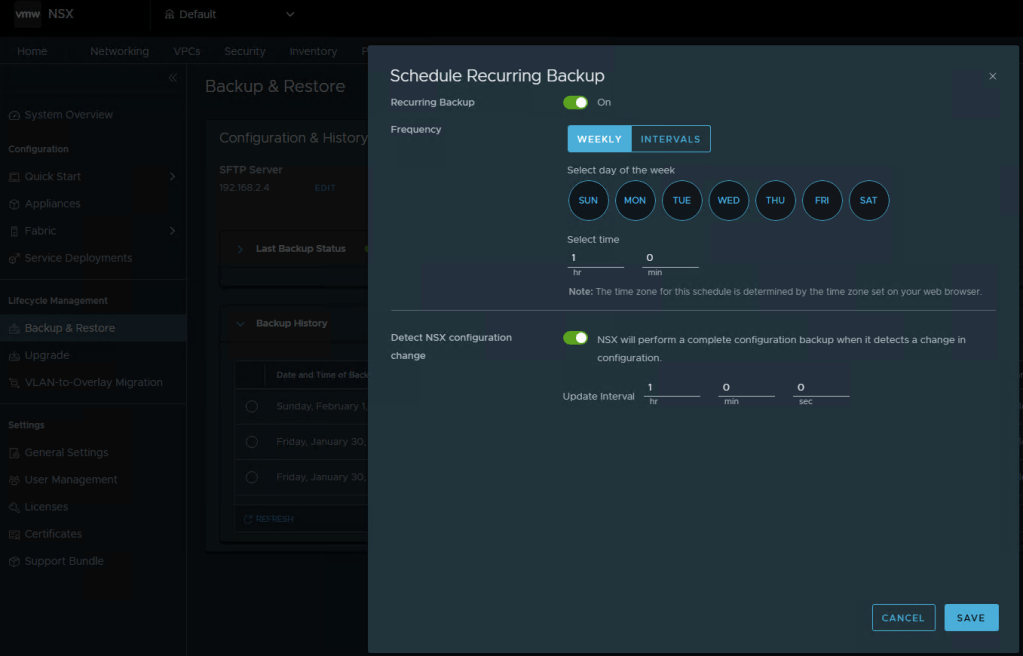
To modify the NSX backup schedule, you’ll need to log into NSX, click the “System” tab, and then select “Backup & Restore” under Lifecycle management on the left menu.
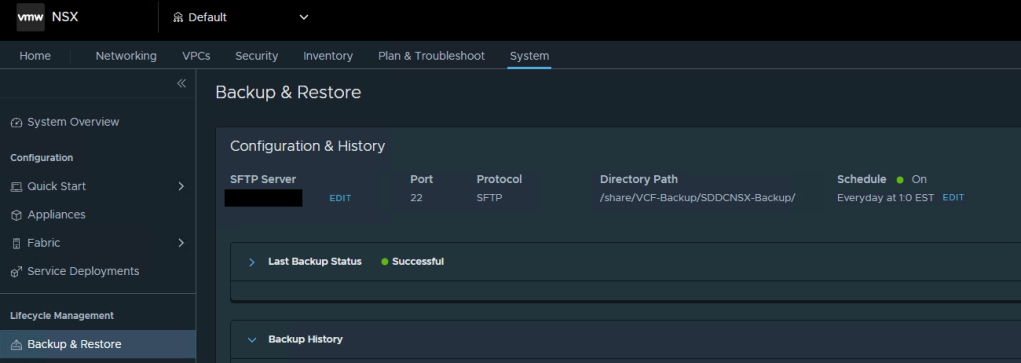
Here you can click “EDIT” to adjust the NSX backup schedule to suite your needs. Click SAVE when finished.
Lastly, we still need to define the backups schedule in the vCenter 5480/vami administration page.
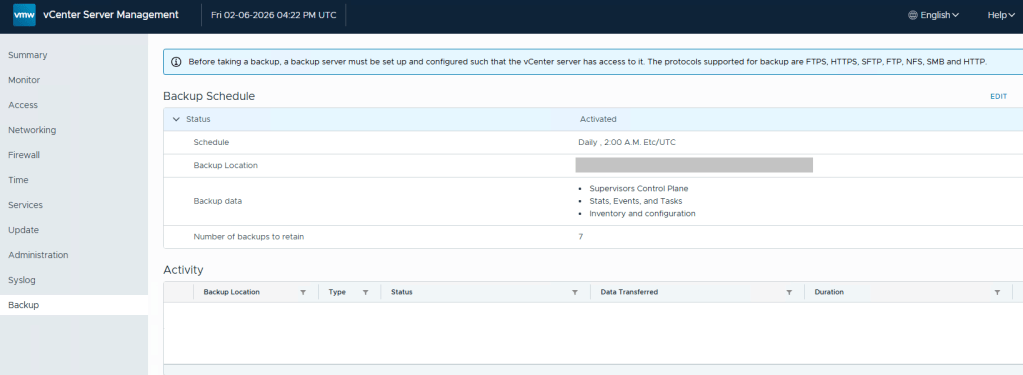
Define the backup schedule that will suit the needs for your environment. Keep in mind that when you install updates/upgrades to the VCF environment, the pre-check will fail if there’s not a recent backup within the last 24 hours. My advise here would be to schedule daily backups to avoid the precheck critical failure. Honestly, it should just be a warning, but I digress…
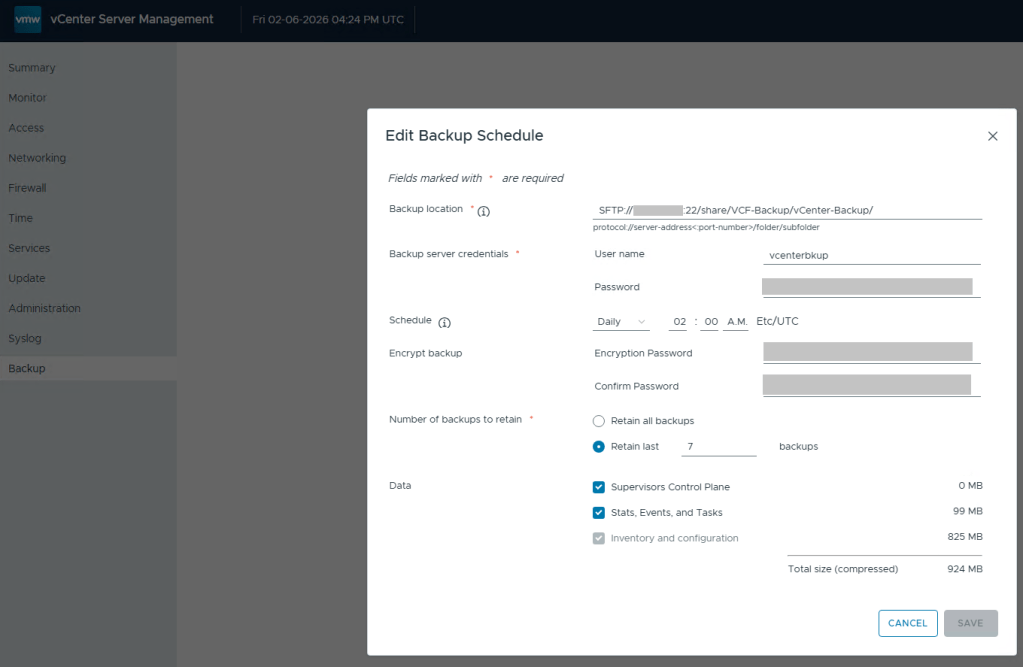
After you define a backup schedule, it’s a good idea to manually kick off a backup job to be sure the configuration works.


You must be logged in to post a comment.