
Blog Date: August 16, 2022
vSphere version 7.0.3 Build 20150588
Storage Policies for vSphere with Tanzu
Part of the prep work prior to Tanzu Kubernetes deployment in your environment, is to configure a storage policy or policies for Tanzu workloads. for more information, consult VMware’s Storage Policies for vSphere with Tanzu and vSphere with Tanzu Storage documentation. Here I will walk through the basic configuration we setup for customers to get them started.
Create the Storage Tag
1 – in the vSphere inventory, select the desired storage to house the Tanzu Kubernetes workloads.
2 – Under tags, click assign.

3 – Click Add Tag
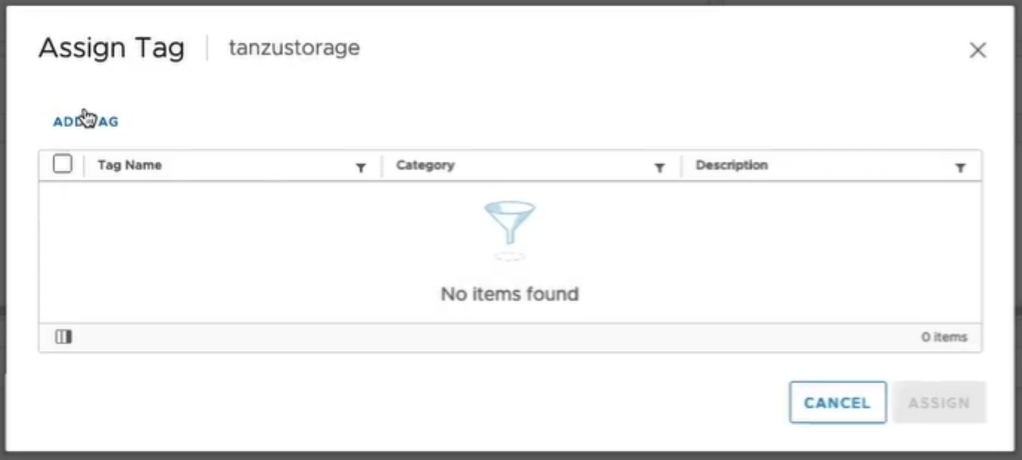
4 – Name the tag. In this example we are using tanzu.

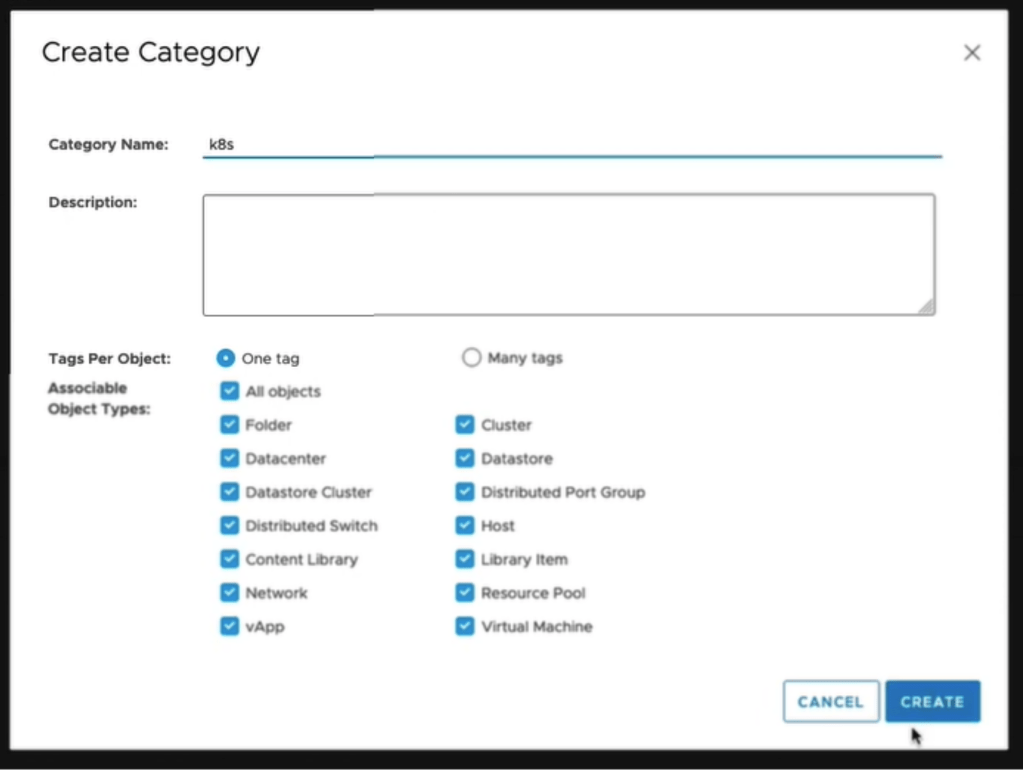
5 – Click the Create New Category, and give it a name. In this example we used: k8s
Leave all other defaults, and click CREATE.
6 – Click CREATE again to complete the tag setup.
7 – Assign the newly created tanzu tag to the datastore.
Create and Assign a Storage Policy
1 – On the vSphere menu, select “Policies and Profiles”.
2 – Under VM Storage Policies, click CREATE.

3 – Name the storage profile. Make sure to use a DNS compliant name (lowercase, no spaces). In this example, we used : tanzu-storage. Click NEXT

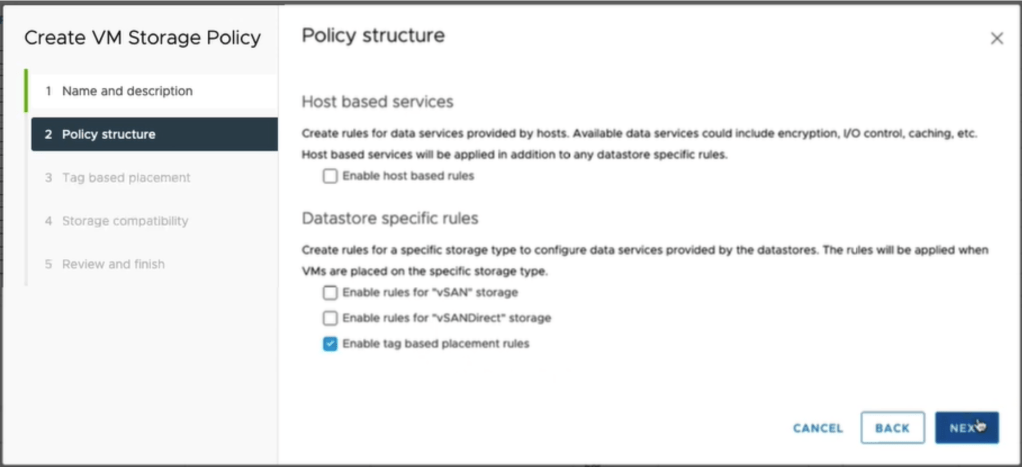
4 – On Policy structure, Enable tag based placement rules. Click NEXT
5 – On the Tag based placement screen:
5a – Choose the Tag category: k8s
5b – Usage option: Use storage tagged with Tags: tanzu
5c – Click NEXT

6 – On the Storage compatibility screen, the tagged compatible datastores will be listed. Click NEXT
7 – Review and click FINISH.
At this point, we just completed the configuration and assignment of storage tags and policies. Let’s create the subscribed content library for Tanzu.
Create Subscribed Content Library for Tanzu Kubernetes
For more information on creating a subscribed content library for Tanzu Kubernetes, see VMware documentation here.
1 – vSphere Menu, Select Content Libraries, and click CREATE.

2 – Name the new content library (example: tanzu-content-library), select the desired vCenter and click NEXT.
3 – Configure the content library.
3a – Choose “Subscribed content library”
3b – Enter the Subscription URL: https://wp-content.vmware.com/v2/latest/lib.json
3c – Download content frequency depends on customer needs and bandwidth requirement. There’s roughly 27 OVAs available to download.

4 – Click NEXT
5 – Respond yes to the “tanzu – unable to verify authenticity” message. This is expected
6 – Select a security policy if needed, otherwise click NEXT.
7 – Select the storage for the content library.
8 – Review the configuration, and click FINISH
Depending on the chosen sync frequency, you may start to see that a sync has started in the vSphere recent tasks window. If you click on the content library, you can see the available OVAs.

This completes the vSphere environment prep for the Tanzu deployment.

You must be logged in to post a comment.