
Blog Date: September 08, 2022
NSX-ALB Controller version: 22.1.1
vSphere version 7.0.3 Build 20150588
In this vSphere with Tanzu NSX-ABL series, I have covered several prerequisites and deployments leading up to this final blog in the series, the actual deployment of Tanzu on the NSX-ALB controller. You can find those blogs here:
1 – vSphere with Tanzu: NSX-ALB Controller Requirements and Deployment Prep
2 – vSphere with Tanzu: Deployment of NSX-ALB Controller
3 – vSphere with Tanzu: Replacing NSX-ALB Controller Certificates
4 – vSphere with Tanzu: Configuring the NSX-ALB Controller
5 – vSphere with Tanzu: Storage Policy and Subscribed Content Library Creation
If you have been following along in this blog series of Deploying Tanzu with NSX-ALB controller, I have been using a spreadsheet filled out ahead of time for this deployment. We will be referring to it here to it here as well to deploy Tanzu. Note: In this style of deploying the NSX-ALB controller without NSXT networks, we do not get access to the embedded harbor registry.
Prior to deploying Tanzu, you need to create some storage tags and policies (at least one of each), and create a subscribed content library. I go through that setup here.
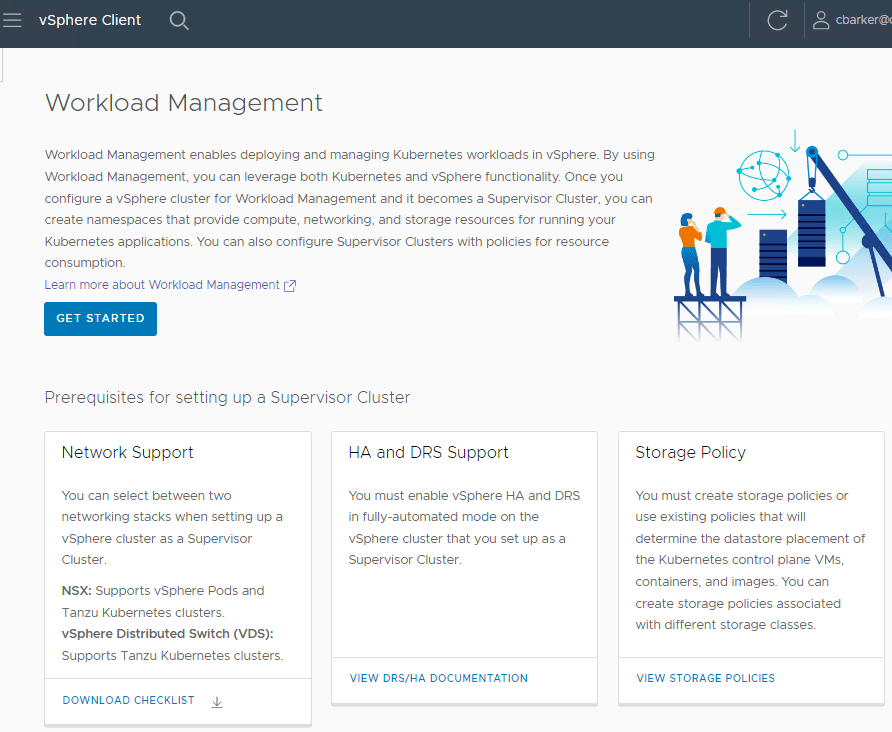
In this deployment example, I am only using the NSX-ALB controller with no NSX(NSXT) networks. vSphere Distributed Switch is selected by default. Click NEXT in the lower left.

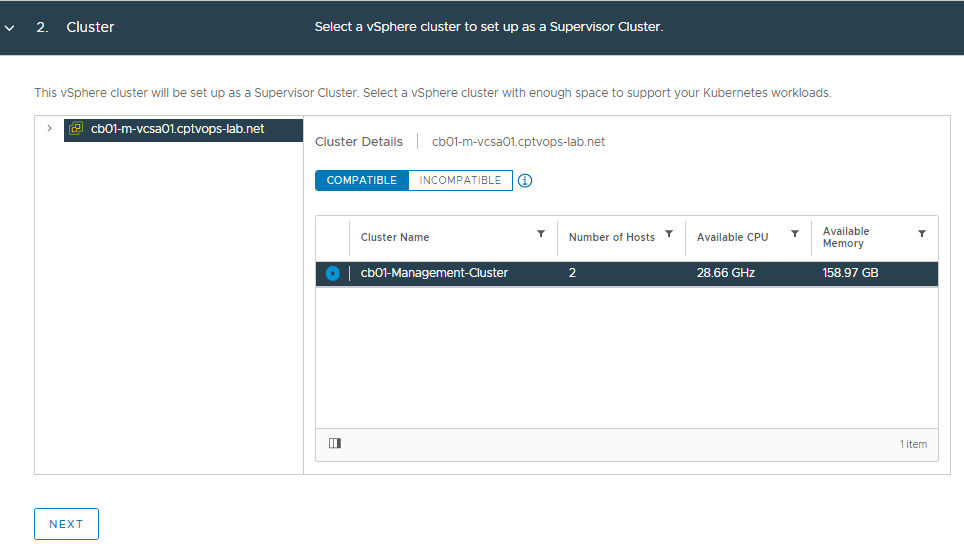
VMware recommends a minimum of 3 hosts in a compute cluster when enabling Tanzu for production deployments. However, this is a lab and I only have 2 hosts available. Select the desired compute cluster with HA and DRS enabled. If no cluster is compatible,
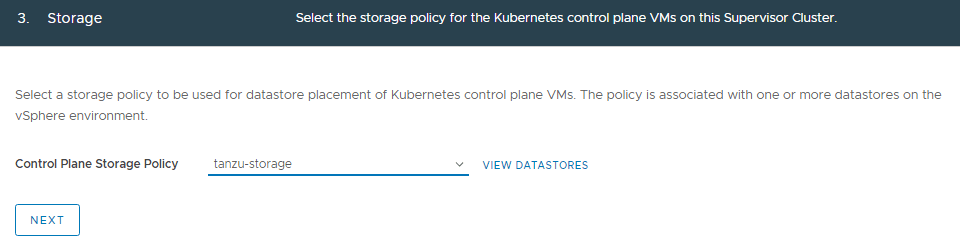
Select the desired storage policy and click NEXT.
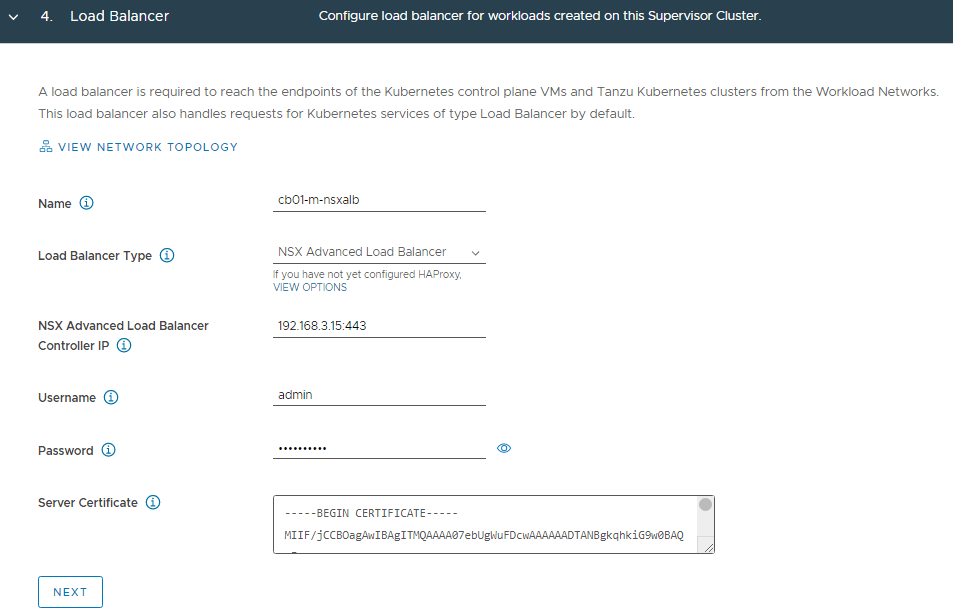
Refer to the spreadsheet, and fill in the information for the NSX-ALB controller. You will also need to log into NSX-ALB and get the certificate for the controller. This can be found on Templates > Security > SSL/TLS Certificates. Click on the down arrow to the right of the controller to export, and then on the new screen that opens, under Certificate, click COPY TO CLIPBOARD.
Click NEXT
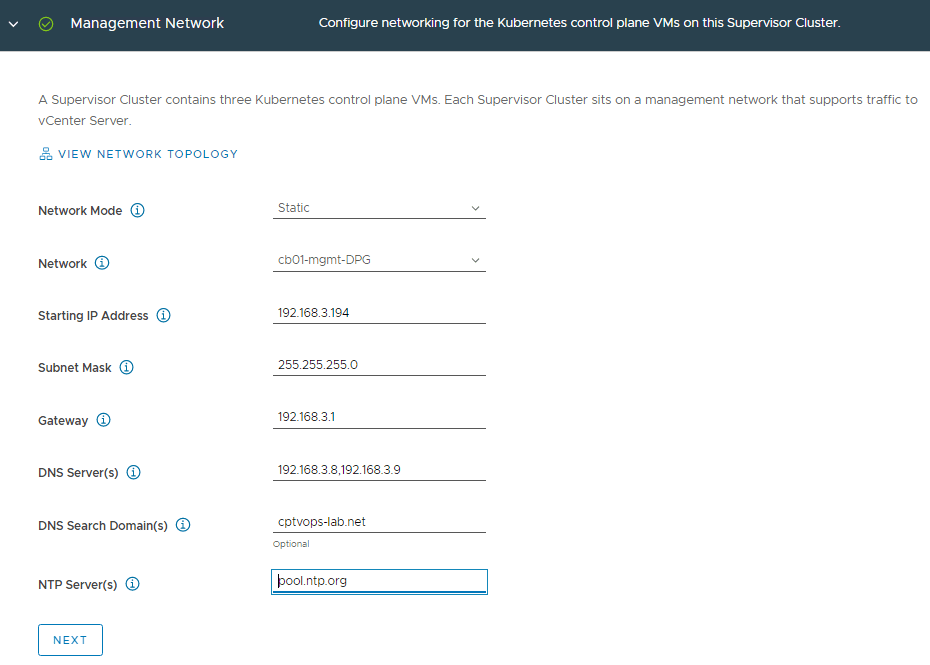
Refer to the spreadsheet, and fill in the details for the management network. Remember the control plane needs a block of 5 consecutive IP addresses.
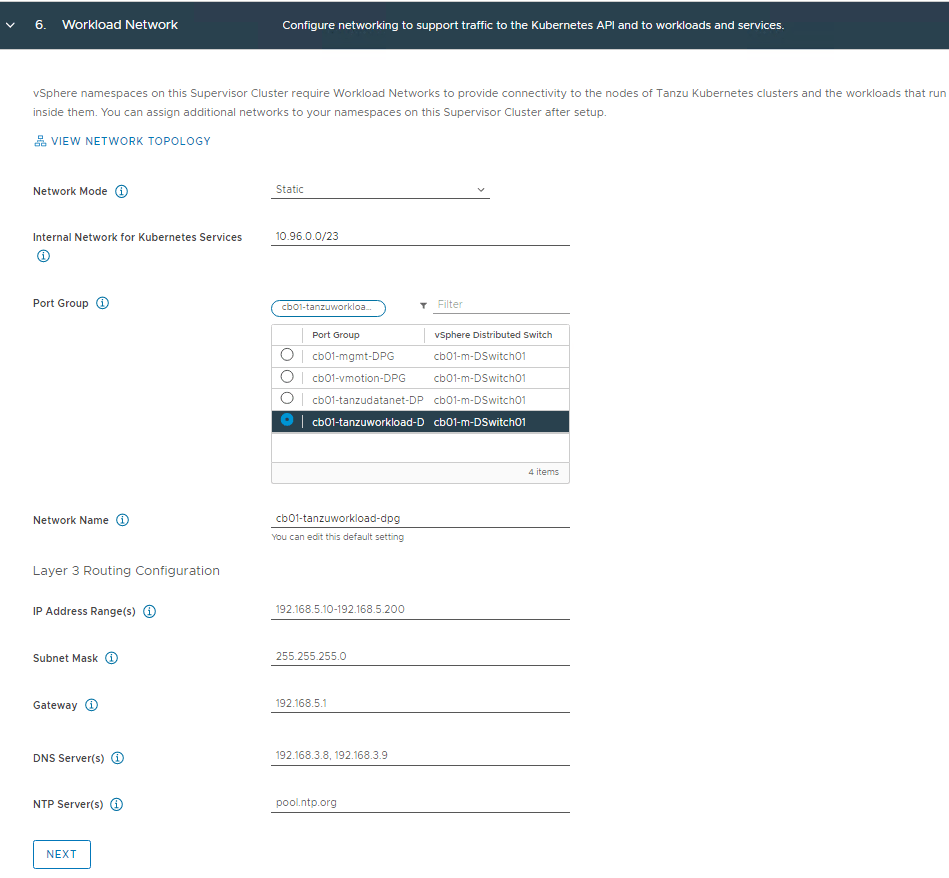
Refer to the spreadsheet, and fill in the details for the workload network. The “Internal Network for Kubernetes Services” default CIDR can be used. You can also specify your own if the default CIDR conflicts with other networks. This is strictly for internal communication.
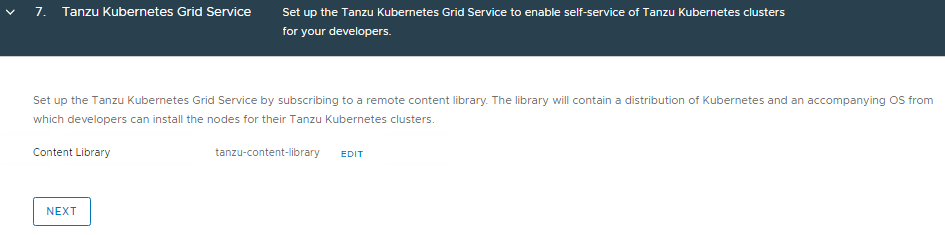
Select the content library we configured earlier.
Choose the Control Plane Size that fits your needs and add the API server DNS Name. A word of Caution: Even though the “API Server DNS Name(s)” section says ‘Optional’, I would still fill this in. Currently, there is no easy way to add it after the initial deployment.
Click FINISH

The deployment process can 15 to 20 minutes. Sometimes longer depending on the size of the cluster. Good time to grab a drink…
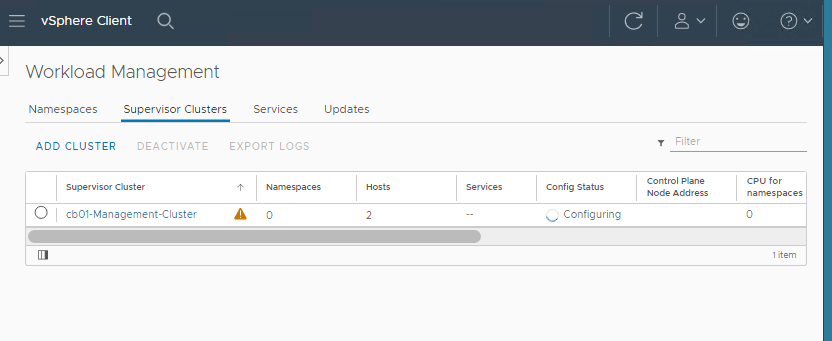
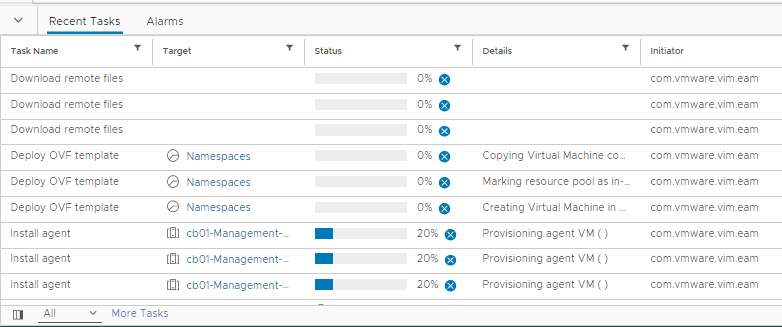
In the vCenter recent tasks window, you should start seeing some deployment activities.
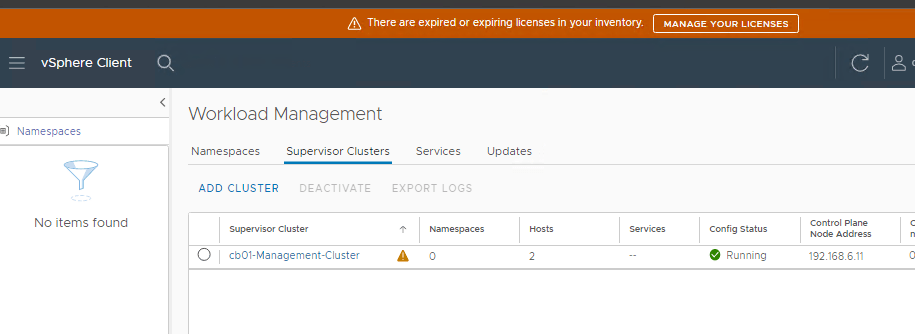
After the deployment completes successfully, there will be a notification bar across the top “TKG plugin has been added”, asking to refresh the browser. After the screen refresh, you should see a config status of Running.
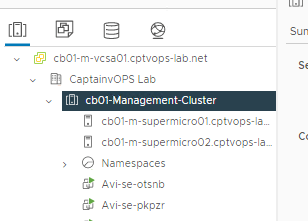
Browsing the vCenter inventory, you should now see a new object called Namespaces, with at least two Avi SE (Service Engine) VMs.
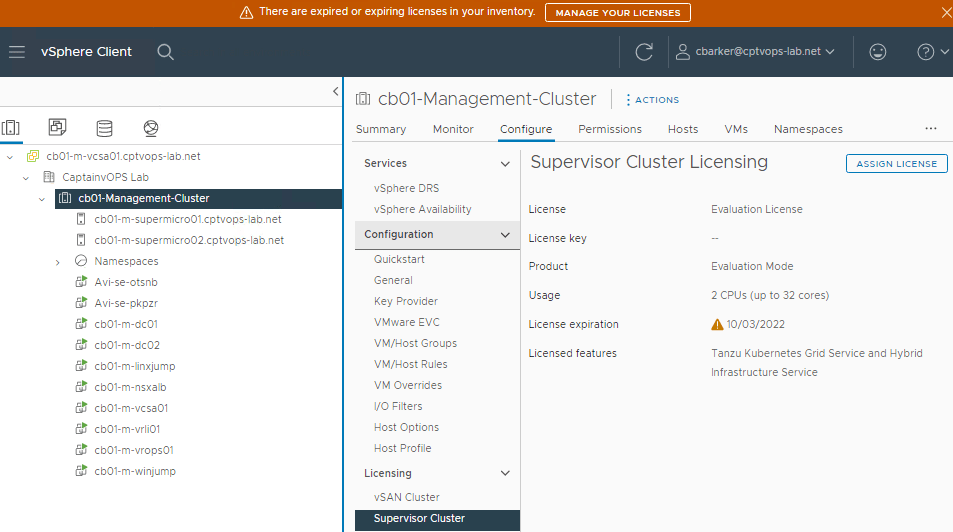
Don’t forget to license the Compute Cluster for Tanzu.
If you haven’t done so already, the next step would be to setup a dev VM to have a common jump server to interact with Tanzu. I have detail that process on the following blog: vSphere with Tanzu: Install Kubernetes CLI Tools from the Tanzu Control Plane on Ubuntu Dev VM
Stay tuned for more content.

You must be logged in to post a comment.