
Blog Date: November 08, 2022
NSX-ALB Controller version: 22.1.1
vSphere version 7.0.3 Build 20150588
In the previous blog series I covered deploying vSphere with Tanzu using the NSX Advanced Load Balancer. You can find those blog posts below:
1 – vSphere with Tanzu: NSX-ALB Controller Requirements and Deployment Prep
2 – vSphere with Tanzu: Deployment of NSX-ALB Controller
3 – vSphere with Tanzu: Replacing NSX-ALB Controller Certificates
4 – vSphere with Tanzu: Configuring the NSX-ALB Controller
5 – vSphere with Tanzu: Storage Policy and Subscribed Content Library Creation
6 – vSphere with Tanzu: Deploying Tanzu with NSX-ALB
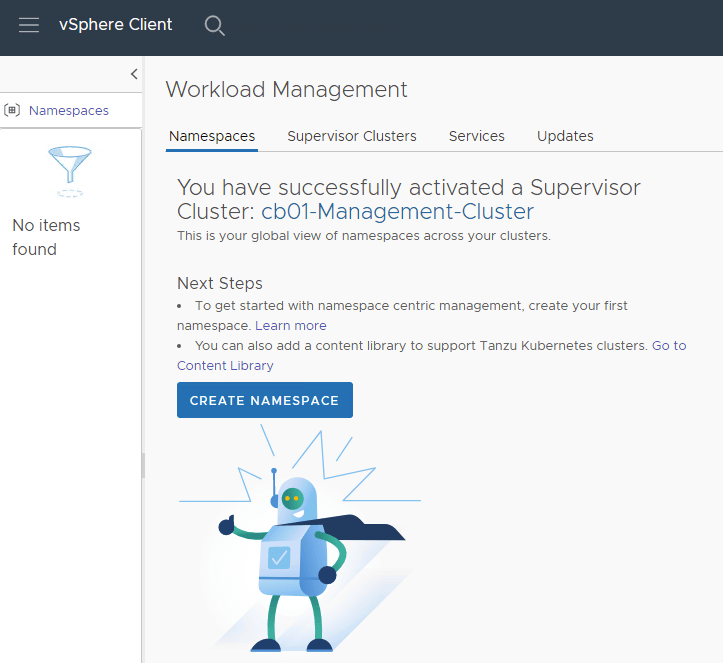
Whether you have a vSphere with Tanzu deployment with NSX-T, a vSphere with Tanzu deployment on VMware Cloud Foundation, or vSphere with Tanzu deployment with NSX-ALB, you will eventually arrive here. In this blog post, I will walk through the process of Deploying and configuring your first Namespace.
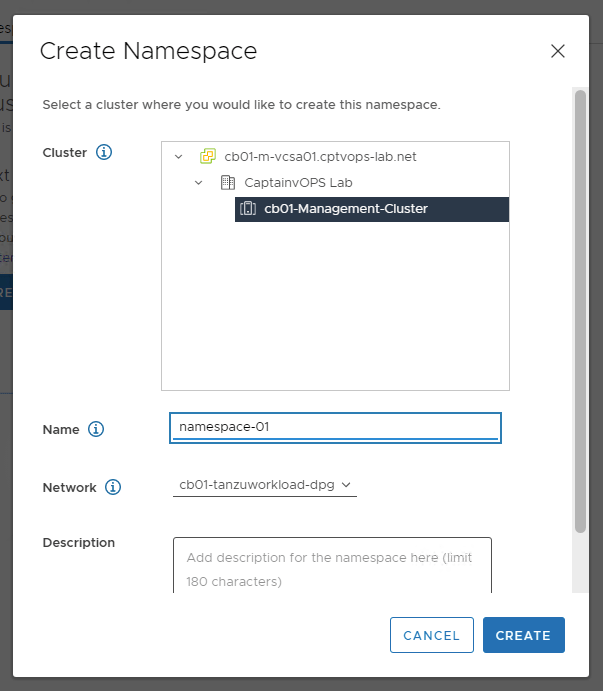
On the workload management screen, you can create your first Namespace on the Namespaces tab by clicking CREATE NAMESPACE.
Be sure to create a Namespace with a DNS compliant name. Click CREATE when ready.
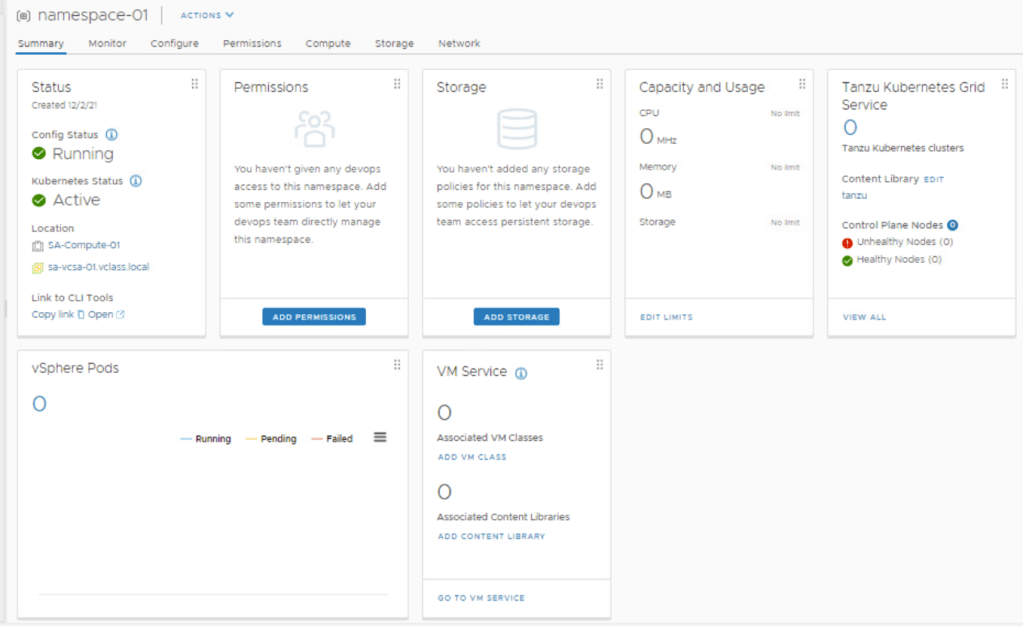
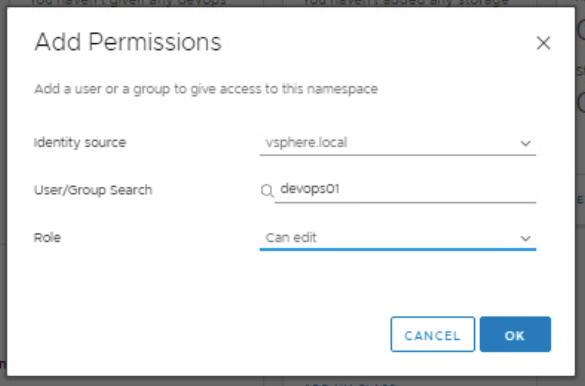
You will also want to set permissions on the Namespace to control access.
- Click Add Permissions
- Identity source: <make selection>
- User/Group Search: <customer specific>. In this example, I have created a vsphere.local account. You can easily use an active directory account or group here.
- Role: <customer specific>. In this example, I have chosen “can edit” that way I can create and destroy things inside the namespace.
- Click Ok
- (Rinse-wash-repeat as necessary)
Click Add Storage and add the storage policy.
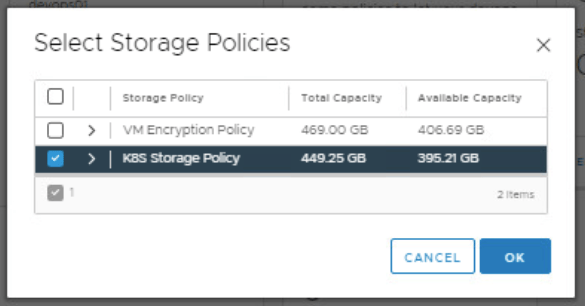
The namespace is configured with a storage policy and user permissions. The assigned storage policy is translated to a Kubernetes storage class.
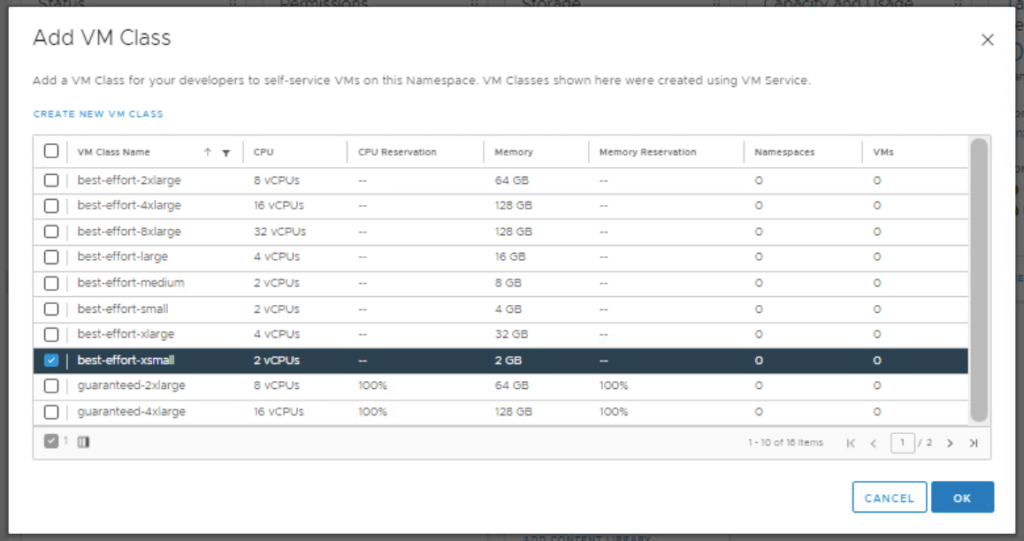
Under VM Service, click Add VM Class. Here we need to associate a VM class with the namespace, that will allow developers to self-service VMs in the namespace. This gives vSphere administrators flexibility with resources available in the cluster. In this example, best-effort-xsmall was chosen because this is a nested lab environment. You should work with your developers to determine the best sizing strategy for the containerized workloads.
Now that the Namespace, Storage, and VM Class policies have all been defined, your window should look something like:
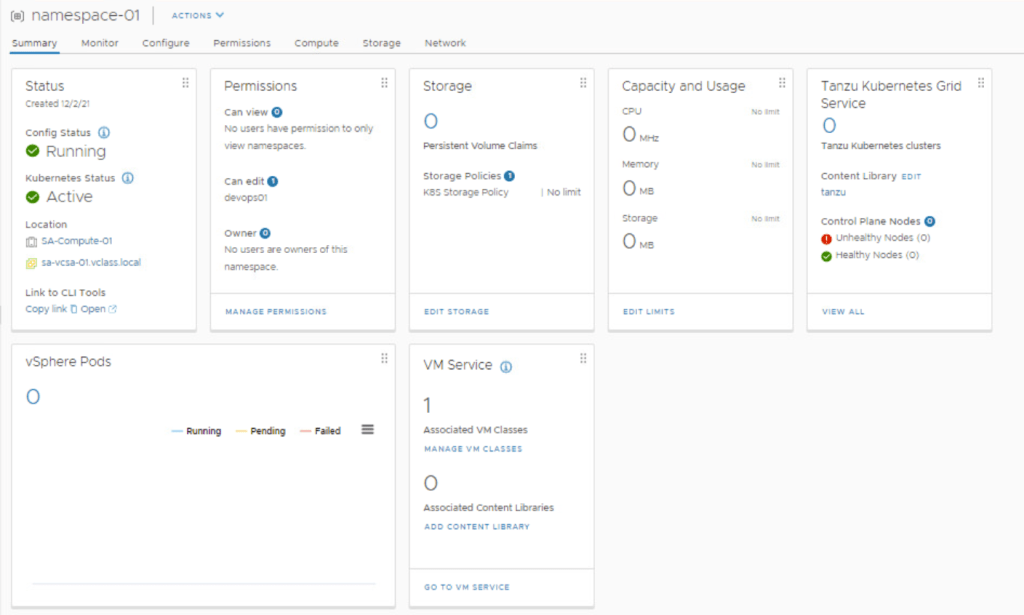
You are now ready to start deploying Kubernetes workloads to Tanzu.

You must be logged in to post a comment.